Bring this project to life
Running Stable Diffusion (SD) can take on a pretty wide variety of forms in late 2023. There are now nearly as many tools and serving applications to run the approximately wide variety of different model versions. With that, one of the most important challenges facing new users of all skill levels is going to be finding the optimal place for running the model. Given the state of desktop versus Datacenter GPUs from Nvidia, it's clear that this model should be run on the cloud.
Cloud GPU platforms offer more powerful and a wider variety of GPUs for running any Deep Learning task. The versatility offered by switching GPU types can make optimizing for expenses simple, and allows users to focus their concerns over maximizing the results they achieve. For this reason, we argue that Paperspace is perhaps among the best cloud platforms for running SD. For large businesses, the wide variety of machine offerings on the platform give the opportunity to generate hundreds of high quality images per minute with something like an H100 or A100. For new users, this means a completely free entrypoint with our freely offered M4000s.
Given that that is the case, we want to ensure our users on the platform are able to run the model in the smoothest way possible. In this article, we are going to examine our favorite methods for running Stable Diffusion, and try to help our readers find the best methodology for them when they are approaching the model in late 2023. First, we will introduce and discuss three popular methods for generating images with stable diffusion: Diffusers, the ComfyUI, and the AUTOMATIC1111 Stable Diffusion Web UI. We will then look at a few different extensions running on our preferred serving application, the Fast Stable Diffusion project by TheLastBen, through a Paperspace Notebook. We will conclude by comparing how the wide variety of hardware offerings can give outputs at different optimal expense rates.
Methodologies
Diffusers
The original release of the Stable Diffusion repo came pre-packaged with several scripts for making simple inference with their pretrained models, provided they had downloaded it onto their machine. Notably, there were two scripts for text-to-image generation and image-to-image generation. While these worked perfectly well, there were many parameters for inference missing that current Stable Diffusion users would miss dearly, such as negative prompts. Furthermore, they were not designed for interface with other tools and extensions for SD. This makes using innovations like ControlNet tedious or impossible.
Shortly after the release of the project, the original authors at Runway ML and CompVis collaborated with developers at HuggingFace to release the Diffusers package. Thanks to the integration with the popular AI storage site, Diffusers added a ton of useful functionality for generating with the model.
The Diffusers package is easy to install and offers a relatively simplistic methodology for inference with SD in a Jupyter Notebook environment. Paperspace Notebooks work great for situations like these. For this reason, Diffusers can be the best tool if we want to stay in the Notebook space.
We can install the package in a Notebook cell using the code in the line below.
pip install --upgrade diffusers[torch]Once that is done, generating images is very straight forward. Here is a sample provided from the original repo:
from diffusers import DiffusionPipeline
import torch

pipeline = DiffusionPipeline.from_pretrained("runwayml/stable-diffusion-v1-5", torch_dtype=torch.float16)
pipeline.to("cuda")
pipeline("An image of a squirrel in Picasso style").images[0]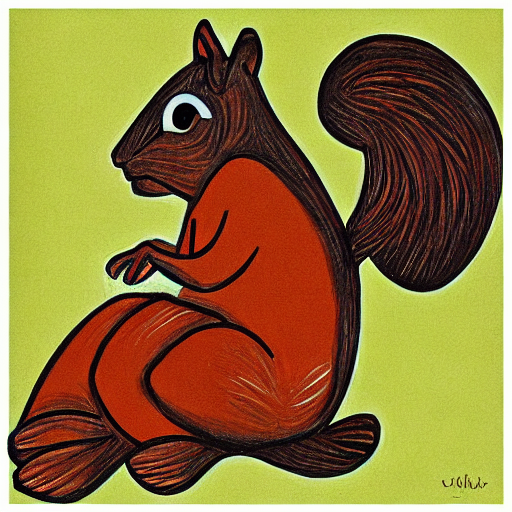
But this can be expanded quite a bit. In the next code cell, we will look at all the possible parameters for the pipeline call with their defaults. These can be found in the same detail here.
pipeline(
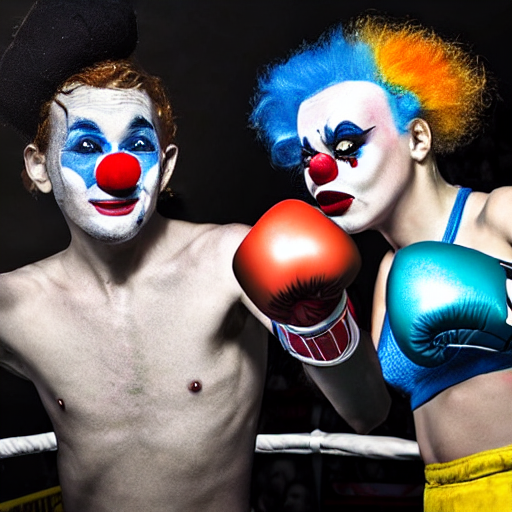
prompt = "clown boxers in a boxing ring, clown makeup, blue hair", #(`str` or `List[str]`, *optional*): The prompt or prompts to guide image generation. If not defined, you need to pass `prompt_embeds`.
height = 512, # (`int`, *optional*, defaults to `self.unet.config.sample_size * self.vae_scale_factor`):The height in pixels of the generated image.
width = 512, # (`int`, *optional*, defaults to `self.unet.config.sample_size * self.vae_scale_factor`): The width in pixels of the generated image.
num_inference_steps = 50, # (`int`, *optional*, defaults to 50):The number of denoising steps. More denoising steps usually lead to a higher quality image at the expense of slower inference.
guidance_scale = 7.5, (`float`, *optional*, defaults to 7.5): A higher guidance scale value encourages the model to generate images closely linked to the text `prompt` at the expense of lower image quality. Guidance scale is enabled when `guidance_scale > 1`.
#negative_prompt (`str` or `List[str]`, *optional*):
The prompt or prompts to guide what to not include in image generation. If not defined, you need to pass `negative_prompt_embeds` instead. Ignored when not using guidance (`guidance_scale < 1`).
num_images_per_prompt=1, # (`int`, *optional*, defaults to 1): The number of images to generate per prompt.
eta=0.0, # (`float`, *optional*, defaults to 0.0): Corresponds to parameter eta (η) from the [DDIM](https://arxiv.org/abs/2010.02502) paper. Only applies to the [`~schedulers.DDIMScheduler`], and is ignored in other schedulers.
#generator (`torch.Generator` or `List[torch.Generator]`, *optional*): A [`torch.Generator`](https://pytorch.org/docs/stable/generated/torch.Generator.html) to make generation deterministic.
#latents (`torch.FloatTensor`, *optional*): Pre-generated noisy latents sampled from a Gaussian distribution, to be used as inputs for image generation. Can be used to tweak the same generation with different prompts. If not provided, a latents tensor is generated by sampling using the supplied random `generator`.
#prompt_embeds (`torch.FloatTensor`, *optional*): Pre-generated text embeddings. Can be used to easily tweak text inputs (prompt weighting). If not provided, text embeddings are generated from the `prompt` input argument.
#negative_prompt_embeds (`torch.FloatTensor`, *optional*):Pre-generated negative text embeddings. Can be used to easily tweak text inputs (prompt weighting). If not provided, `negative_prompt_embeds` are generated from the `negative_prompt` input argument.
#output_type (`str`, *optional*, defaults to `"pil"`): The output format of the generated image. Choose between `PIL.Image` or `np.array`.
#return_dict (`bool`, *optional*, defaults to `True`): Whether or not to return a [`~pipelines.stable_diffusion.StableDiffusionPipelineOutput`] instead of a plain tuple.
#callback (`Callable`, *optional*): A function that calls every `callback_steps` steps during inference. The function is called with the
following arguments: `callback(step: int, timestep: int, latents: torch.FloatTensor)`.
callback_steps=1, # (`int`, *optional*, defaults to 1): The frequency at which the `callback` function is called. If not specified, the callback is called at every step.
# cross_attention_kwargs (`dict`, *optional*): A kwargs dictionary that if specified is passed along to the [`AttentionProcessor`] as defined in
[`self.processor`](https://github.com/huggingface/diffusers/blob/main/src/diffusers/models/attention_processor.py).
guidance_rescale = .7 #(`float`, *optional*, defaults to 0.7): Guidance rescale factor from [Common Diffusion Noise Schedules and Sample Steps are Flawed](https://arxiv.org/pdf/2305.08891.pdf). Guidance rescale factor should fix overexposure when using zero terminal SNR.).images[0]From the official python script for the StableDiffusionPipeline object in Diffusers
It is also worth mentioning that we can optionally select for the seed using torch.manual_seed. The seed functionality was removed from the Diffusers package at some point during development, but this allows to achieve reproducibility.
With all of these put together, we can programmatically achieve a lot of the same capabilities that serving applications like the ComfyUI and Web UI can. Additionally, there are a number of quick methods for adding additional tools like ControlNet to the workflow. Check out the repo README for links and details.
Bring this project to life
ComfyUI
The ComfyUI is a popular GUI and backend for inference with Stable Diffusion. This system is very similar to code abstraction tools which simplify backends through the visualization of nodes in a graph like interface, and will prove familiar to many long time coders. The ComfyUI has become increasingly popular in the past few months following the release of Stable Diffusion XL: where it was the first web application to support the new model's architecture.
To run the ComfyUI on Paperspace, the best and fastest way we have found is through the Fast Stable Diffusion repo. We have provided Run on Paperspace links in this article at the top and middle to provide an easy way to run this UI and the AUTOMATIC1111 web UI on a Free GPU.
To run the ComfyUI, open up the PPS-ComfyUI.ipynb file in your Paperspace Notebook. If you take your mouse to the top right of the screen, you can hit the Run All button to execute each of the cells within. Then, scroll down to the bottom of the page to get a link to your ComfyUI run.
When generating with ComfyUI, nearly all the functionalities we indicated for working with the HuggingFace package are easily accessible and changeable without any code. Below is an example workflow, the default available on the Notebook tutorial.
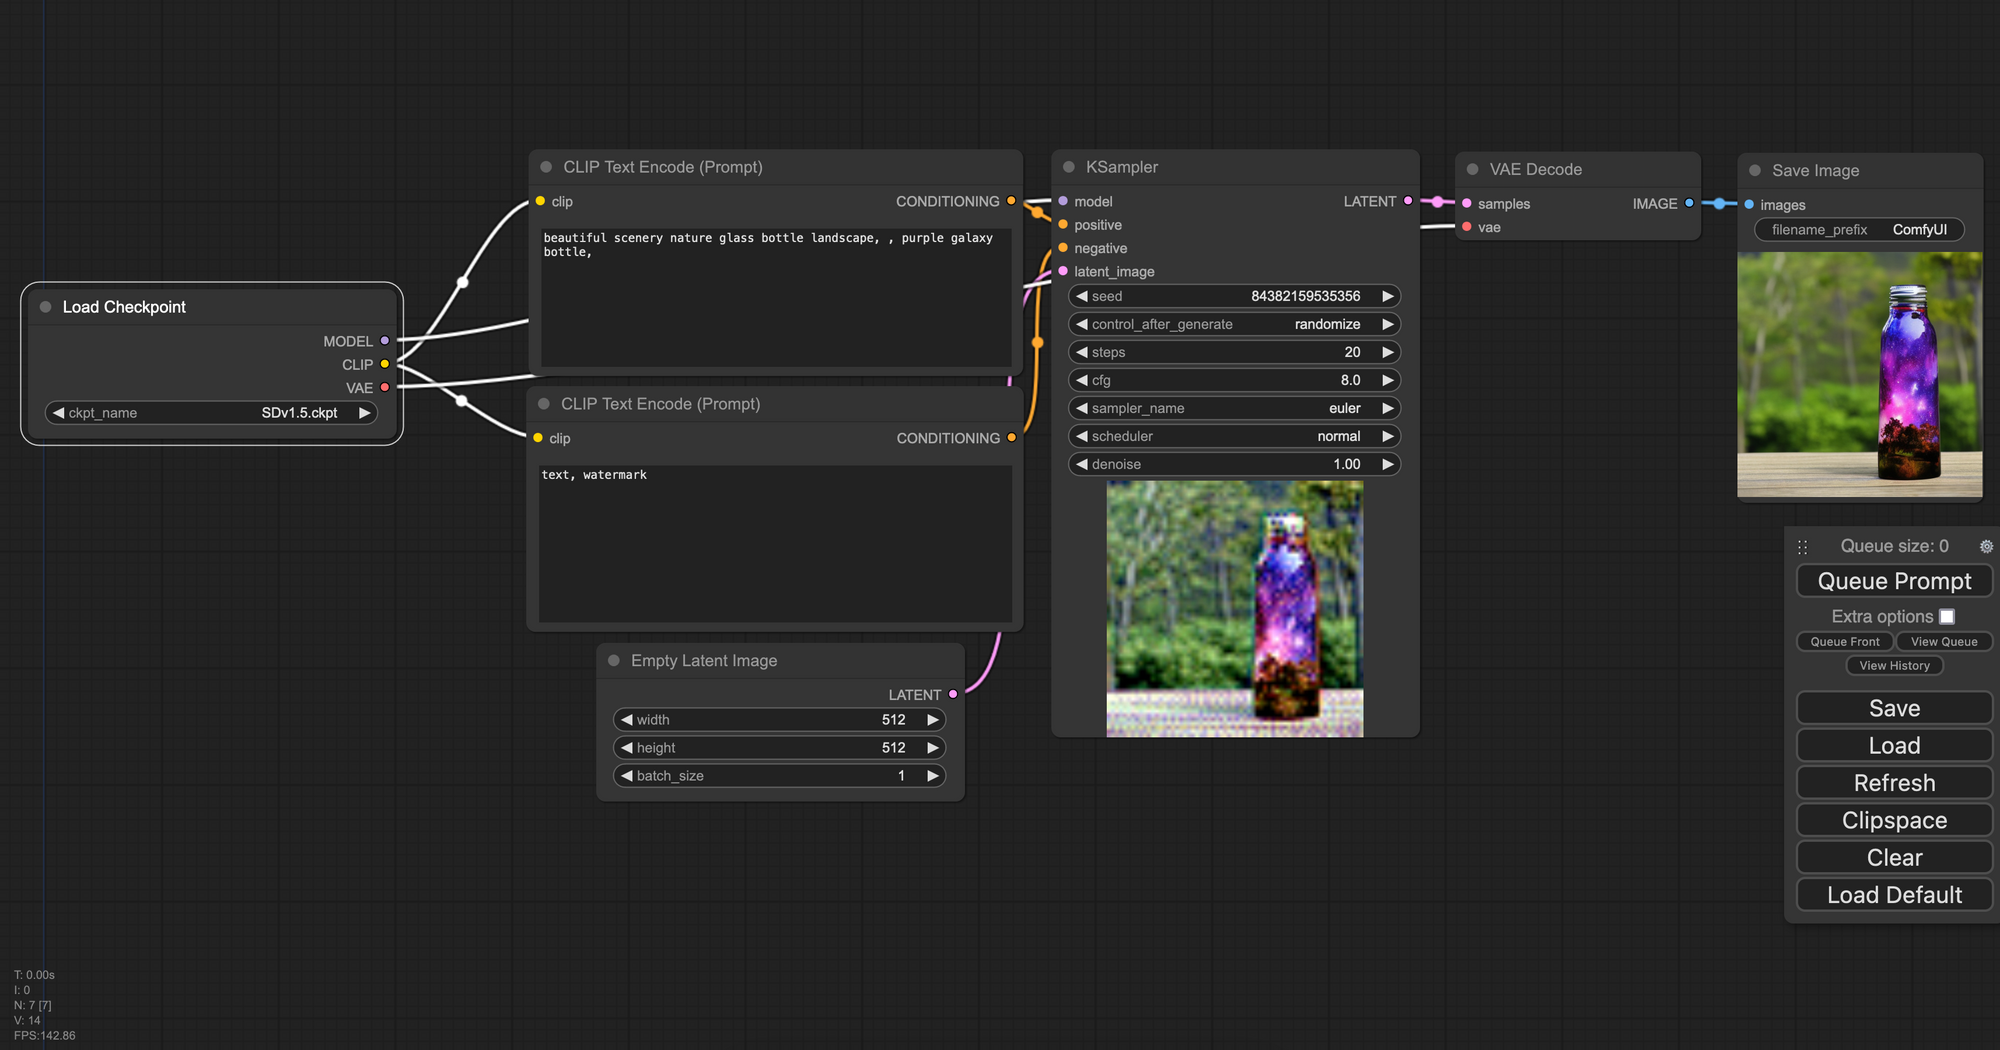
Furthermore, ComfyUI comes built in with several very useful capabilities including but not limited to:

- Image based templating for easy sharing of ComfyUI workflows. Try out the photo above in your workflow to get an SD XL workflow with the refiner. There is a full list of workflows compiled by the authors of the repo which can be found here
- Compatibility with many useful additional models and techniques for assisting the process of image generation. These include ControlNet, GLIGEN, T2I-Adapter and much more. Integration of these models is really simple, and the README file has relevant links to helpful tutorials for using them.
- Additional interactive capability with many of the imaging techniques that have helped facilitate the rise of Stable Diffusion's popularity, including Loras, Hypernetworks, model merging, textual inversion embeddings, and upscalers.
- Fast startup and simplistic interface
All in all, the ComfyUI is one of our favorite tools for using Stable Diffusion. Be sure to visit ComfyAnonymous' original repo to learn more about the project.
Bring this project to life
The AUTOMATIC1111 Web UI & TheLastBen Fast Stable Diffusion Web UI
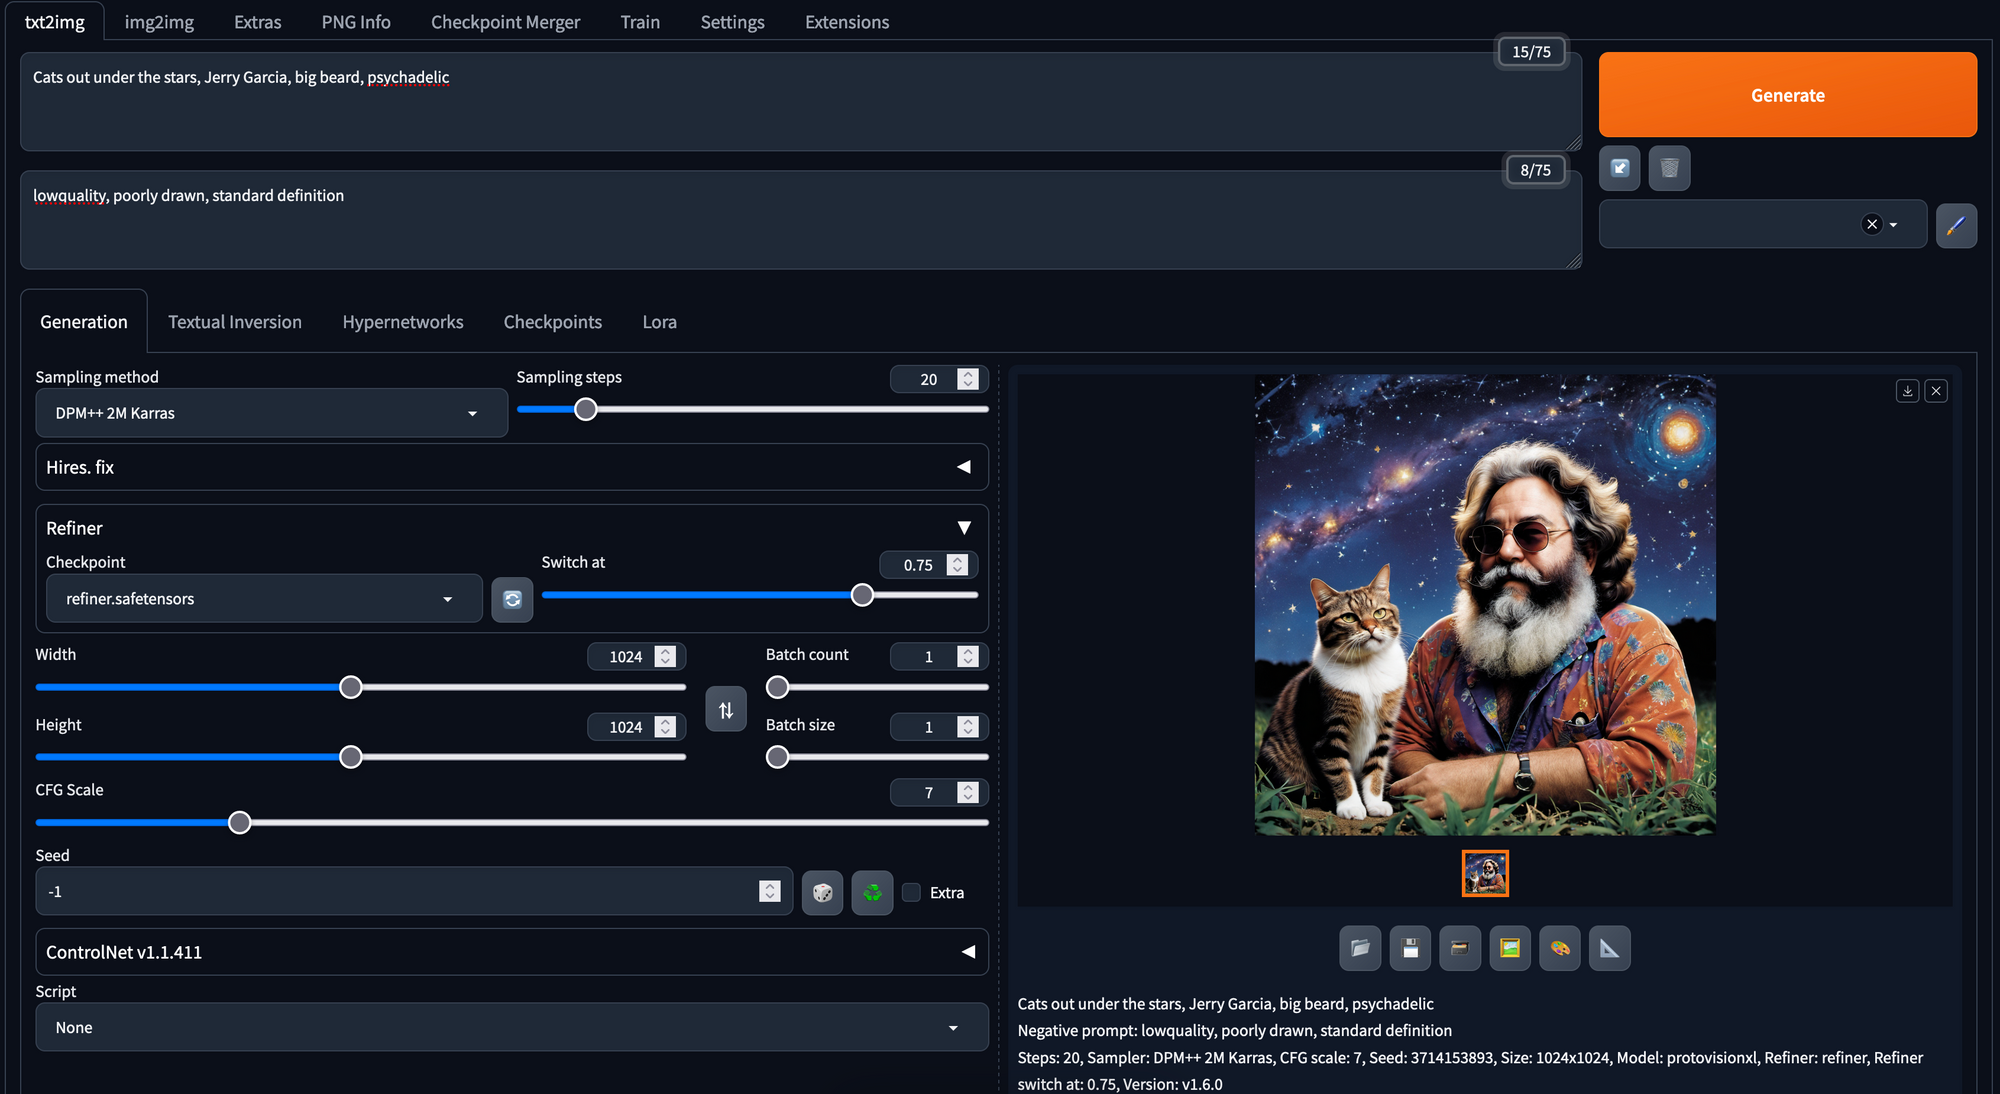
The lost serving methodology for serving the Stable Diffusion suite of models is the A1111 Web UI. This project is undoubtedly the most popular, open-source web application for interacting with the model. The Web UI has simple sliders, buttons, dropdowns, and text fields constructed using the ever useful Gradio package that make it incredibly easy to adjust parameters for generation and training of the models. Fast Stable Diffusion is an additional project based on the A1111 web UI that provides incredible speed ups and increases in functionality to the base serving application. These tuneups seriously facilitate the generation of images, and makes the web UI run even faster.
Much like the ComfyUI, by abstracting away the code, this serving application is very easy to use for low-coding level users and those wishing for fast & easy generation. We would argue that it is the simplicity that makes the UI so popular. It also comes with all of the capabilities for interaction with notable techniques for enhancing outputs such as ControlNet or Loras that ComfyUI did. Some other notable features available in these applications include:
- Outpainting - the ability to extend the edges of existing images by predicting the content outside the bounds of the original submission
- Inpainting - using the context of a specific feature space within the image to determine how to merge some prompted feature into the existing image
- Stable Diffusion Upscale - An alternative to GFPGAN/Real-ESRGAN and other upscalers
- X/Y/Z plot, a way to draw a 3 dimensional plot of images with different parameters
- Attention, specify parts of text that the model should pay more attention to
- a man in a
((tuxedo))- will pay more attention to tuxedo - a man in a
(tuxedo:1.21)- alternative syntax
- a man in a
- Loopback, run img2img processing multiple times
These features are all extremely useful in the right situations, but where the Web UI really shines is with its extensions. The extensions allow third party developers to plug in their own work to the existing application. These extensions greatly increase the capability of the Web UI in general, and allow for users to plugin a myriad of different tools into their workflow to take Stable Diffusion to even greater heights.
Below is a list of recommended extensions for the Stable Diffusion web UI:
- SadTalker - SadTalker makes it easy to pair generated images with audio recordings to generate uncannily realistic videos. SadTalker adjusts the mouth and head position to match the vocals on the inputted recording appropriately
- Auto-Photoshop-StableDiffusion-Plugin - Plugging the Stable Diffusion Web UI into the popular photo editor can bring whole new levels of capability to your editing workflow, especially with generative filling and inpainting
- sd-webui-mov2mov - This tool makes it simple to transfer the desired traits described in a prompt not just to a single image, but mapping the prompt to all the images in a sequence such as a video file. The extension then places the video back together with the original audio for an approximate movie-2-movie generation paradigm
- a1111-sd-webui-lycoris - LyCoris is an alternative the built-in and very popular LoRA technique. This isn't needed for the latest versions of the Web UI, but we felt it was worth mentioning
- stable-diffusion-webui-rembg - This extension makes it extremely easy to remove backgrounds from images using Stable Diffusion in the web UI
These are just a few of the many useful extensions available on the Extensions tab of web UI. Be sure to examine them all to get an idea for the full capabilities of Stable Diffusion in late 2023.
Closing thoughts
In this article, we looked at three different techniques for running Stable Diffusion with Paperspace. These three techniques each give the users a differing, but each very powerful, means to synthesize new images with the family of image generation models.
We have found in our experience that the Stable Diffusion web UI from A1111, especially the Fast Stable Diffusion application, are the best means for running the model in late 2023. This is not only because of their myriad features and simplistic abstraction of the prompting away from code, but also thanks to the huge library of useful extensions for working with the model.
We encourage our users to try each of them on a Free GPU using the links provided in this blog post! Thanks for reading, and enjoy using the model with Paperspace.