Typing text on your phone might not be as comfortable as writing on your PC. That's why most applications that take text as an input offer users suggested corrections and predicted words to make typing easier. This tutorial will show you how to implement an app that can do exactly that.
In this tutorial we'll build an Android application using a cross-platform Python framework called Kivy for recommending text while the user is typing. If the target word is available in the list of recommendations, the user can just select it without writing all of its characters. The tutorial starts by giving a brief overview of how to build a desktop Kivy app and then starts building the text recommendation app for Android.
Here is the outline:
- Preparing the Kivy Development Environment
- Building a Simple Desktop Kivy App
- Exporting an Android App
- Python Implementation of the Levenshtein Distance
- Building an Android Text Recommendation App
Bring this project to life
Note that this tutorial builds off of two others. For an in-depth look at the Levenshtein distance and how to calculate it, check out Measuring Text Similarity Using the Levenshtein Distance. In Part 2, we see how to Implement The Levenshtein Distance in Python.
Preparing the Kivy Development Environment
Like any other Python library, you can install Kivy using the pip installer. All you need to do is issue the command below. Remember to use pip3 in place of pip if you're using Python 3. This command works on all desktop platforms, and enables you to create cross-platform desktop applications in Python. To build Android apps out of the Kivy app, you must use Linux.
pip install kivyThe previous command will install Kivy into the main installation of Python, but it is recommended to create a virtual environment in which Kivy can be installed. To create a virtual machine, make sure your machine already has the virtualenv and setuptools libraries installed.
pip install --upgrade pip virtualenv setuptoolsTo create the virtual environment, just issue the following command and specify the name of your choice. I chose the name KivyVirtualEnv.
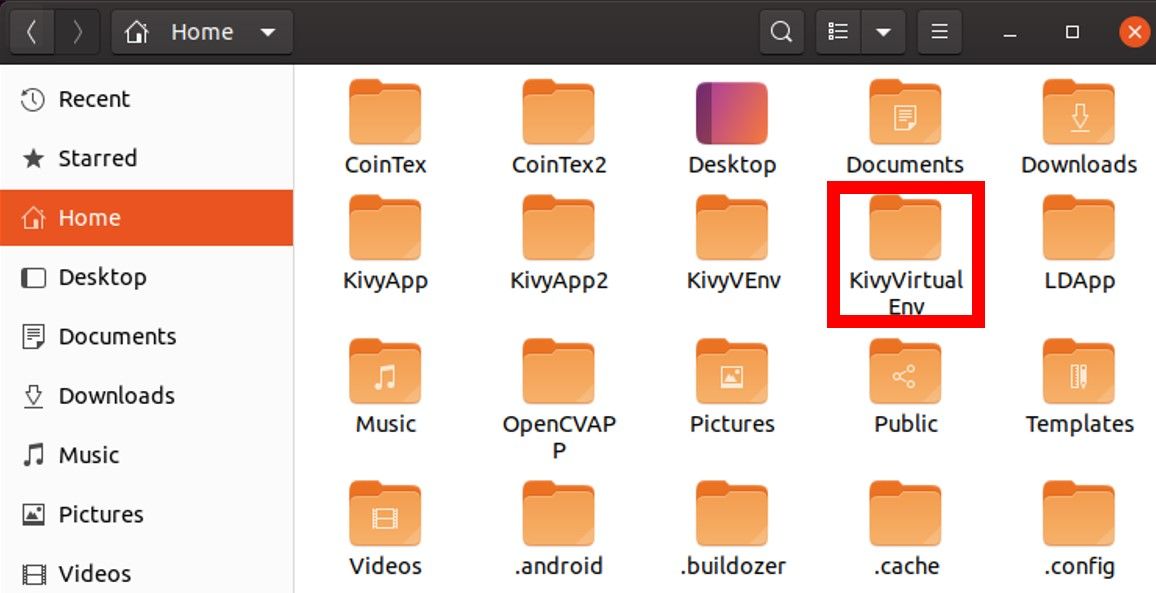
virtualenv --no-site-packages KivyVirtualEnvIn the current directory, you can find a folder named KivyVirtualEnv created as given in the next figure. Python, whether 2 or 3, will be installed within this folder.
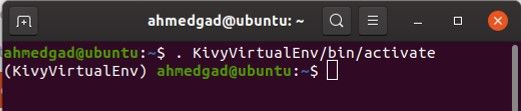
Inside the environment directory there's a folder named bin in which a script named activate is located. This script is used to activate the virtual environment according to the next command. Just specify the path that matches yours.
. KivyVirtualEnv/bin/activateAfter the command is issued, the virtual environment will be activated as shown in the next figure.
Inside the environment, Kivy would be installed using pip as explained earlier. After being installed, you can test whether it is working properly by importing it, as shown below.
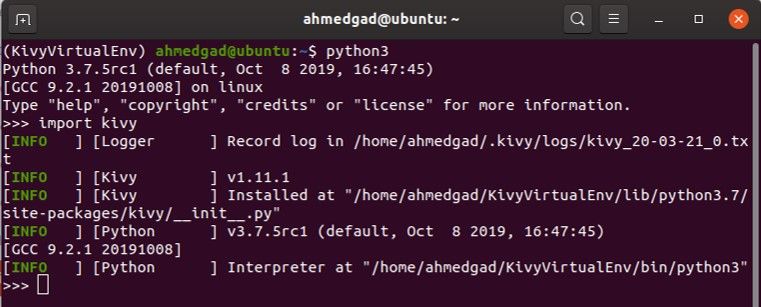
After making sure everything is working as expected, we can proceed to building a simple Kivy app.
Building a Simple Desktop Kivy App
Kivy is so simple to learn for building Python apps with a GUI. If you want a more thorough introduction to getting started with Kivy, you can read my book Building Android Apps in Python Using Kivy with Android Studio: With Pyjnius, Plyer, and Buildozer, which starts from scratch to build both desktop and Android apps.
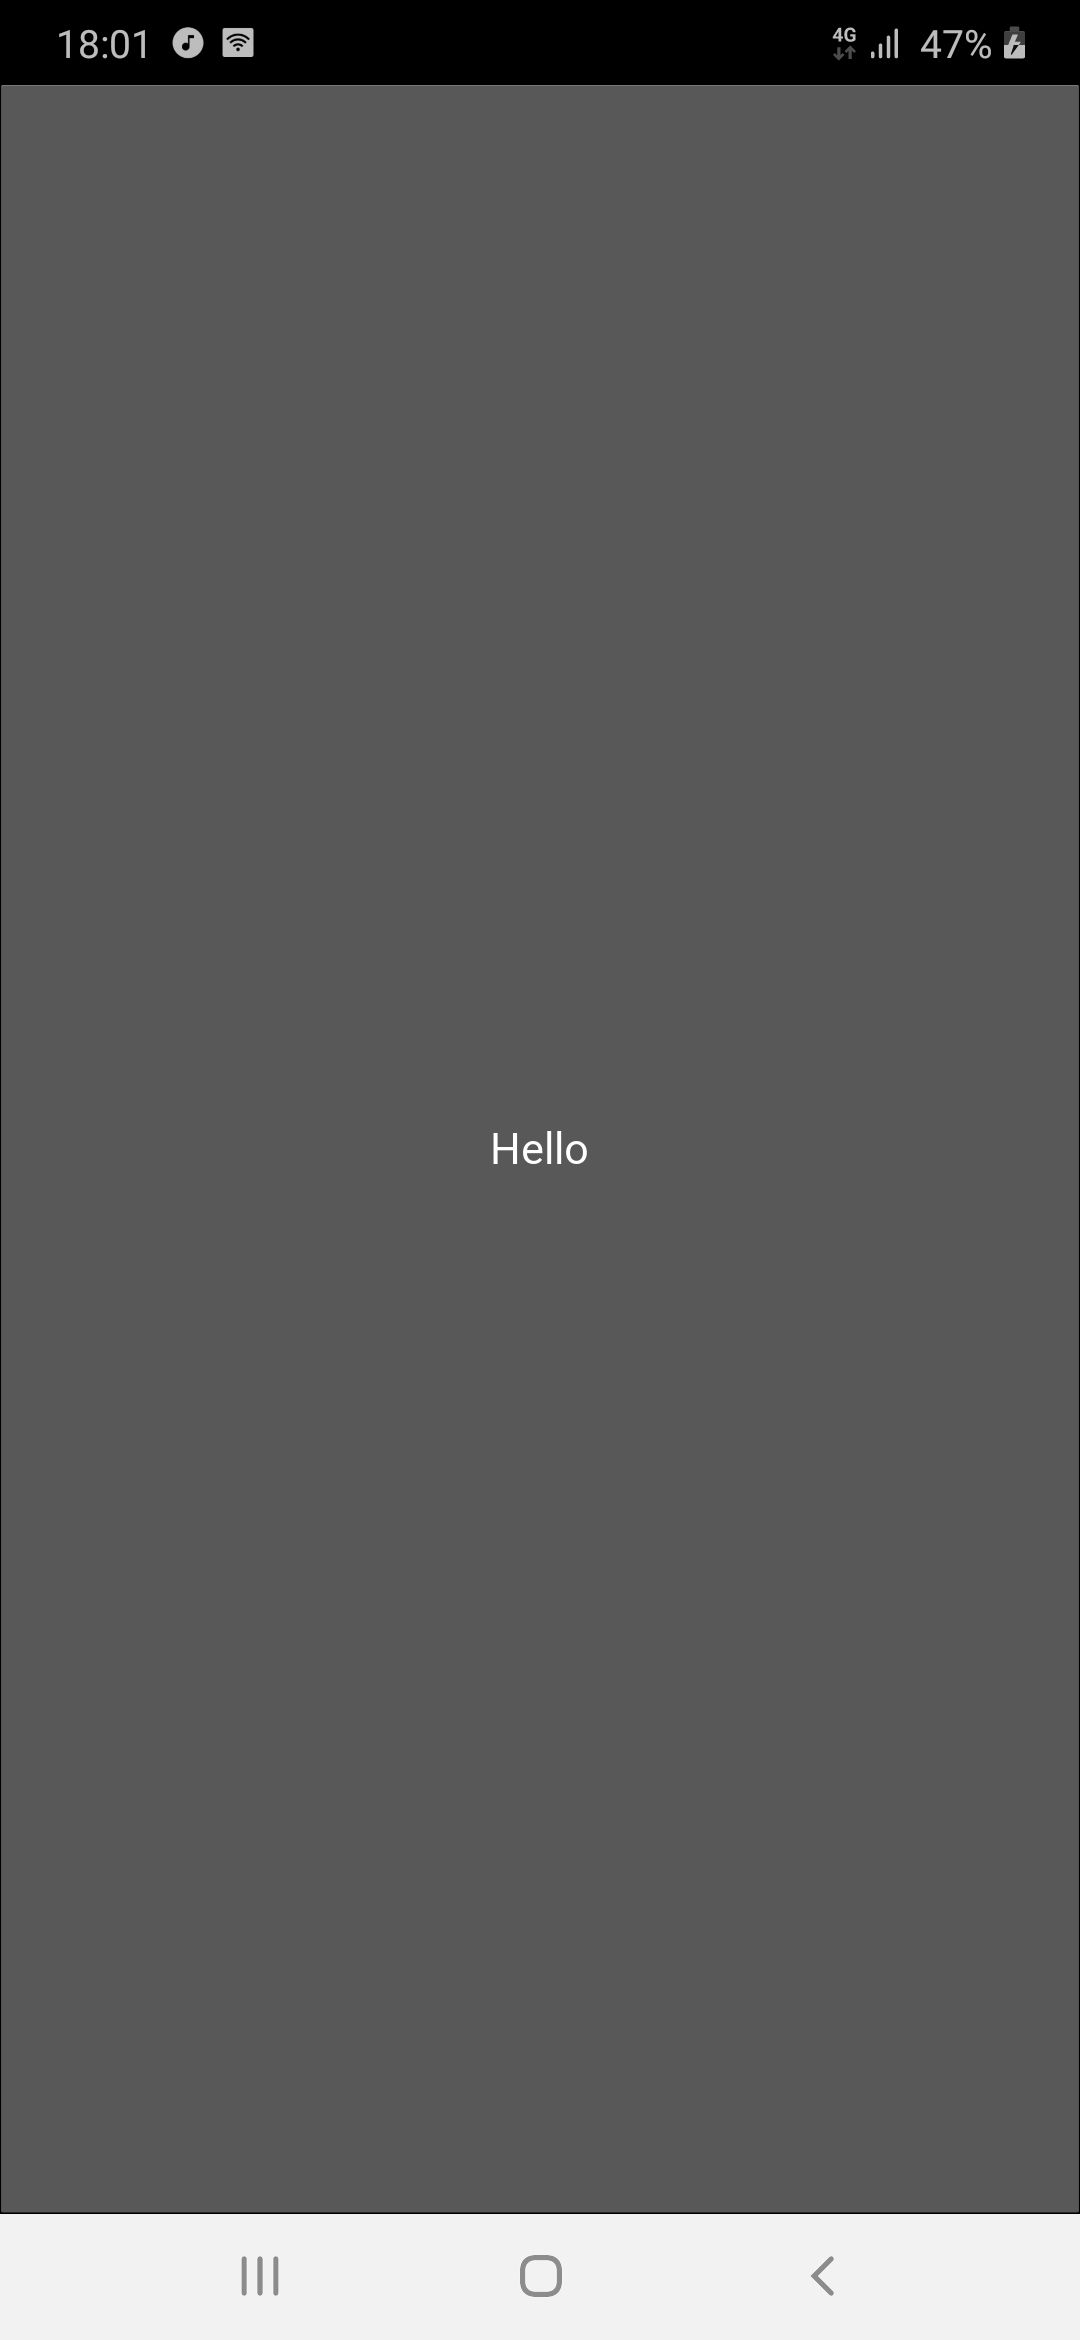
The following code implements a basic Kivy app in which the GUI just holds a single button. All you need to do to create a Kivy app is to create a new class (which is KivyApp in this example) that extends the kivy.app.App class from Kivy. After that, you just need to implement the method build() which holds the GUI widgets that appear on the screen. In this case, there is just a single button widget created as an instance from the kivy.uix.button.Button class. Inside the class constructor, the argument text is set to Hello.
import kivy.app
import kivy.uix.button

class KivyApp(kivy.app.App):

    def build(self):
        return kivy.uix.button.Button(text="Hello")

app = KivyApp()
app.run()
If this code is saved in a file named main.py, then you can run it as usual according to the next command:
python3 main.pyThe previous command must be issued in the previously created virtual environment. The next figure shows the screen of the app.
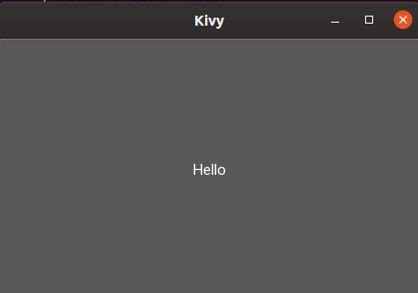
Now that we have a basic Kivy app that runs on desktop, let's export the Android app in the next section.
Exporting an Android App
There is a project called python-for-android which is designed to export an Android app out of Kivy. At the top of this project is a tool called Buildozer, which makes it easy to export the Android app in just three steps.
The first step is to install Buildozer using pip as follows:
pip3 install buildozer
After it's installed, the second step is to make a file named buildozer.spec which holds some specifications of the Android app. You can either create this file manually or use the following command to generate a template.
buildozer initSome of the fields in this file include title for holding the Android app title; package.name representing the name of the package; orientation to specify whether the orientation is landscape or portrait; requirements, which holds a list of the libraries to be packaged into the Android app; and more. Later, we will need the NumPy library to be packaged into the Android app, and thus it must be listed as a requirement.
Before exporting the Android app, you must make sure the code of the Kivy app is saved into a file named main.py and this file is located at the root of the app folder beside the buildozer.spec file. If the app folder is named app, then the hierarchy of the project will be as follows:
app
   main.py
   buildozer.init
The last and final step to building the Android app and creating the APK file is to just issue the following command to create a debug APK:
buildozer android debugWhen this command is issued for the first time it will take a lot of time to download all the requirements of the Kivy app, in addition to the SDK and NDK for preparing the Android development environment.
After the command completes, the APK will be found inside the bin folder at the root of the main app folder. Here is the hierarchy of the project.
app
   bin
      APK FILE
   main.py
   buildozer.init
The next figure shows the result after running the Android app.
Now we are able to create an Android app out of the Kivy app. The next section discusses the Levenshtein distance implementation in Python.
Python Implementation of the Levenshtein Distance
In a previous post titled Implementing The Levenshtein Distance for Word Autocompletion and Autocorrection, the Levenshtein distance was implemented in Python. The code is listed below in which a function named levenshteinDistanceMatrix() accepts 2 arguments representing the words. The function returns the distance between those 2 words. The lower the distance, the more alike the words are.
def levenshteinDistanceMatrix(token1, token2):
    distances = numpy.zeros((len(token1) + 1, len(token2) + 1))

    for t1 in range(len(token1) + 1):
        distances[t1][0] = t1

    for t2 in range(len(token2) + 1):
        distances[0][t2] = t2

    a = 0
    b = 0
    c = 0

    for t1 in range(1, len(token1) + 1):
        for t2 in range(1, len(token2) + 1):
            if (token1[t1-1] == token2[t2-1]):
                distances[t1][t2] = distances[t1 - 1][t2 - 1]
            else:
                a = distances[t1][t2 - 1]
                b = distances[t1 - 1][t2]
                c = distances[t1 - 1][t2 - 1]

                if (a <= b and a <= c):
                    distances[t1][t2] = a + 1
                elif (b <= a and b <= c):
                    distances[t1][t2] = b + 1
                else:
                    distances[t1][t2] = c + 1

    return distances[len(token1)][len(token2)]
Here is an example to calculate the distance between the two words cane and man.
print(levenshteinDistanceMatrix("cane", "man"))

2.0
The previous tutorial also built a function named calcDictDistance that accepts 2 arguments: word and numWords. This function calculates the distance between the word and a dictionary by calling the levenshteinDistanceMatrix() function, and returns a list of the closest words. The number of words in the list is set according to the value in the numWord argument. For example, calcDictDistance("conr", 4) returns just the closest 4 words to the word conr.
Here is the implementation of the calcDictDistance() function. The used dictionary is just a text file named 1-1000.txt which contains 1,000 words. The file is available for download at this link.
def calcDictDistance(word, numWords):
    file = open('1-1000.txt', 'r')
    lines = file.readlines()
    file.close()
    dictWordDist = []
    wordIdx = 0

    for line in lines:
        wordDistance = levenshteinDistanceMatrix(word, line.strip())
        if wordDistance >= 10:
            wordDistance = 9
        dictWordDist.append(str(int(wordDistance)) + "-" + line.strip())
        wordIdx = wordIdx + 1

    closestWords = []
    wordDetails = []
    currWordDist = 0
    dictWordDist.sort()
    for i in range(numWords):
        currWordDist = dictWordDist[i]
        wordDetails = currWordDist.split("-")
        closestWords.append(wordDetails[1])
    return closestWords
Here is an example of using this function to return the 4 closest words to the word conr.
print(calcDictDistance("conr", 4))

['bone', 'can', 'car', 'cent']
So far we've covered how to create a Kivy app, how to build an Android app and export the APK, and how to implement the Levenshtein distance in Python. In the next section we'll use all of this to create an Android app that recommends text to the user.
Building an Android Text Recommendation App
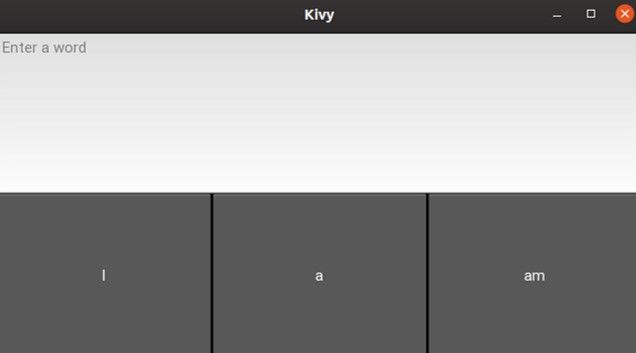
First we'll need to create the GUI of the app by placing the following Kivy widgets:
- A text field in which the user could enter a word.
- Buttons to show the recommendations (just 3 buttons will be used to show the closest 3 words to the user input)
The Kivy code for creating a screen with these 4 widgets is listed below.
import kivy.app
import kivy.uix.boxlayout
import kivy.uix.textinput
import kivy.uix.button

class KivyApp(kivy.app.App):

    def build(self):
        mainBoxLayout = kivy.uix.boxlayout.BoxLayout(orientation="vertical")
        self.textInput = kivy.uix.textinput.TextInput(hint_text="Enter a word")
        mainBoxLayout.add_widget(self.textInput)

        buttonsBoxLayout = kivy.uix.boxlayout.BoxLayout(orientation="horizontal")
        self.btn1 = kivy.uix.button.Button(text="Word 1")
        self.btn2 = kivy.uix.button.Button(text="Word 2")
        self.btn3 = kivy.uix.button.Button(text="Word 3")

        buttonsBoxLayout.add_widget(self.btn1)
        buttonsBoxLayout.add_widget(self.btn2)
        buttonsBoxLayout.add_widget(self.btn3)

        mainBoxLayout.add_widget(buttonsBoxLayout)

        return mainBoxLayout

app = KivyApp()
app.run()
After running the app, we can see its screen in the next figure.
The strategy that we will follow is to bind a listener to the TextInput widget so that a callback method is called for each change in the text. The distance is calculated between the current value in the TextInput and all the words in the dictionary. The text of the 3 closest words will be reflected on the 3 buttons. Once the user clicks a button, its text will be automatically moved into the TextInput.
To attach a listener to the TextInput widget, the following line is added at the end of the build() method. This means the calcDictDistance() method will be called for each change in the text property of the TextInput widget.
self.textInput.bind(text=self.calcDictDistance)The calcDictDistance() method accepts 3 arguments:
self: Instance of theKivyAppclass.widget: Instance of theTextInputwidget.text: Current text value in theTextInputwidget.
To accommodate such changes, the calcDictDistance() is edited as follows. Note that the levenshteinDistanceMatrix() method will be left unchanged.
def calcDictDistance(self, widget, word):
numWords=3
file = open('1-1000.txt', 'r')
lines = file.readlines()
file.close()
dictWordDist = []
wordIdx = 0
for line in lines:
wordDistance = levenshteinDistanceMatrix(word, line.strip())
if wordDistance >= 10:
wordDistance = 9
dictWordDist.append(str(int(wordDistance)) + "-" + line.strip())
wordIdx = wordIdx + 1
wordDetails = []
currWordDist = 0
dictWordDist.sort()
self.btn1.text = dictWordDist[0].split("-")[1]
self.btn2.text = dictWordDist[1].split("-")[1]
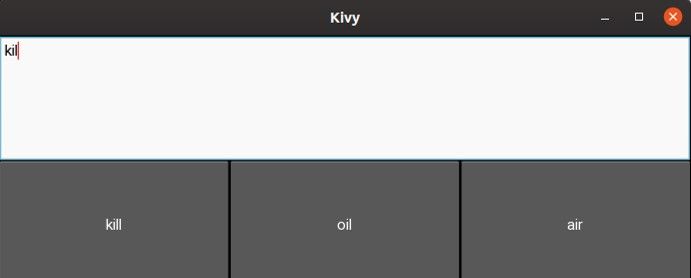
self.btn3.text = dictWordDist[2].split("-")[1]At the end of the calcDictDistance() method, the following 3 lines are responsible for showing the 3 closest words on the 3 buttons.
self.btn1.text = dictWordDist[0].split("-")[1]
self.btn2.text = dictWordDist[1].split("-")[1]
self.btn3.text = dictWordDist[2].split("-")[1]
The next figure shows how the recommendations are shown on the 3 buttons.
So far clicking the buttons doesn't do anything. To move the text in the button that the user clicks to the TextInput widget, the following 3 lines will be added to the end of the build() method. Simply put, for each button press (i.e. click), the callback method selectWord() will be called.
self.btn1.bind(on_press=self.selectWord)
self.btn2.bind(on_press=self.selectWord)
self.btn3.bind(on_press=self.selectWord)
The implementation of the selectWord() method is listed below. It sets the text property in the TextInput to the same property for the clicked Button widget.
def selectWord(self, widget):
    self.textInput.text = widget.text
Now that we've discussed all of the code, here is the complete implementation of the app.
import kivy.app
import kivy.uix.boxlayout
import kivy.uix.textinput
import kivy.uix.button
import numpy

def levenshteinDistanceMatrix(token1, token2):
    distances = numpy.zeros((len(token1) + 1, len(token2) + 1))

    for t1 in range(len(token1) + 1):
        distances[t1][0] = t1

    for t2 in range(len(token2) + 1):
        distances[0][t2] = t2

    a = 0
    b = 0
    c = 0
    for t1 in range(1, len(token1) + 1):
        for t2 in range(1, len(token2) + 1):
            if (token1[t1-1] == token2[t2-1]):
                distances[t1][t2] = distances[t1 - 1][t2 - 1]
            else:
                a = distances[t1][t2 - 1]
                b = distances[t1 - 1][t2]
                c = distances[t1 - 1][t2 - 1]

                if (a <= b and a <= c):
                    distances[t1][t2] = a + 1
                elif (b <= a and b <= c):
                    distances[t1][t2] = b + 1
                else:
                    distances[t1][t2] = c + 1

    return distances[len(token1)][len(token2)]

class KivyApp(kivy.app.App):

    def calcDictDistance(self, widget, word):
        numWords=3

        file = open('1-1000.txt', 'r')
        lines = file.readlines()
        file.close()
        dictWordDist = []
        wordIdx = 0

        for line in lines:
            wordDistance = levenshteinDistanceMatrix(word, line.strip())
            if wordDistance >= 10:
                wordDistance = 9
            dictWordDist.append(str(int(wordDistance)) + "-" + line.strip())
            wordIdx = wordIdx + 1

        wordDetails = []
        currWordDist = 0
        dictWordDist.sort()

        self.btn1.text = dictWordDist[0].split("-")[1]
        self.btn2.text = dictWordDist[1].split("-")[1]
        self.btn3.text = dictWordDist[2].split("-")[1]

    def selectWord(self, widget):
        self.textInput.text = widget.text

    def build(self):
        mainBoxLayout = kivy.uix.boxlayout.BoxLayout(orientation="vertical")
        self.textInput = kivy.uix.textinput.TextInput(hint_text="Enter a word")
        mainBoxLayout.add_widget(self.textInput)

        buttonsBoxLayout = kivy.uix.boxlayout.BoxLayout(orientation="horizontal")
        self.btn1 = kivy.uix.button.Button(text="Word 1")
        self.btn2 = kivy.uix.button.Button(text="Word 2")
        self.btn3 = kivy.uix.button.Button(text="Word 3")

        buttonsBoxLayout.add_widget(self.btn1)
        buttonsBoxLayout.add_widget(self.btn2)
        buttonsBoxLayout.add_widget(self.btn3)

        mainBoxLayout.add_widget(buttonsBoxLayout)

        self.textInput.bind(text=self.calcDictDistance)

        self.btn1.bind(on_press=self.selectWord)
        self.btn2.bind(on_press=self.selectWord)
        self.btn3.bind(on_press=self.selectWord)

        return mainBoxLayout

app = KivyApp()
app.run()
After making sure the desktop app works properly, the next step is to build the Android app. Before doing that, make sure to list numpy as one of the values in the requirements property of the buildozer.spec file. The property should look like this:
requirements = kivy, numpyAnother important note is that the app uses the text file named 1-1000.txt and thus it must be packaged into the Android app. How can we do that?
Inside the buildozer.spec file, there is a property named source.include_exts which specifies the file extensions that will be packaged into the APK file. The default value for this property is as follows:
source.include_exts = py,png,jpg,kv,atlasIf we need the .txt extension to be included, just append it to the list so that the new value is as follows:
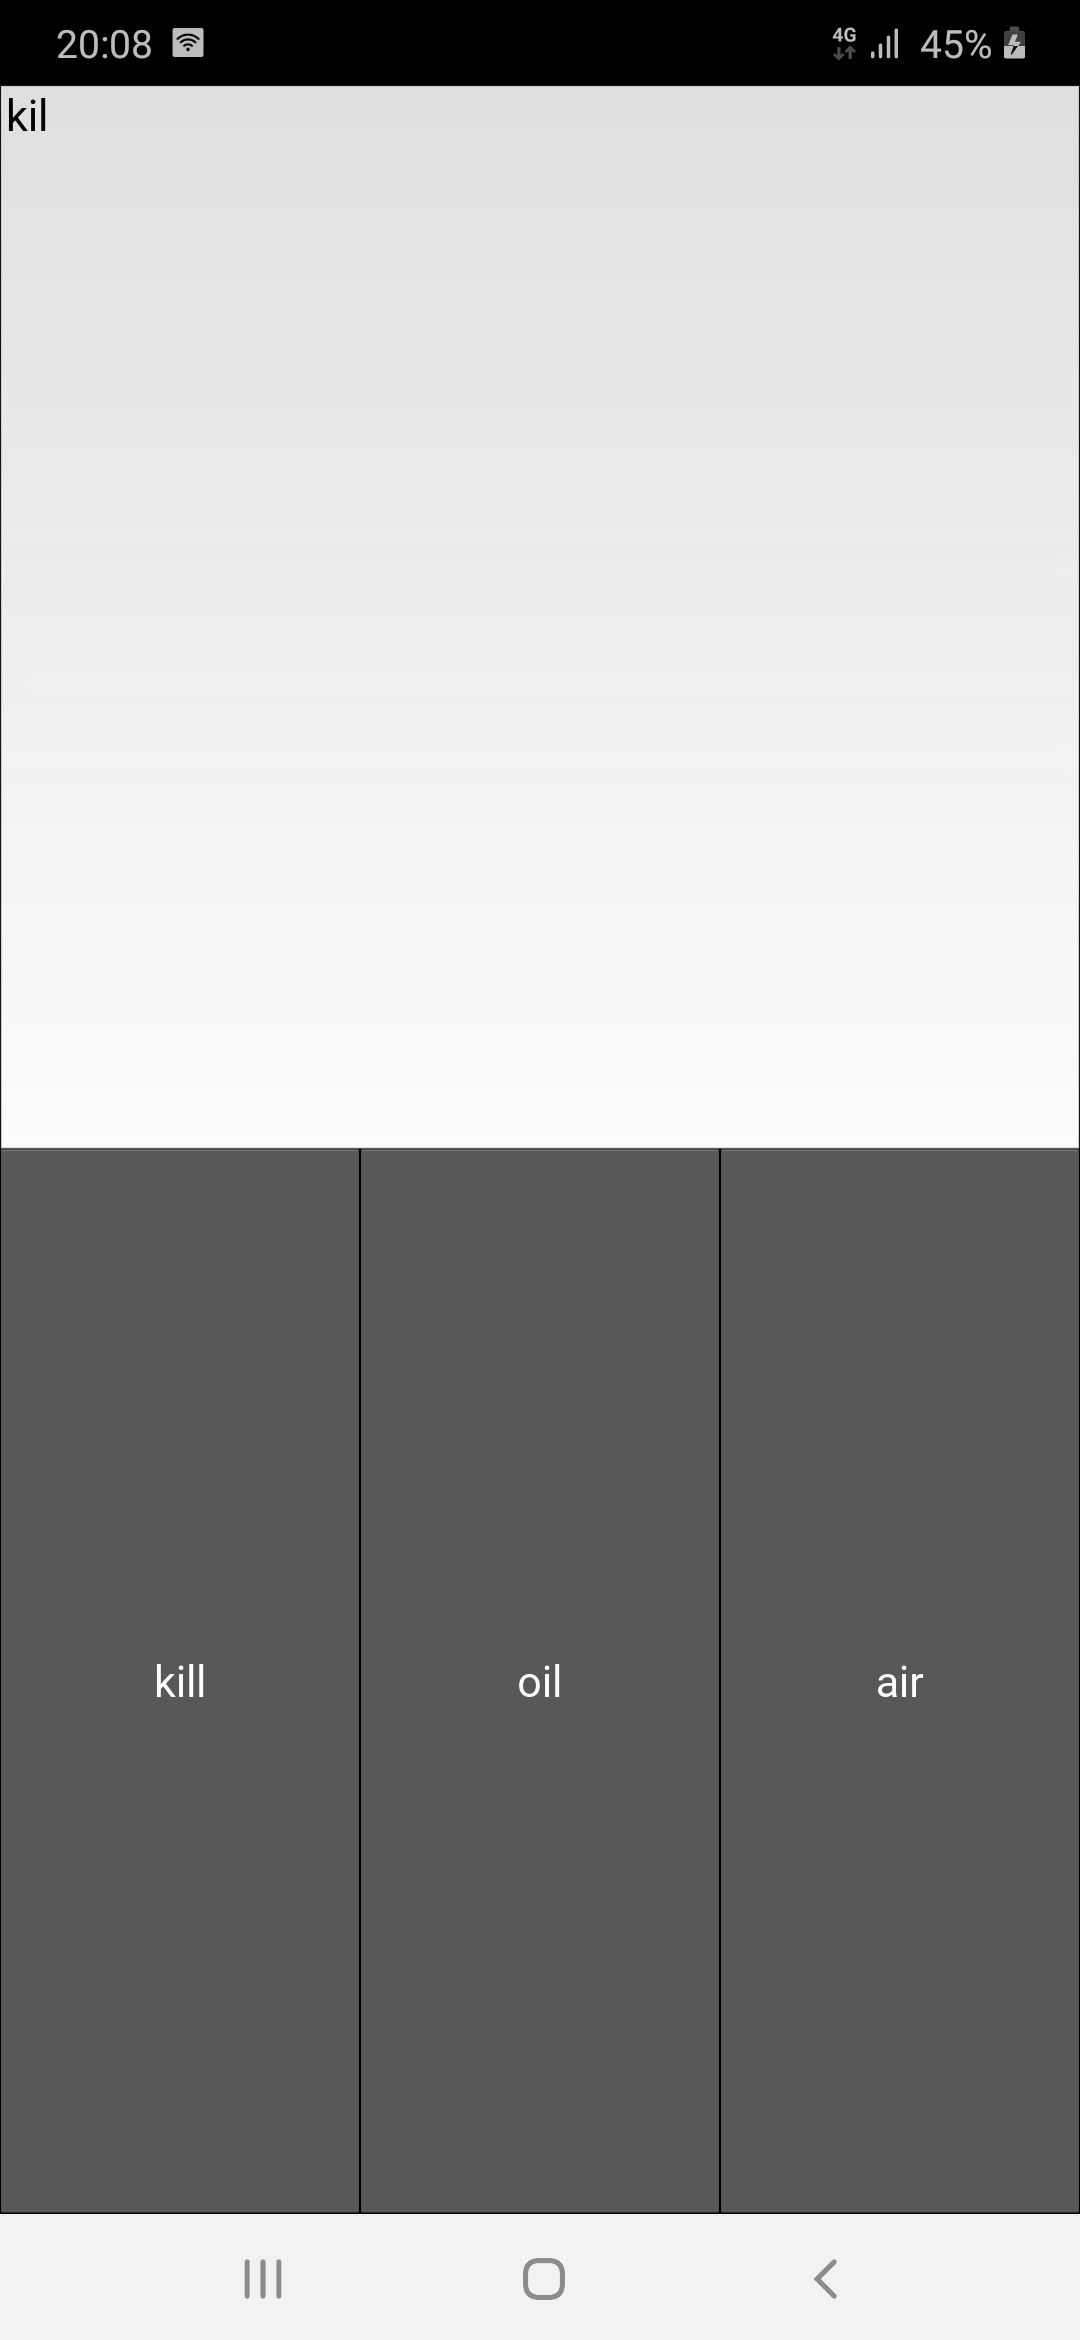
source.include_exts = py,png,jpg,kv,atlas,txtNow we can use buildozer to export the APK file using this command:
buildozer android debugAfter the APK is exported, just install it on an Android device. The next figure shows the app screen after being installed.
Conclusion
This tutorial used Kivy, an open source Python framework, to build an Android app that recommends text to the user using the Levenshtein distance.
In this tutorial we started by preparing the environment for building Kivy apps, and then discussed the steps for building an Android app out of the Kivy app using two projects: python-for-android and buildozer.
A function that calculates the Levenshtein distance is implemented in NumPy, which accepts 2 arguments representing the 2 text words, and returns the distance between them.
Finally, using Kivy we create an Android app that allows the user to type a word and then 3 recommendations are displayed on 3 buttons, from which the user can automatically complete the words.