Open Broadcaster Software (known as OBS) is one of the most popular video recording and live streaming tools. It's free and open source, easy to set up and has built-in support for the most common live streaming platforms like Twitch and YouTube. In this guide, we're going to walk through how you can begin live streaming with OBS Studio from start-to-finish.
Open Broadcaster Software™ (known as OBS) is one of the most popular video recording and live streaming tools. OBS is free and open source, easy to set up and has built-in support for the most common live streaming platforms like Twitch and YouTube. In this guide, we're going to walk through how you can begin streaming with OBS Studio from start-to-finish.
Want more exposure?
If you would like your stream featured by Paperspace, send us an email to hello@paperspace.com, or tweet us including the hashtag #PoweredByPaperspace
Tutorial Outline
- Launch a machine
- Basic: Audio & simple application streaming
- High Performance: Game streaming
- Installing OBS
- Download and install Visual Studio 2013 Runtimes
- Download and install OBS
- Configuring OBS
- Resolution
- Bitrate
- Encoding
- Setting up your scene
- Connecting to Twitch
- Locate your Stream Key
- Configure OBS to connect to Twitch
- Connecting to YouTube
- Locate your Stream Key
- Configure OBS to connect to YouTube
- Conclusion
1. Create a new Paperspace machine
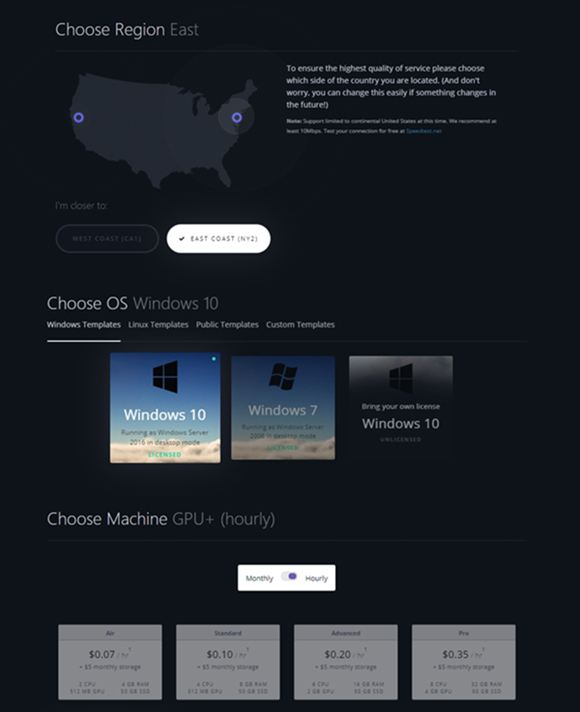
After you've logged into Paperspace, create a new machine.
-
Select the closest region
-
Choose a Windows template
-
Select Monthly or Hourly depending on how often you stream
-
Choose your plan:
-
Audio and non-graphics intensive applications (Basic): If you are streaming non-intensive applications like a code editor, an online poker game, or an audio mix etc., the Standard GPU machines (Air, Standard, Advanced and Pro) work great. In this case, you will use software encoding in OBS. You cannot run any high-end games on this tier and will not achieve quite as high bitrates as you would with GPU encoding. If this sounds like your desired setup, the Advanced plan is the most popular.
-
Game streaming (High Performance): If you are running graphic-intensive games like The Witcher, Overwatch etc., and want to deliver a high-bitrate stream to your viewers, a Dedicated GPU machine (GPU+, P5000, and P6000) is required. The GPU+ is ideal for mid-range games and the P5000 and P6000 are designed for maximum performance.
-
-
Choose your storage — you can increase your storage at any time in the future
-
Click Create
2. Installing OBS
Step 1 - Prerequisites
Please download and run both of the required Vistual Studio Runtimes in order to continue setup:
Visual Studio 2013 Runtime [64 bit] - vcredist_x64.exe
Visual Studio 2013 Runtime [32 bit] - vcredist_x86.exe
Note: Both the 32 bit and 64 bit versions should be installed, even if you have a 64 bit version of Windows.
Now you're ready to install OBS Studio:
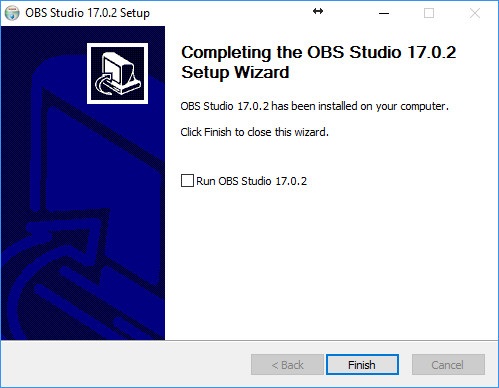
Step 2 - Install OBS Studio
Run the installer with the default settings. At the last step, uncheck "Run OBS studio"
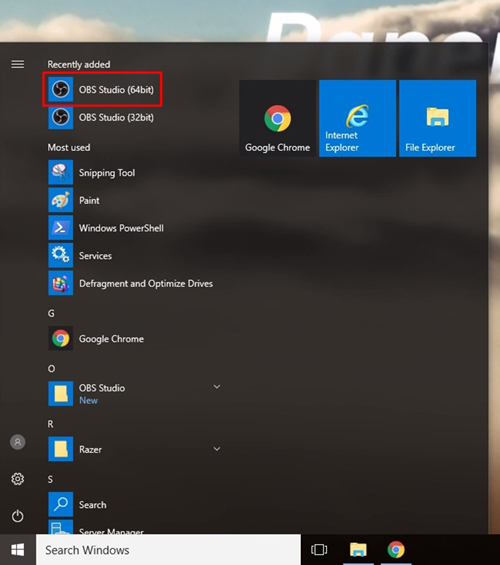
Why? By default, OBS launches in 32 bit mode which is not as fast as the 64 bit option. Click the Start menu and launch the 64 bit version instead:
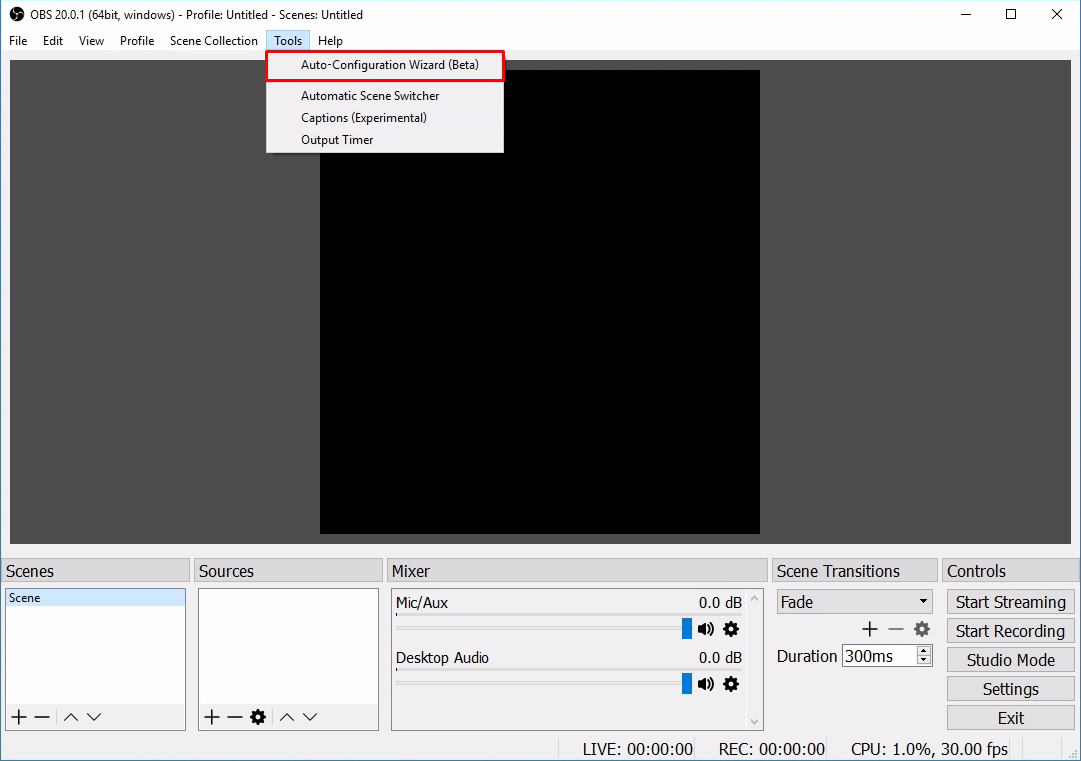
When OBS launches, you can ignore the Auto-Configuration Wizard since we'll be configuring OBS manually. If you want to launch the Wizard at a later date, it will be available under the Tools dropdown:
3. Configuring OBS
There are only a few things that you need to configure in OBS to get a basic stream started. For more advanced customization in OBS, check out their guides or other online tutorials.
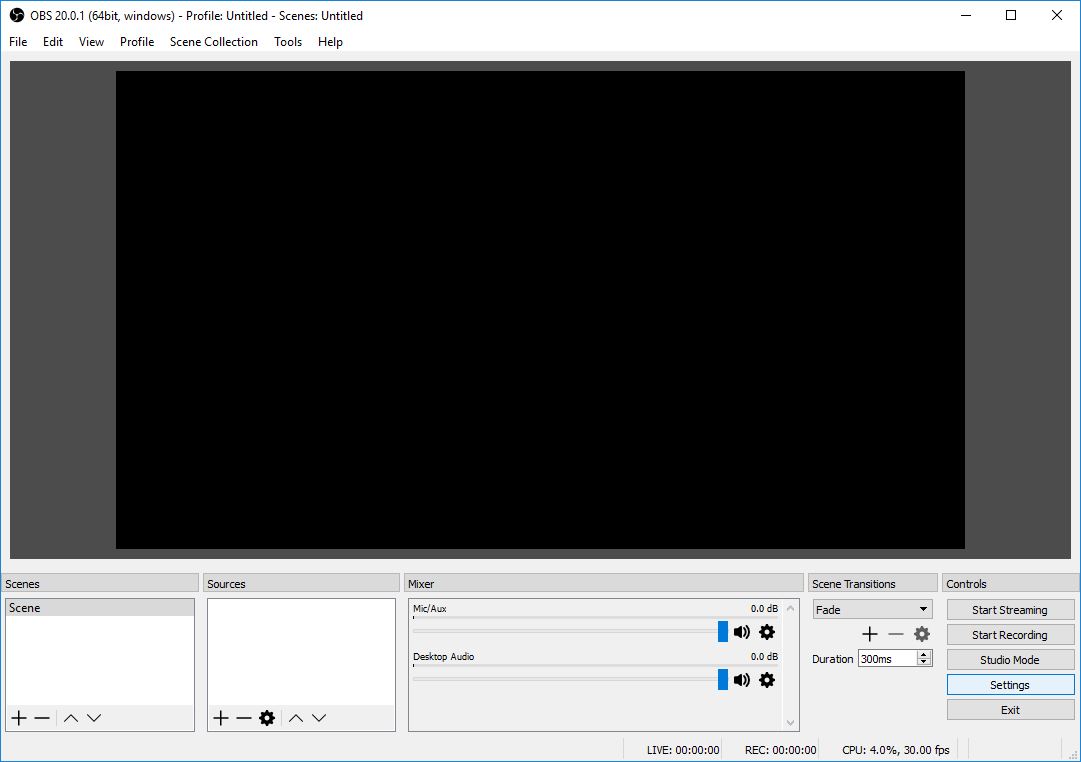
We'll start by choosing the resolution of the stream. Click the settings icon on the lower right:
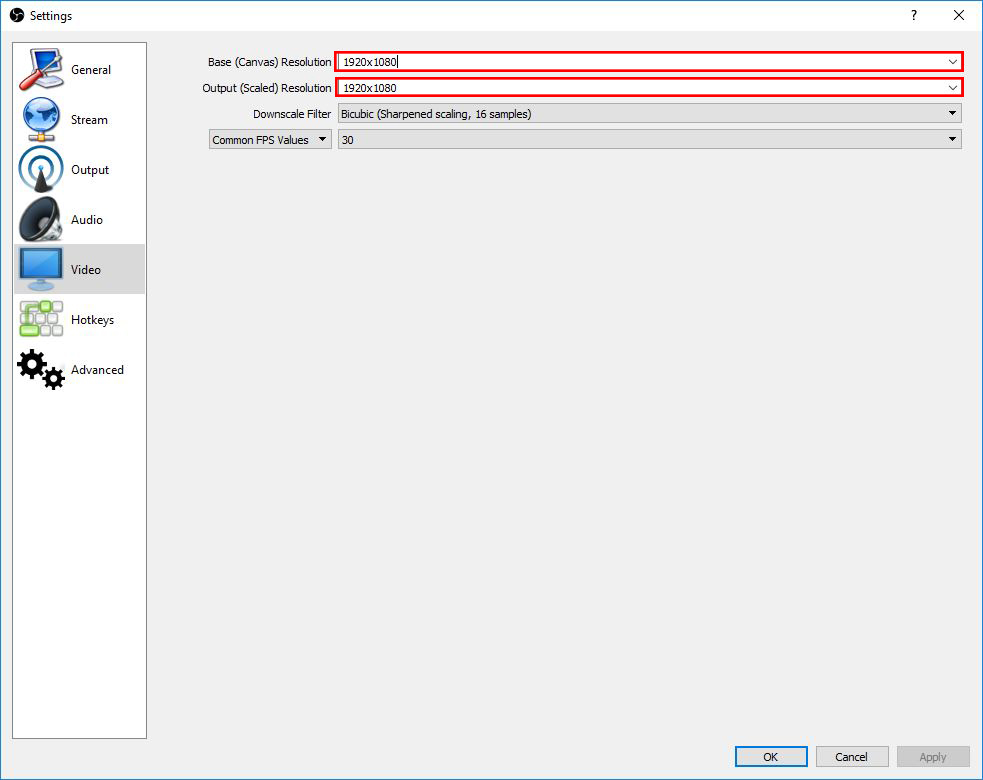
On the Video tab, choose the desired Base and Output resolutions:
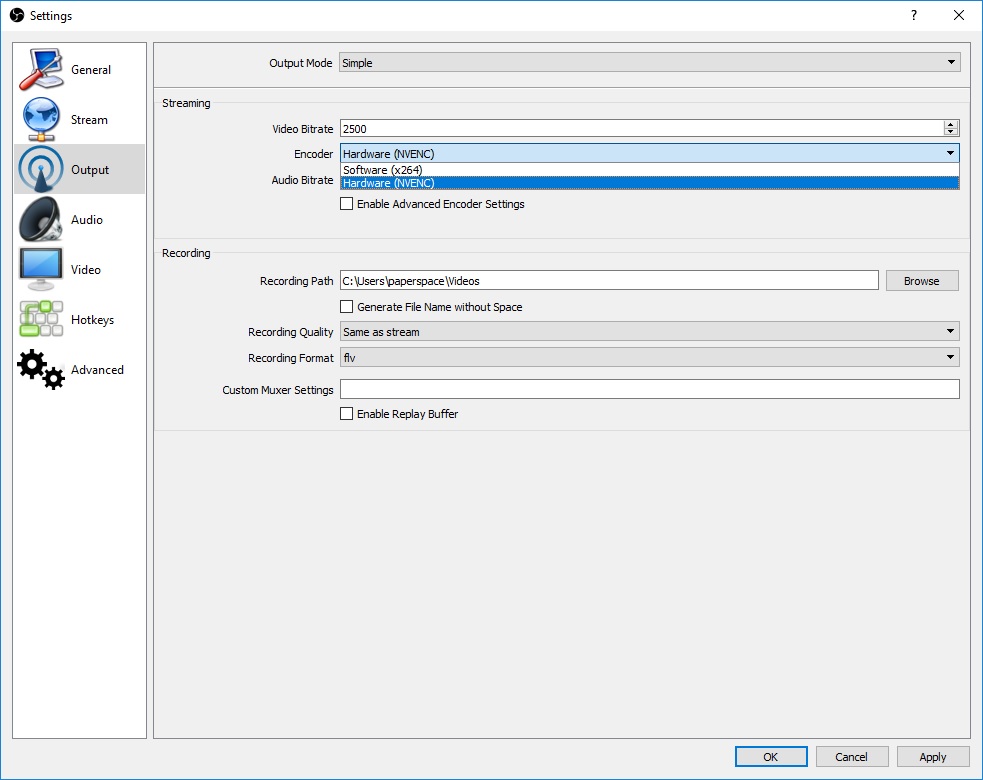
Next, we'll hop over to the Output tab and select the Video Bitrate and Encoder.
The default bitrate of 2,500 is sufficient for most scenarios but can be increased/decreased depending on your preferences.
The Encoder is dependent on the type of machine you are running.
- If you're using a Standard GPU machine (Air, Standard, Advanced and Pro), you'll need to select the Software (x264) option which will use the CPU to encode the stream (slower).
- If you're using a Dedicated GPU machine (GPU+, P5000, and P6000), you should select the Hardware (NVENC) option which will use the GPU to encode the stream (faster).
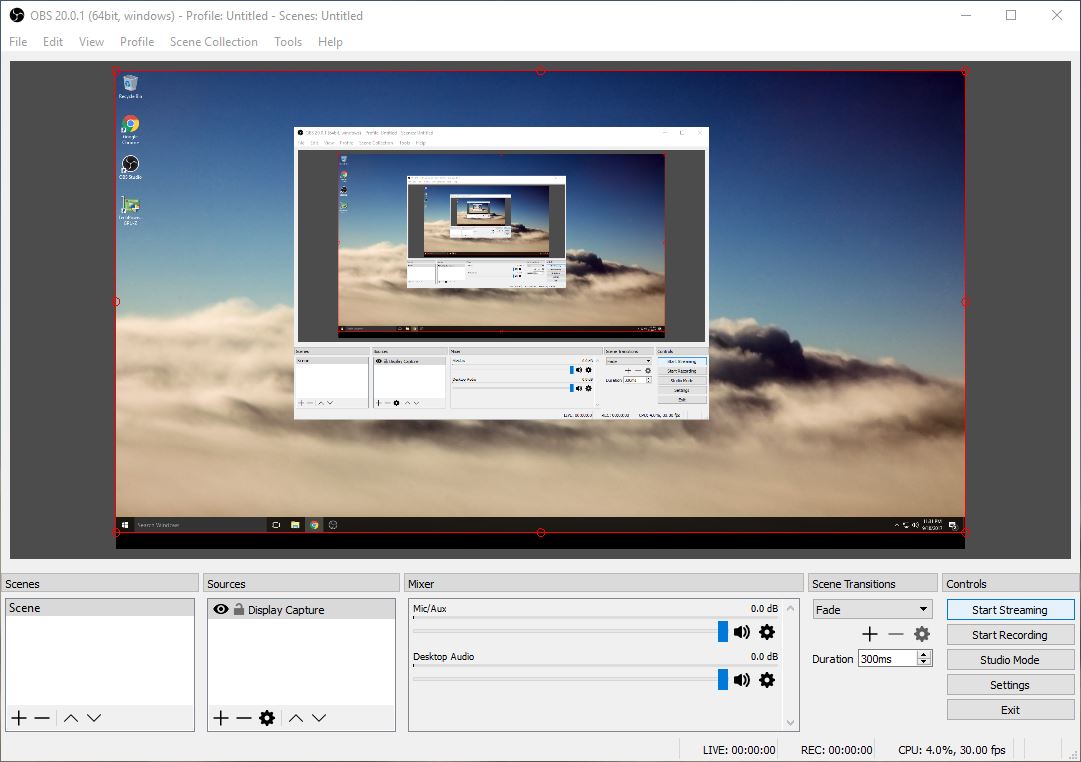
Close the settings menu and we'll create a Source. This is essentially the part of the screen we'll be capturing. Click the "+" symbol to begin:
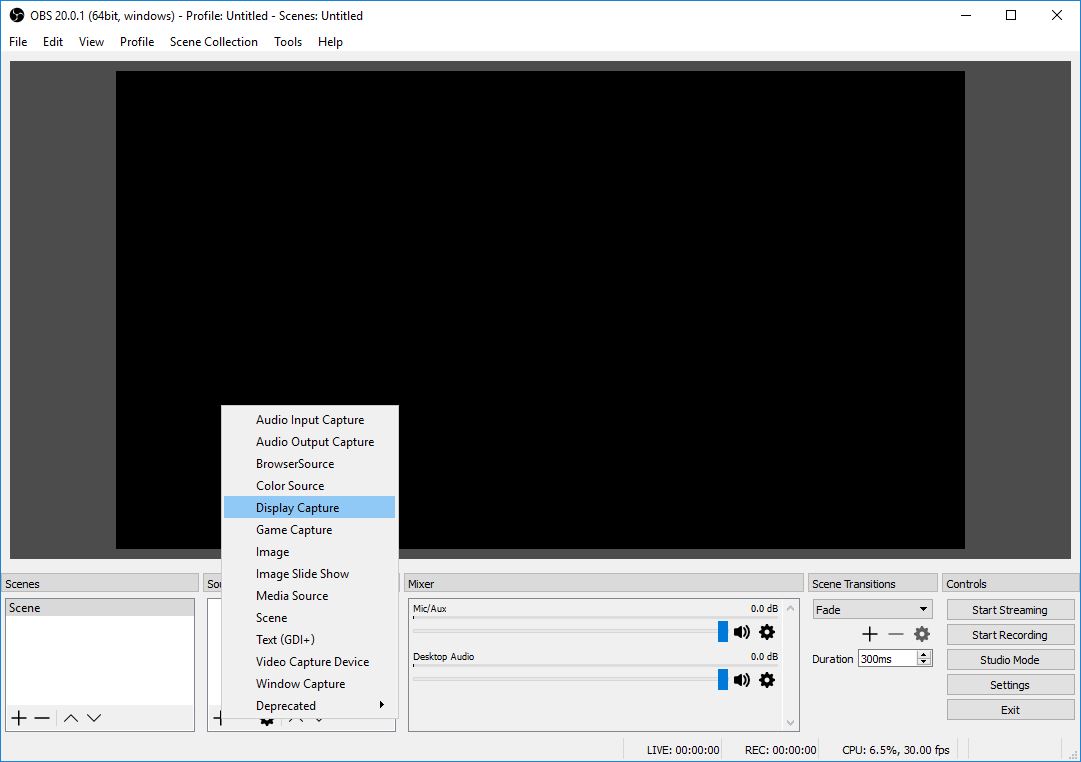
There are several options here for various types of streams:
- Display Capture will capture the entire display but not a fullscreen game
- Game Capture is for capturing games in fullscreen
- Window Capture is for capturing a specific window (application) that you have running
The other modes are less common. Refer to OBS Studio's documentation for more info. In this demo, we'll be using Display Capture mode. Click OK to add the Source:
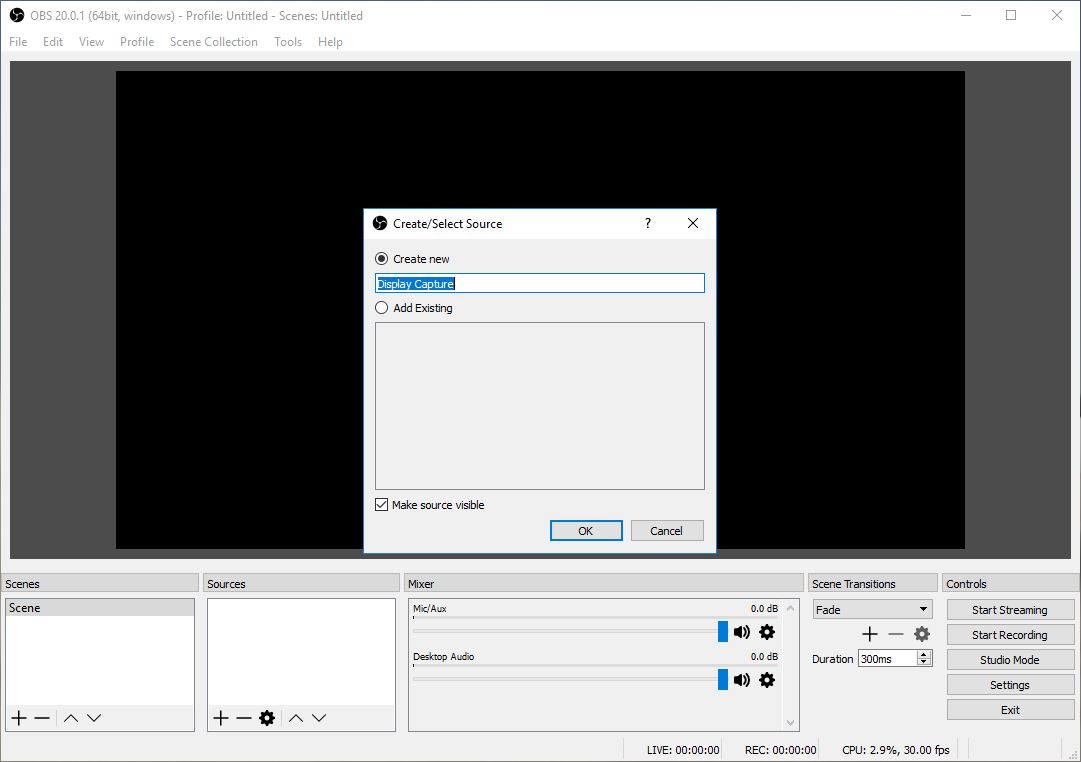
Click OK again to accept the Properties:
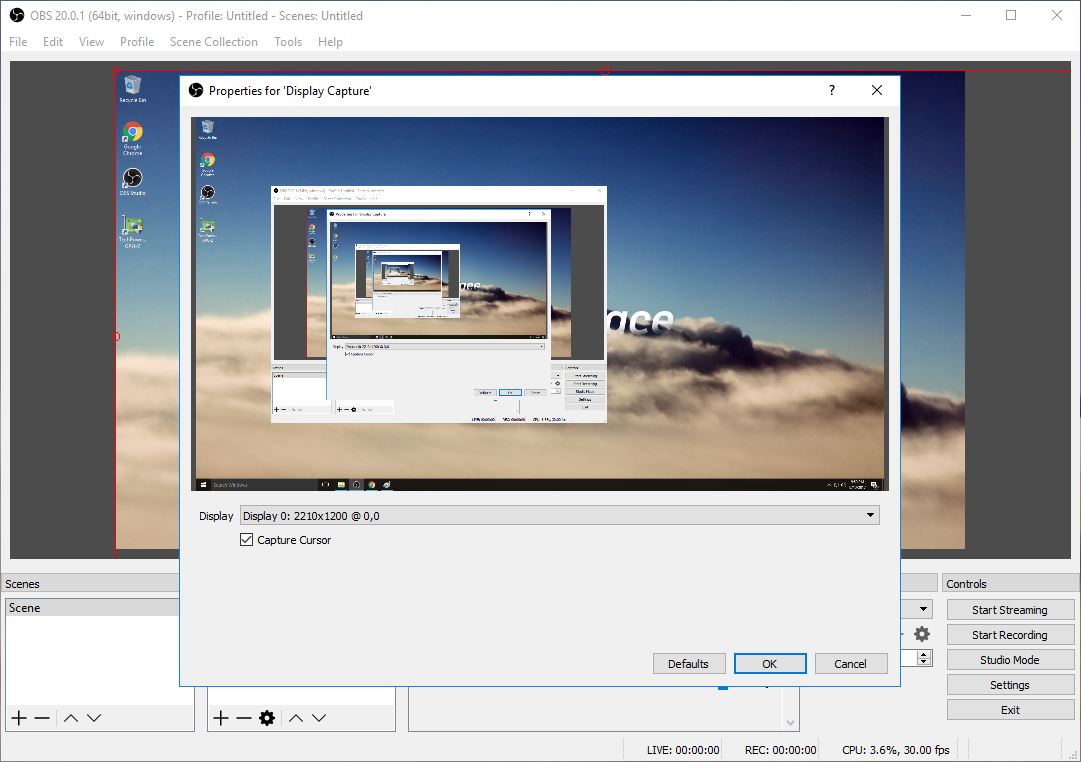
Finish composing the stream by grabbing the red outline and pulling it in to fit the black box (the Scene):

That's it! You are now ready to begin streaming.
4. Connecting to Twitch
Start by navigating to the Twitch settings page. There you'll see an option to show your Key which we'll plug into OBS:
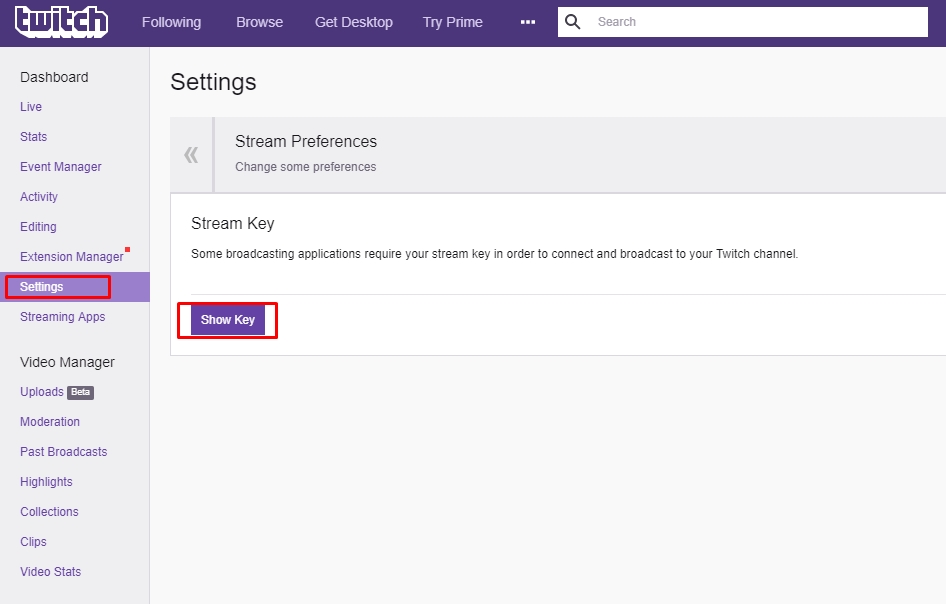
Please note: Make sure never to share your stream key with anyone or they will be able to stream to your Twitch channel.
Copy the key and navigate back to the Stream tab in OBS. Under Service, select Twitch. Then choose the closest Server (in this case, US East: New York, NY and then paste your Stream Key into the Stream key field:
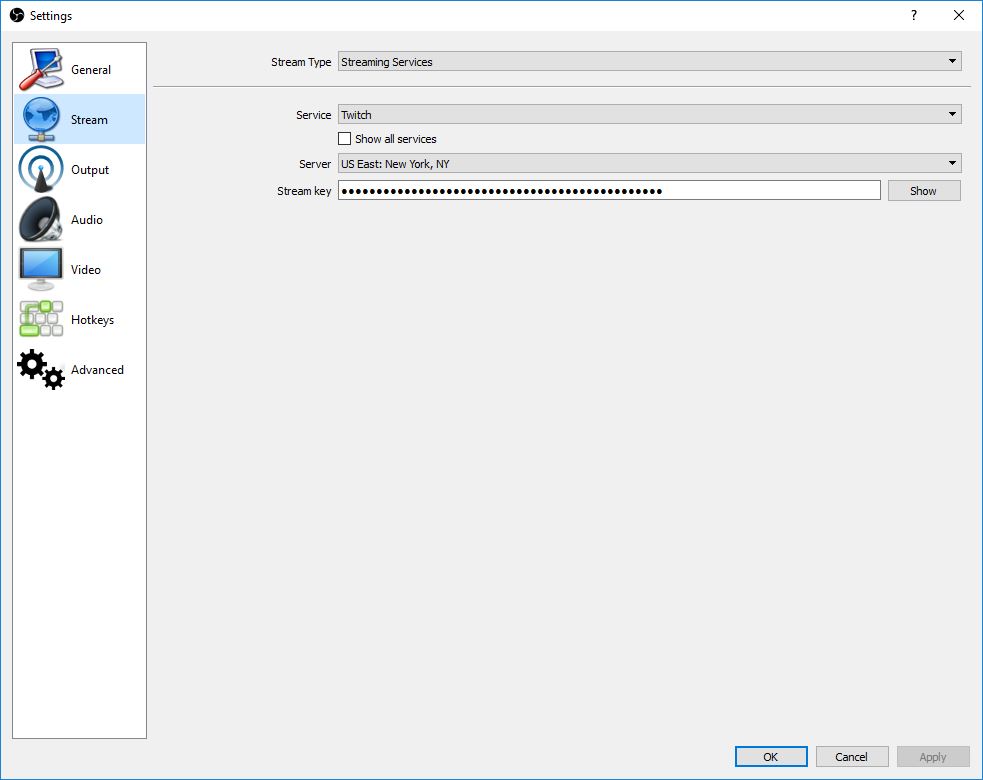
You're all set! Just click Start Streaming to initiate the stream:
5. Connecting to YouTube
Start by navigating to the YouTube Live Dashboard. Towards the bottom of the page under the Encoder Setup section, you'll find your Stream Key.
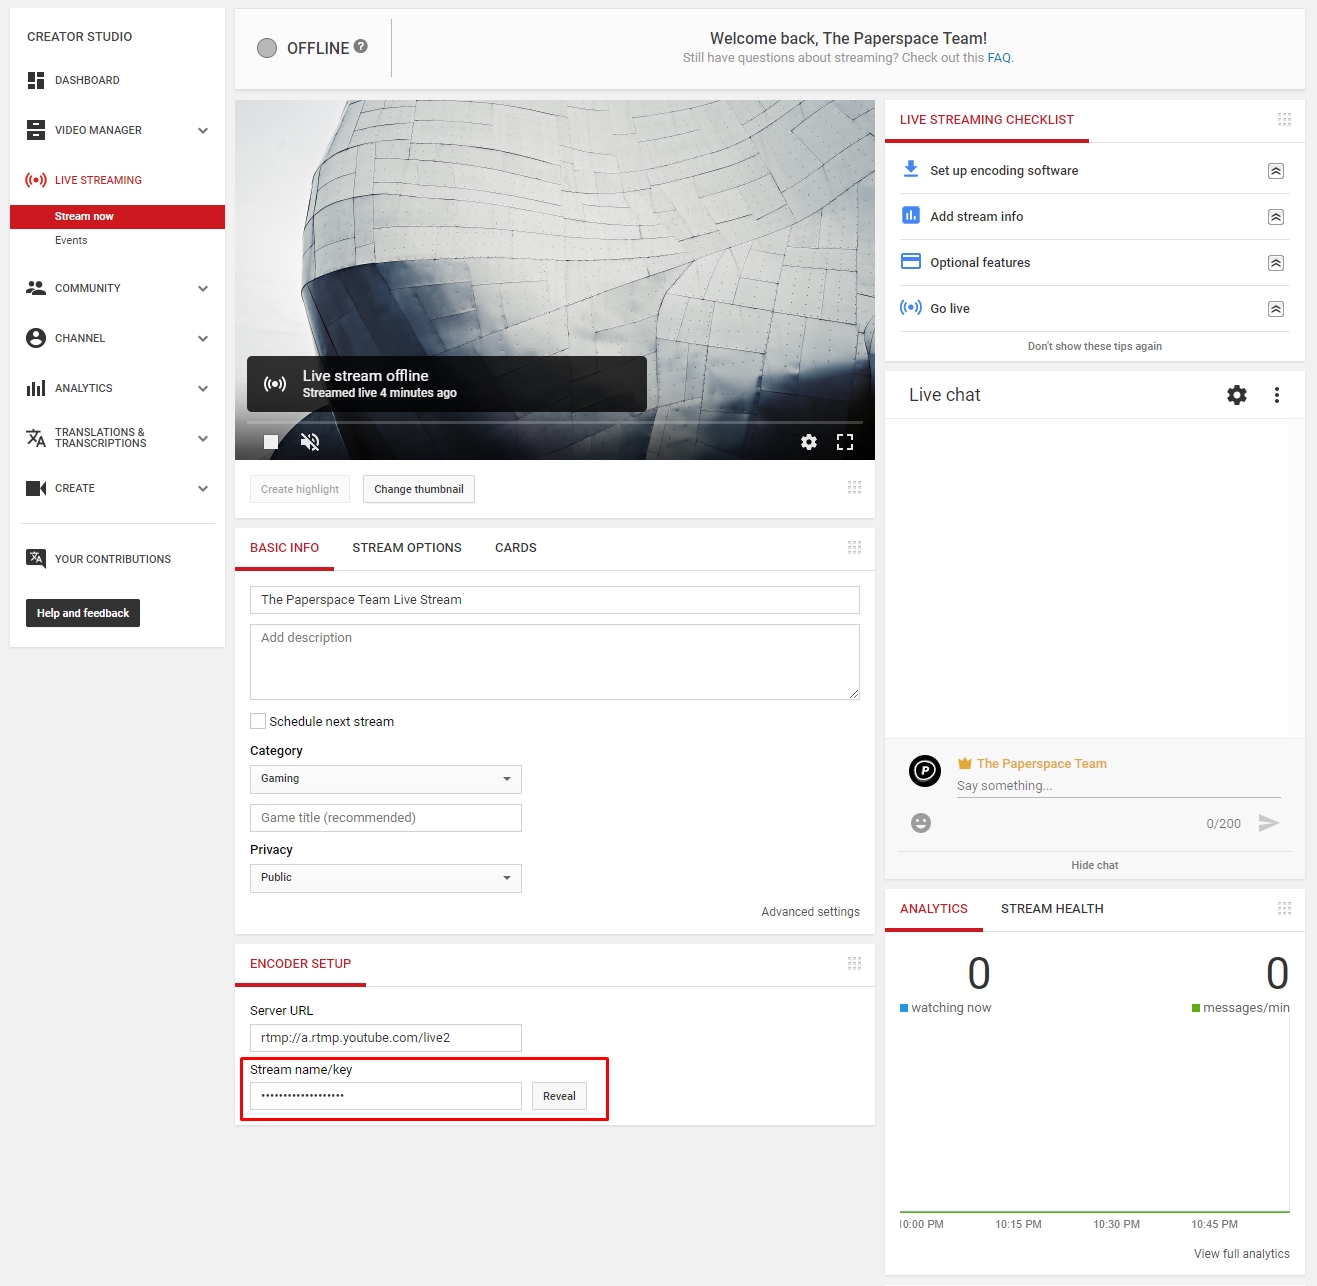
Please note: Make sure never to share your stream key with anyone or they will be able to stream to your YouTube channel.
Copy the key and navigate back to the Stream tab in OBS. Under Service, select YouTube / YouTube Gaming. Under Server, select Primary YouTube ingest server and then paste your Stream Key into the Stream key field:

You're all set! Just click Start Streaming to initiate the stream:
6. Conclusion
In just a few minutes, we were able to get up and running with a live stream using OBS Studio and Twitch/YouTube. As you can see, OBS takes the headache out of the screen capture component. And even though it's incredibly simple to use, OBS is still loaded with advanced functionality which is worth exploring. Enjoy!
To start your own live stream, sign up here.