We recently launched a new Gradient site that features a new campaign called "Make anything with Gradient."
In one of the vignettes, Stewart asks if he can use Gradient to make a very specific machine learning application – one that will let him create a deepfake of him singing an Italian opera classic.
Check out the video if you haven't seen it yet:
Today we're going to show you a new starter Workflow in Gradient called Adoro which will help you create your own version of this deepfake app – complete with a trained model to transfer motion from a driving video onto a static selfie.
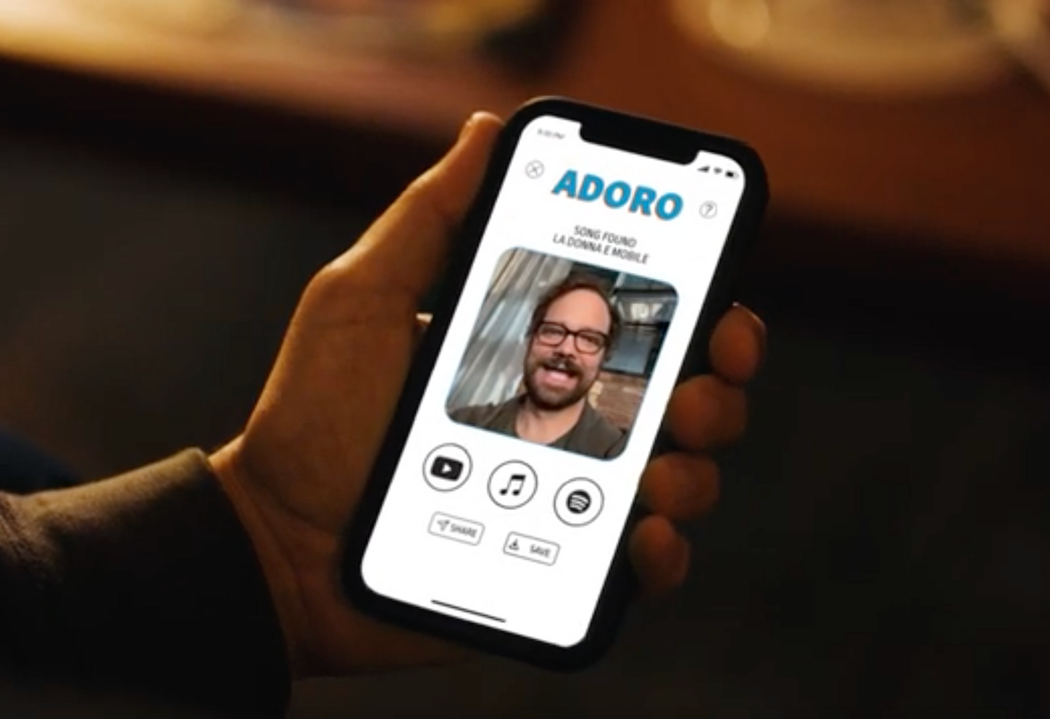
The app that we will deploy will look like this:
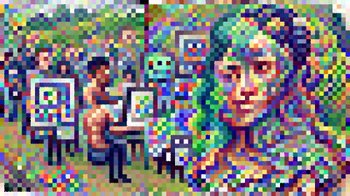
And the output we'll be able to create with the app will look something this:
Let's get started!
The Adoro starter project
Adoro takes advantage of a project called First Order Motion Model for Image Animation. The model was originally released by a team of researchers at NeurIPS 2019 and the original source code is available on Github here.
The Workflow will deploy a rudimentary web app that contains a user interface for interacting with the first order motion model to create new deepfaked videos.
The Adoro template comes pre-loaded with a driver video that we created. The driver video is a 256px x 256px video of an actor lip-syncing the timeless classic "La donna e mobile."
What we will be doing next is creating a Workflow to transfer the motion and the music from the driver video onto a static selfie image of our designation.
Create a new project and connect Github
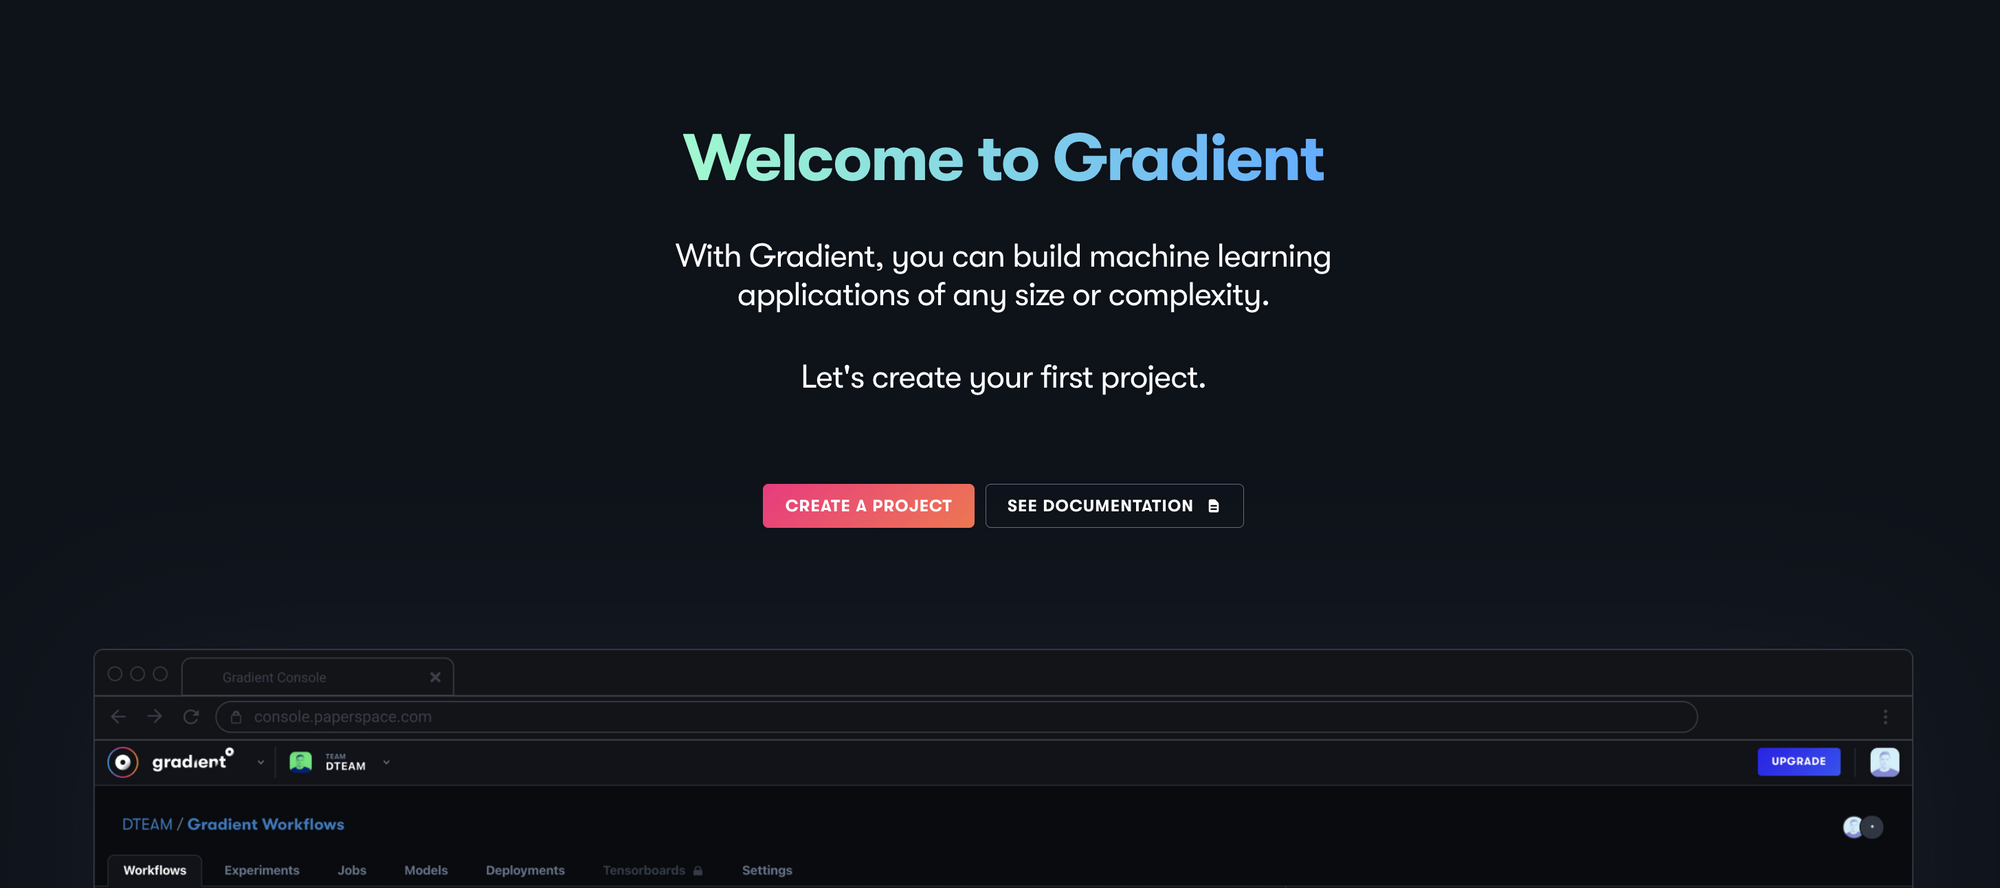
The first thing we'll need to do is create a new project to contain our Adoro Workflow. From the Gradient console, create a new project and give it a name.
Next, we'll create a new Workflow within our new project.
At this point if we haven't already granted Gradient access to Github we'll want to do so now. This will allow Gradient to write the Adoro Workflow to a new repository in Github.
Next we'll select the Adoro template. We'll also select the Github account or organization we want to write to, and we'll give our repo a name.
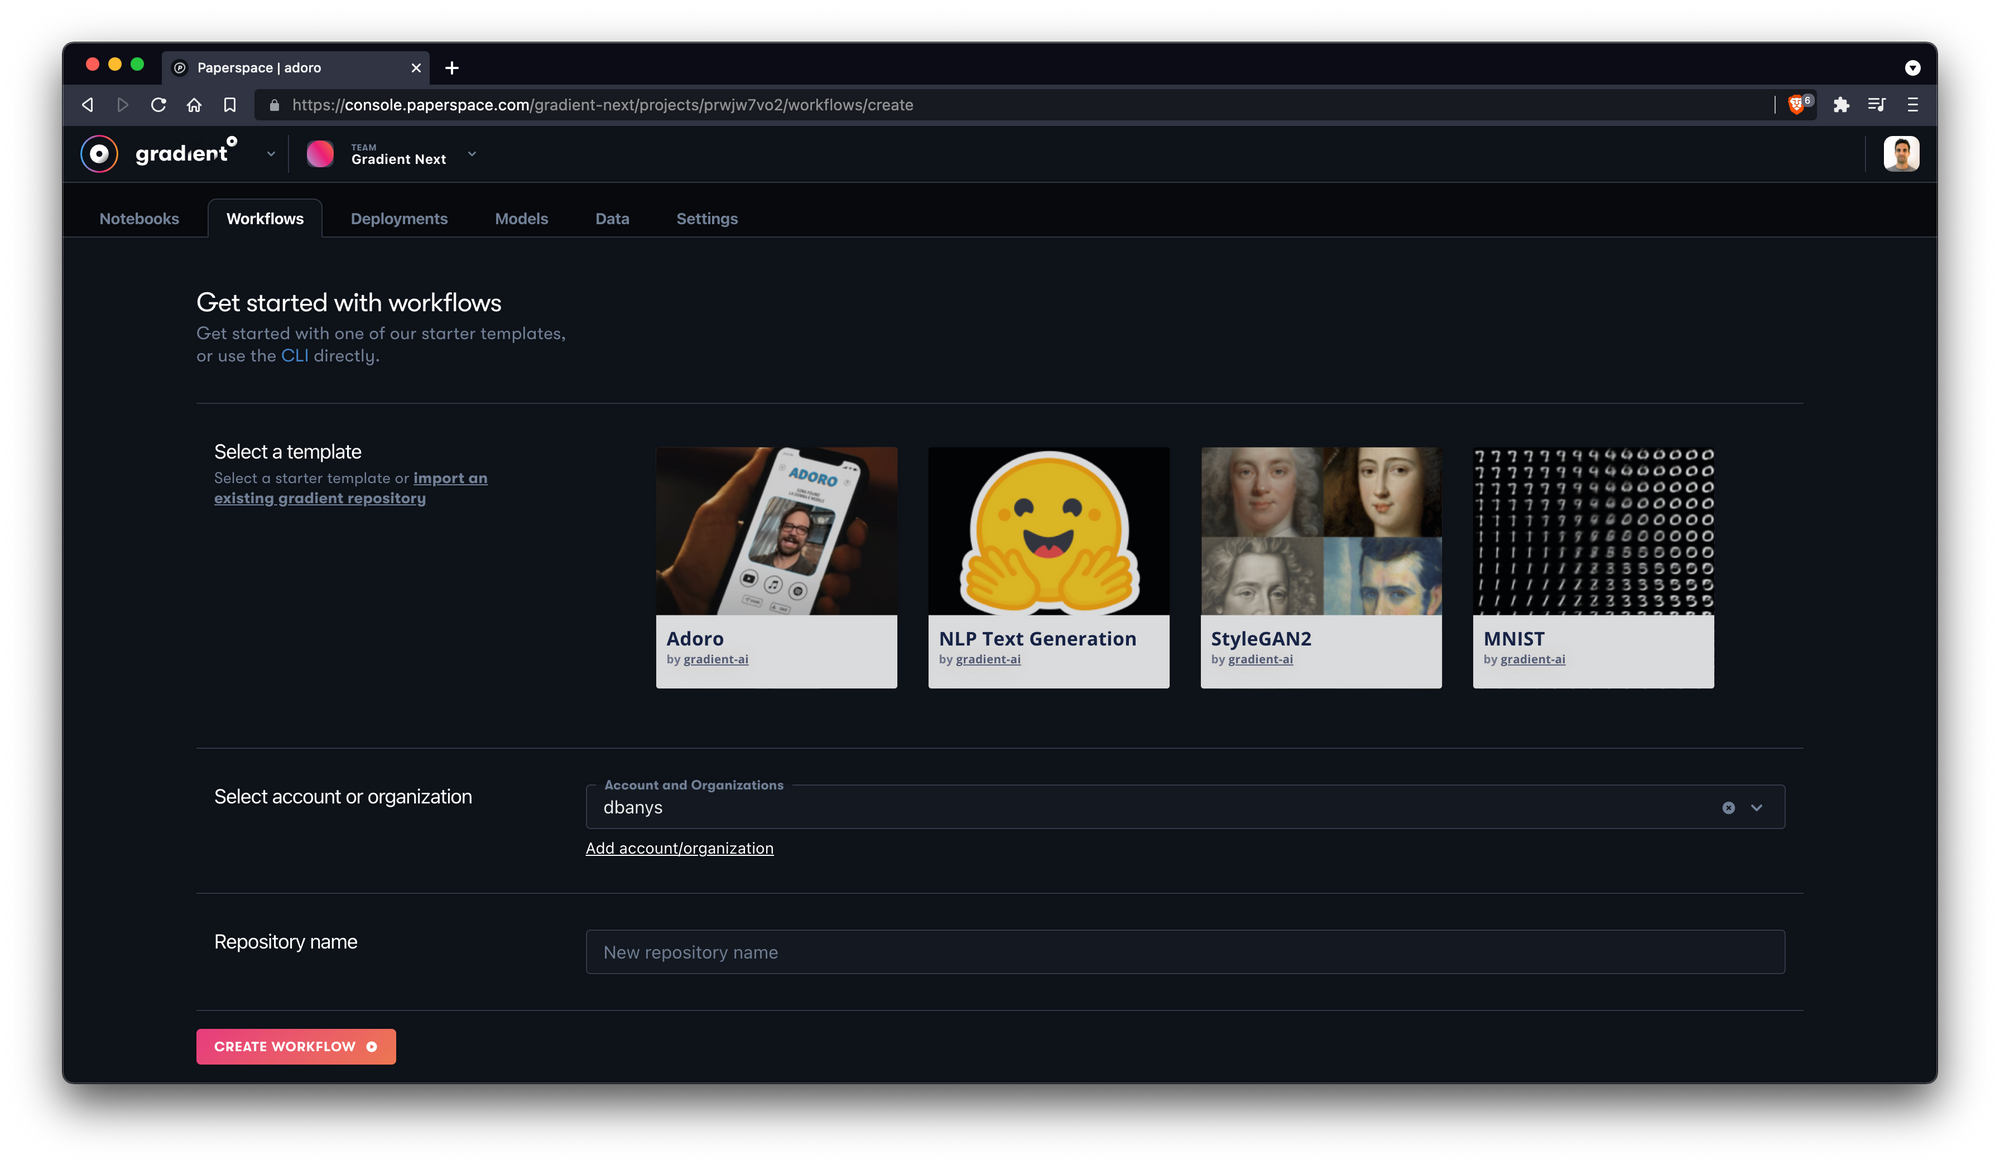
We can now create our new Workflow! Once we select Create Workflow we should be able to see our Workflow processes running.
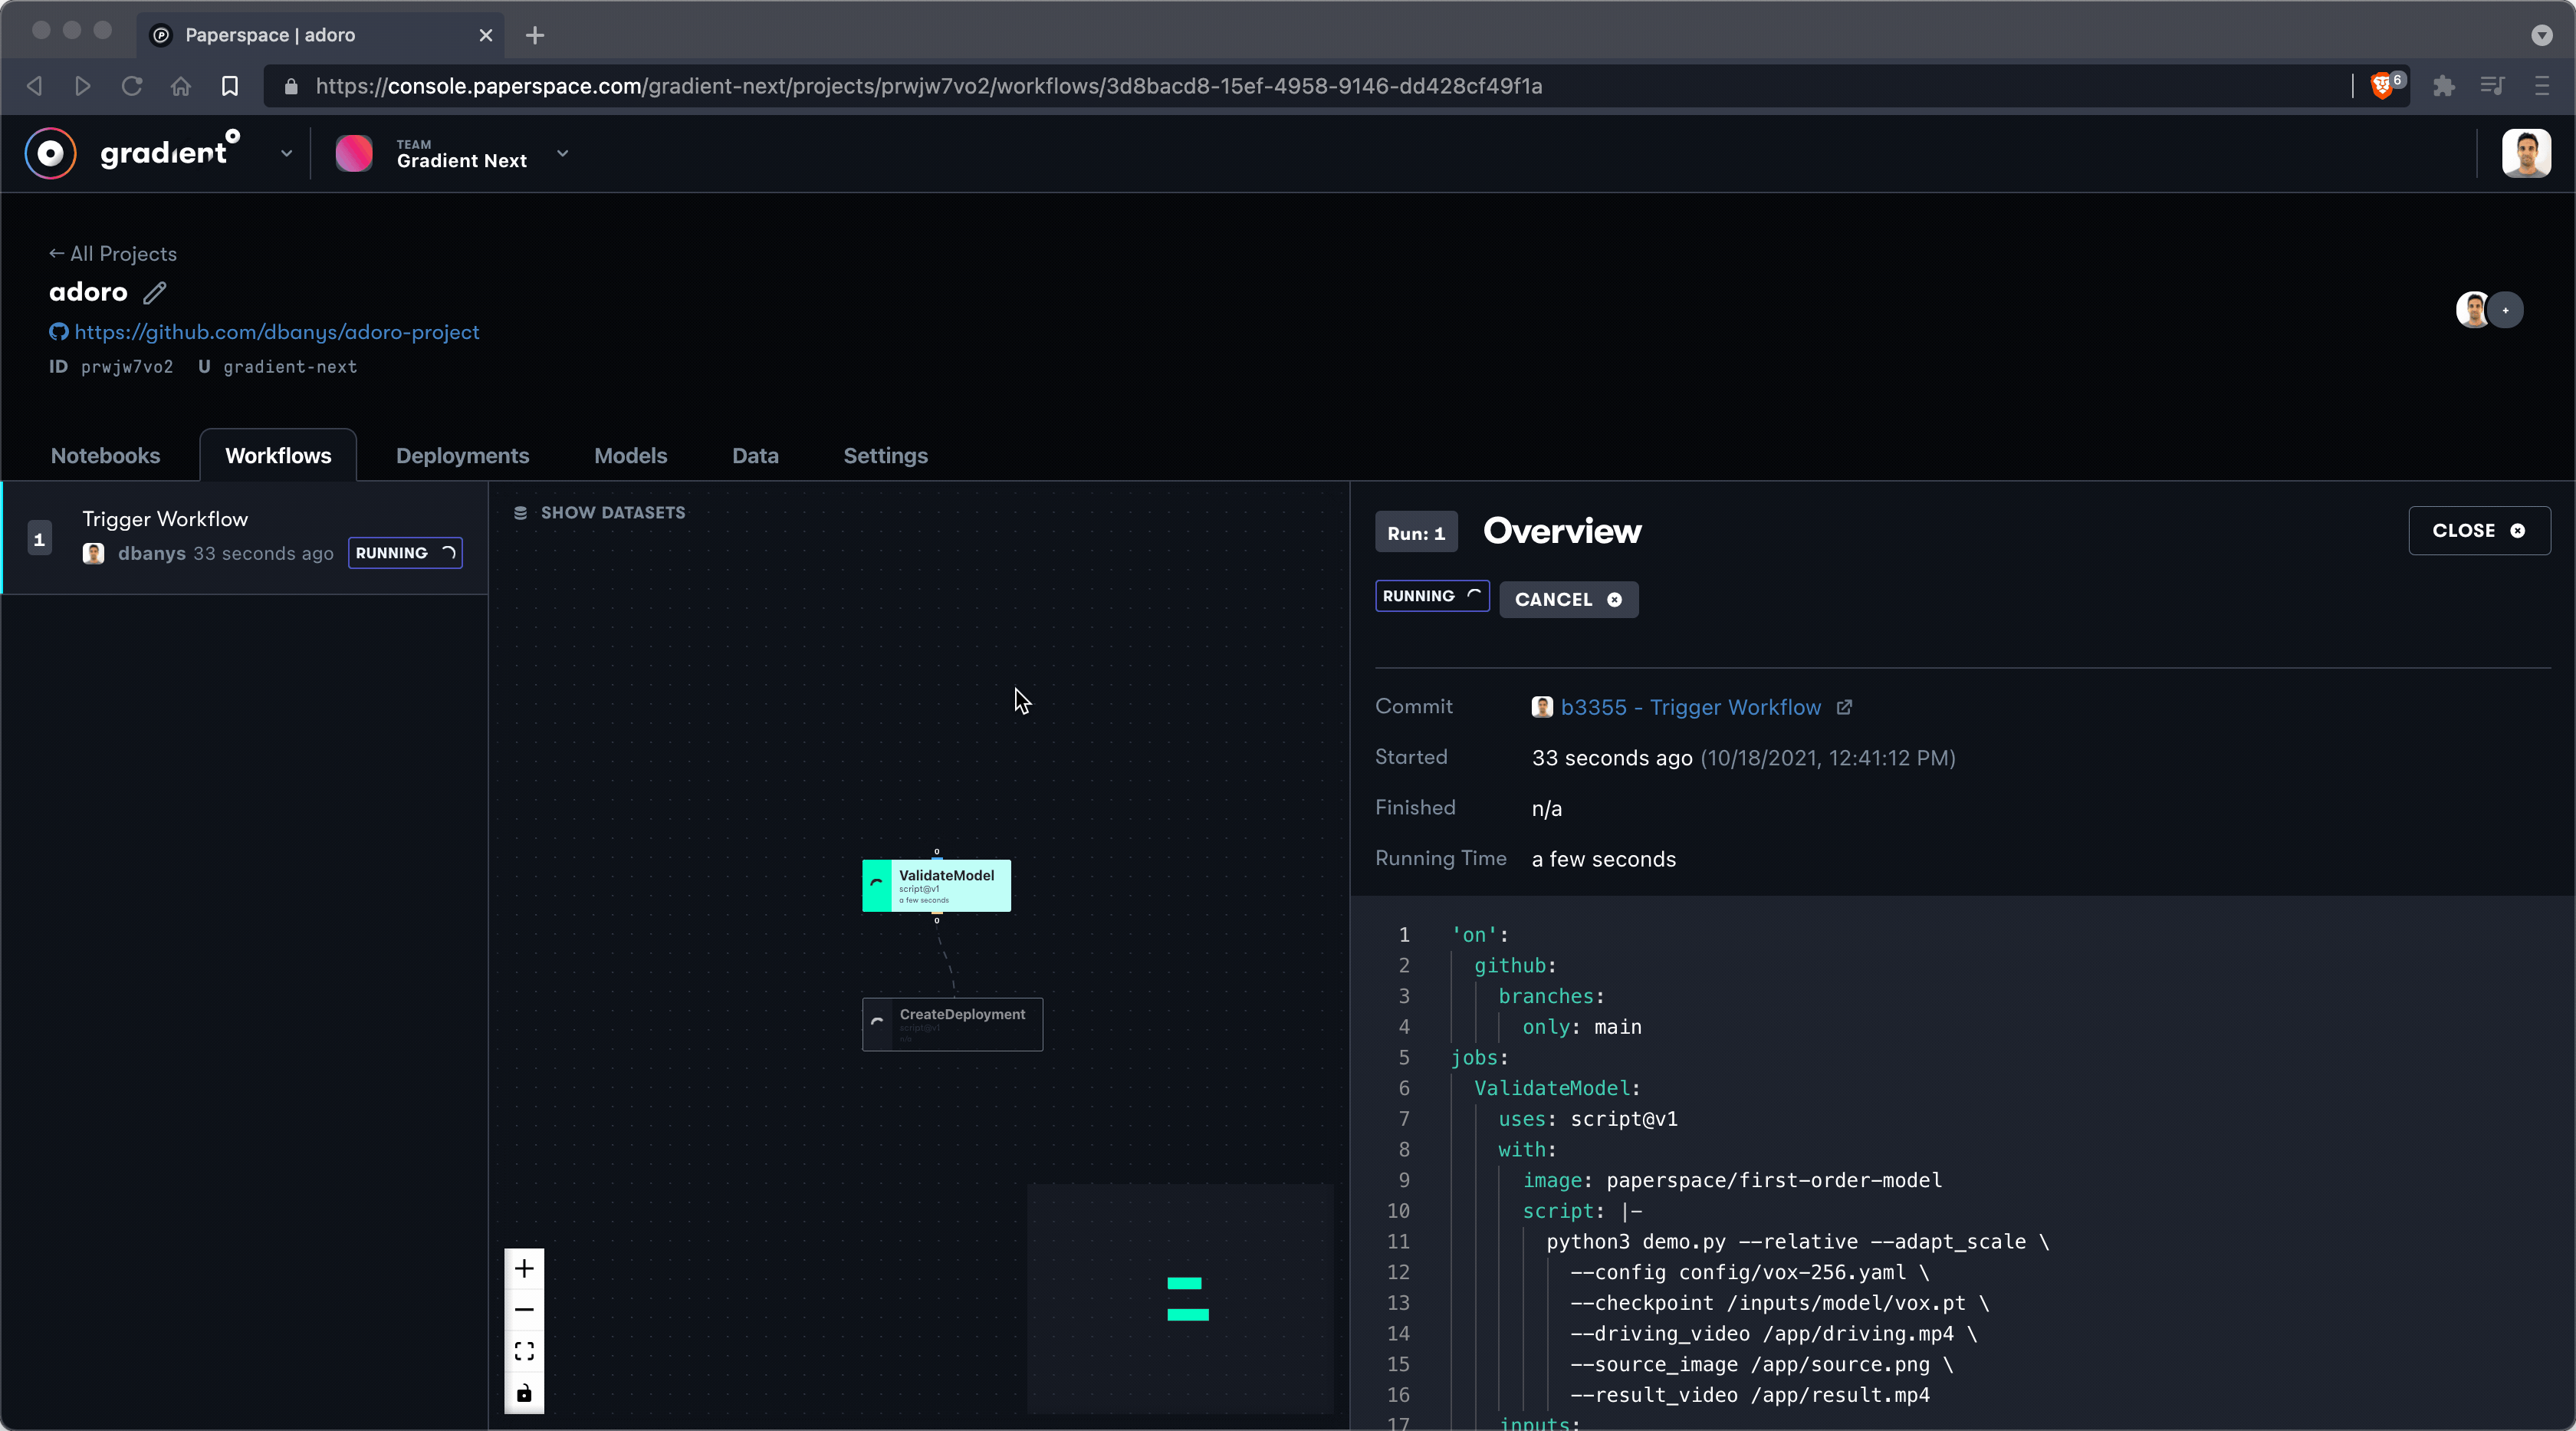
The Adoro Workflow contains two jobs: ValidateModel and CreateDeployment.
The YAML for the Workflow looks like this:
'on':
  github:
    branches:
      only: main
jobs:
  ValidateModel:
    uses: script@v1
    with:
      image: paperspace/first-order-model
      script: |-
        python3 demo.py --relative --adapt_scale \
          --config config/vox-256.yaml \
          --checkpoint /inputs/model/vox.pt \
          --driving_video /app/driving.mp4 \
          --source_image /app/source.png \
          --result_video /app/result.mp4
    inputs:
      model:
        type: dataset
        with:
          ref: gradient/voxpt
    outputs:
      results:
        type: dataset
        with:
          ref: demo-dataset
    resources:
      instance-type: P4000
  CreateDeployment:
    uses: script@v1
    with:
      image: paperspace/gradient-sdk
      script: >-
        cat > ./deployment.yaml <<EOF

        image: paperspace/adoro-server:1.0.0

        port: 8000

        resources:
          replicas: 1
          instanceType: P4000
        EOF

        apt update > /dev/null

        apt-get install -y jq

        gradient deployments create --name adoro-${RANDOM} --projectId
        ${PROJECT_ID} --spec ./deployment.yaml |awk '{print $3}'>
        ./deployment.id


        echo

        echo "Adoro can be accessed at URL:"

        gradient deployments get --id $(cat ./deployment.id)|jq
        '.deploymentSpecs[0].endpointUrl' -r
    needs:
      - ValidateModel
    resources:
      instance-type: C3
context:
  event:
    github:
      ref: b3355a1c37af89f014709f300dc8b3f335673229
      url: https://github.com/dbanys/adoro-project
Let's break down what we're doing.
First, we'll tell the Workflow to use the main branch of the new repo that we are creating:
'on':
  github:
    branches:
      only: main
Next, we'll define a pair of jobs, ValidateModel and CreateDeployment. In ValidateModel we'll tell Gradient to use a P4000 GPU instance type to pull an image from DockerHub called paperspace/first-order-model.
jobs:
  ValidateModel:
    uses: script@v1
    with:
      image: paperspace/first-order-model
      script: |-
        python3 demo.py --relative --adapt_scale \
          --config config/vox-256.yaml \
          --checkpoint /inputs/model/vox.pt \
          --driving_video /app/driving.mp4 \
          --source_image /app/source.png \
          --result_video /app/result.mp4
    inputs:
      model:
        type: dataset
        with:
          ref: gradient/voxpt
    outputs:
      results:
        type: dataset
        with:
          ref: demo-dataset
    resources:
      instance-type: P4000
Within the ValidateModel step we are also defining a number of variables for the demo.py file to execute, including the config and checkpoint files, as well as the driving video (the video above with the actor), the source image (our selfie), and the output video.
Next, we define the CreateDeployment step which will use a C3 CPU instance type to host a very simple web server. The web server is defined by the DockerHub image paperspace/adoro-server.
jobs:
  ValidateModel:
    ...
  CreateDeployment:
    uses: script@v1
    with:
      image: paperspace/gradient-sdk
      script: >-
        cat > ./deployment.yaml <<EOF

        image: paperspace/adoro-server:1.0.0

        port: 8000

        resources:
          replicas: 1
          instanceType: P4000
        EOF

        apt update > /dev/null

        apt-get install -y jq

        gradient deployments create --name adoro-${RANDOM} --projectId
        ${PROJECT_ID} --spec ./deployment.yaml |awk '{print $3}'>
        ./deployment.id


        echo

        echo "Adoro can be accessed at URL:"

        gradient deployments get --id $(cat ./deployment.id)|jq
        '.deploymentSpecs[0].endpointUrl' -r
    needs:
      - ValidateModel
    resources:
      instance-type: C3
Finally our Workflow defines a context parameter. This refers to the particular git commit that triggered this particular Workflow run.
context:
  event:
    github:
      ref: b3355a1c37af89f014709f300dc8b3f335673229
      url: https://github.com/dbanys/adoro-project
Once our Workflow finishes running, let's take a look at the logs.
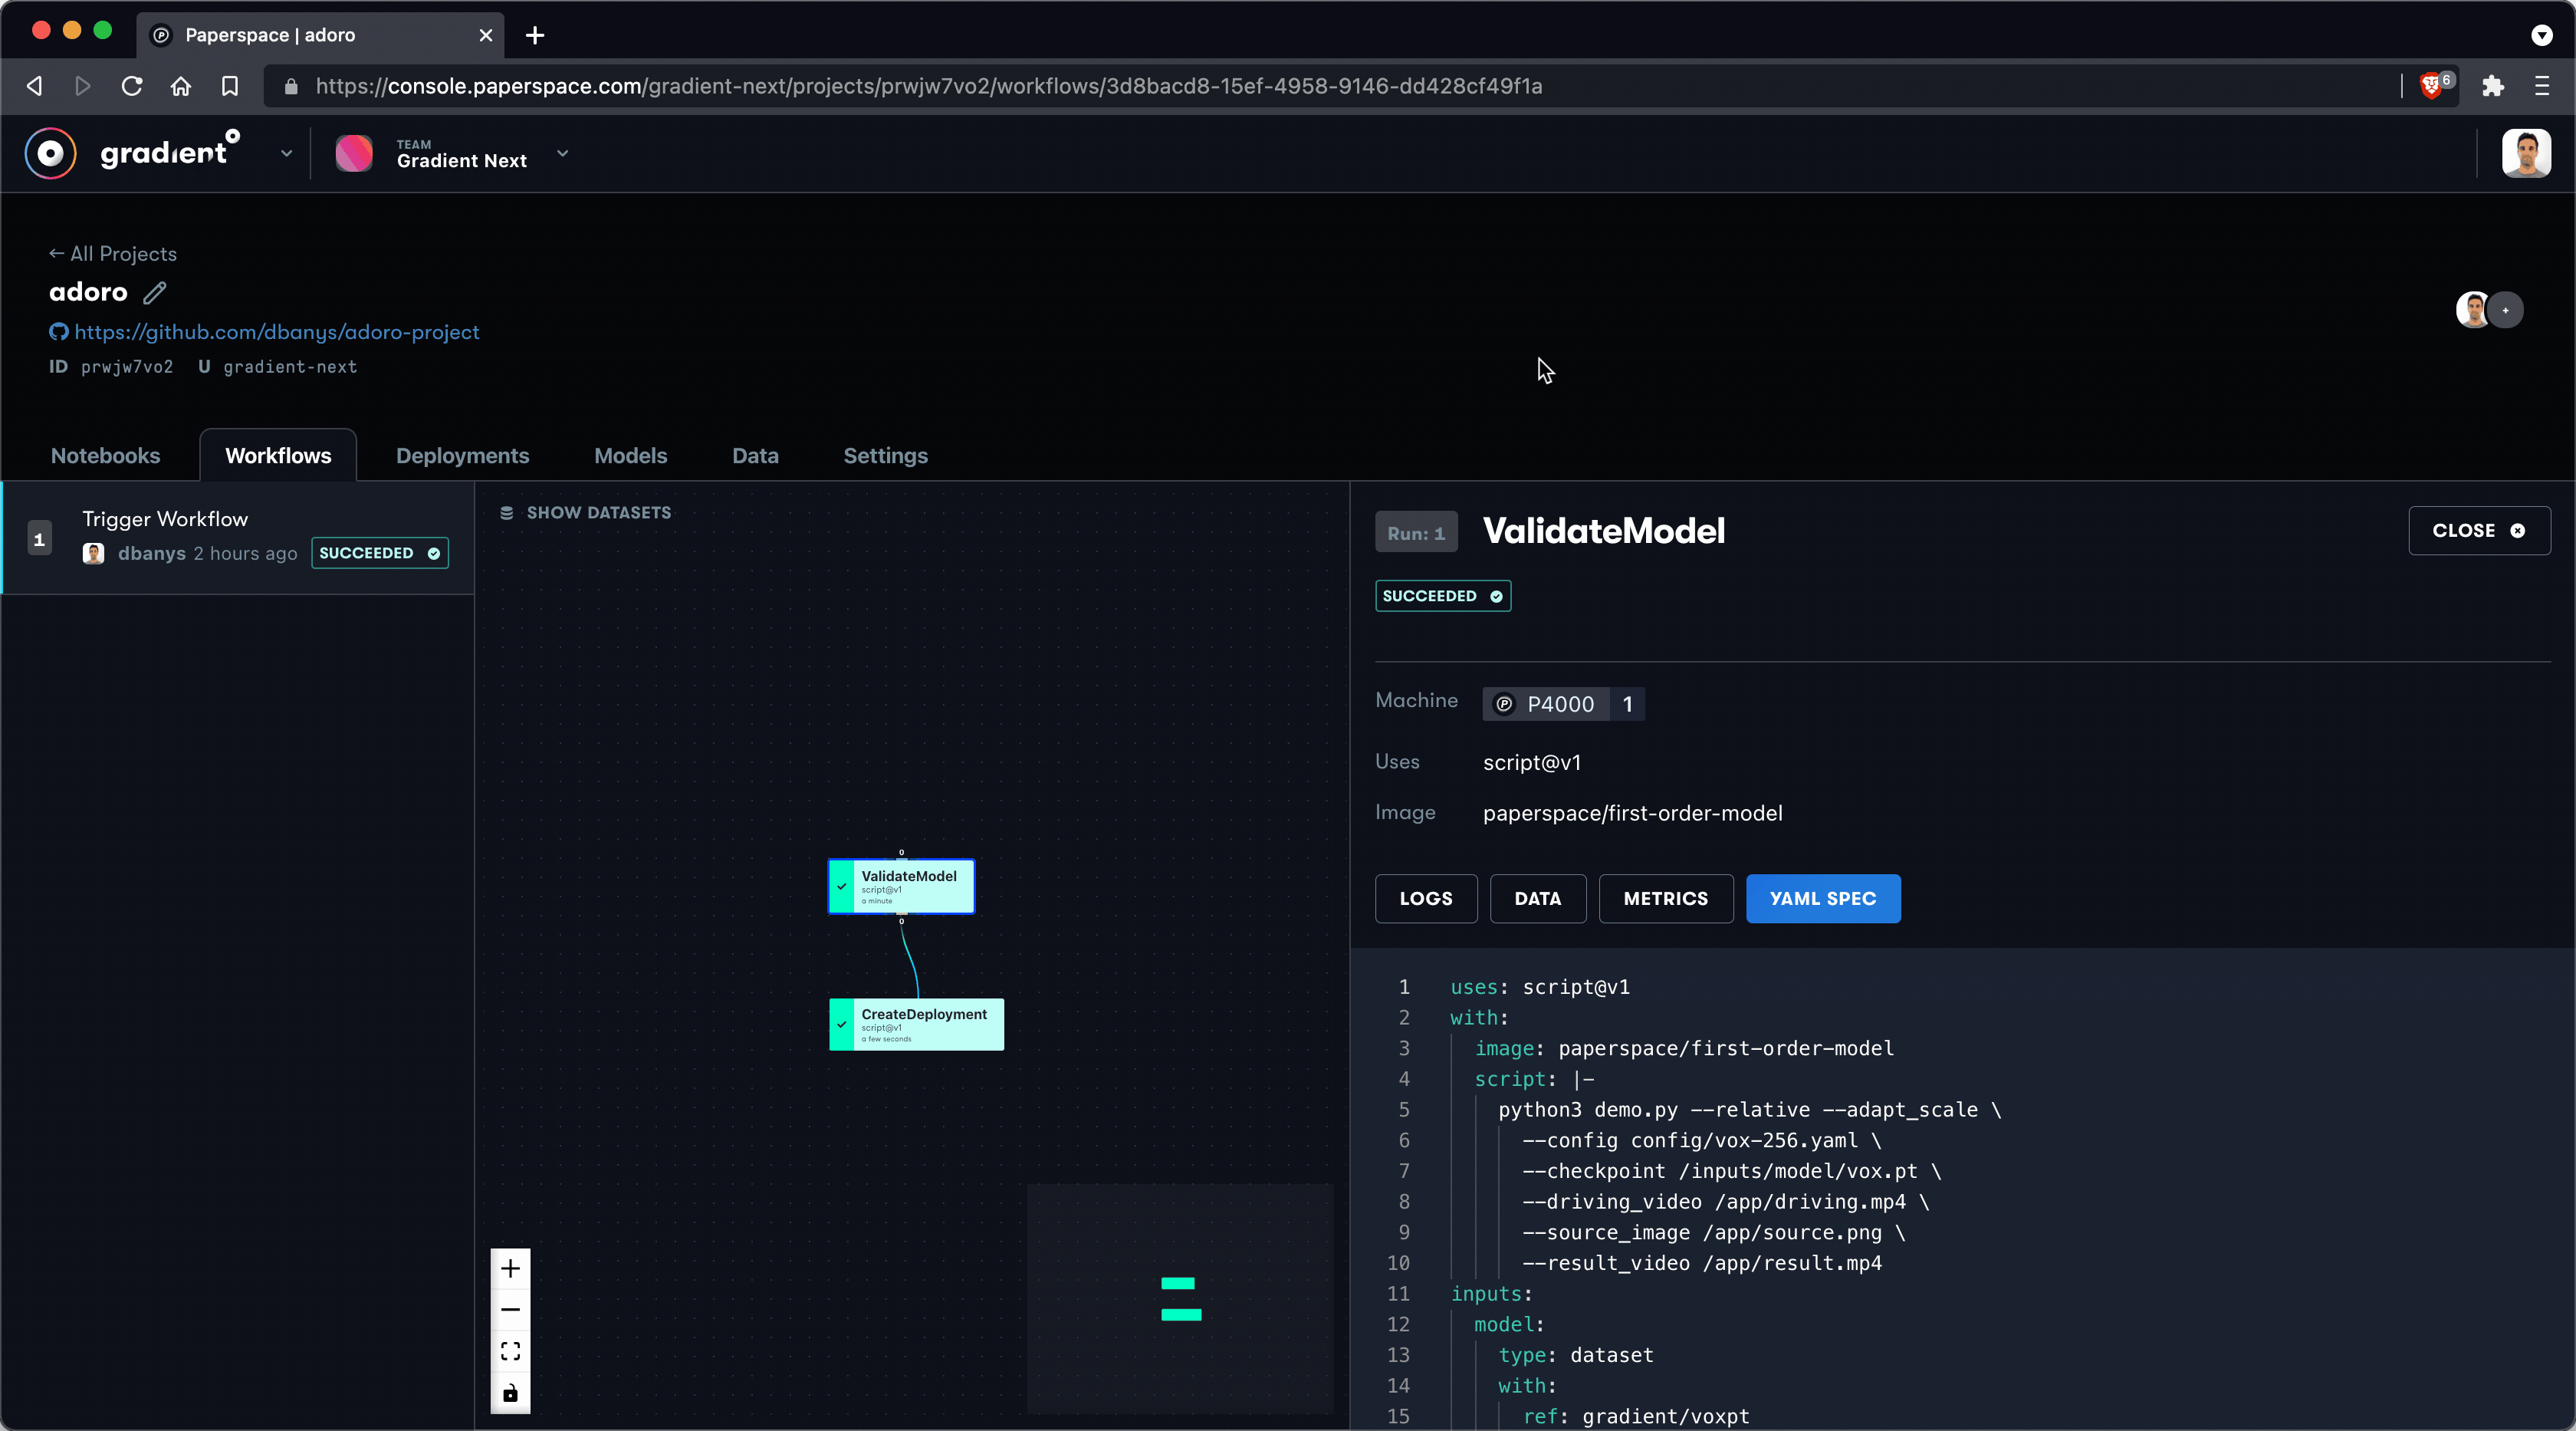
Everything looks good!
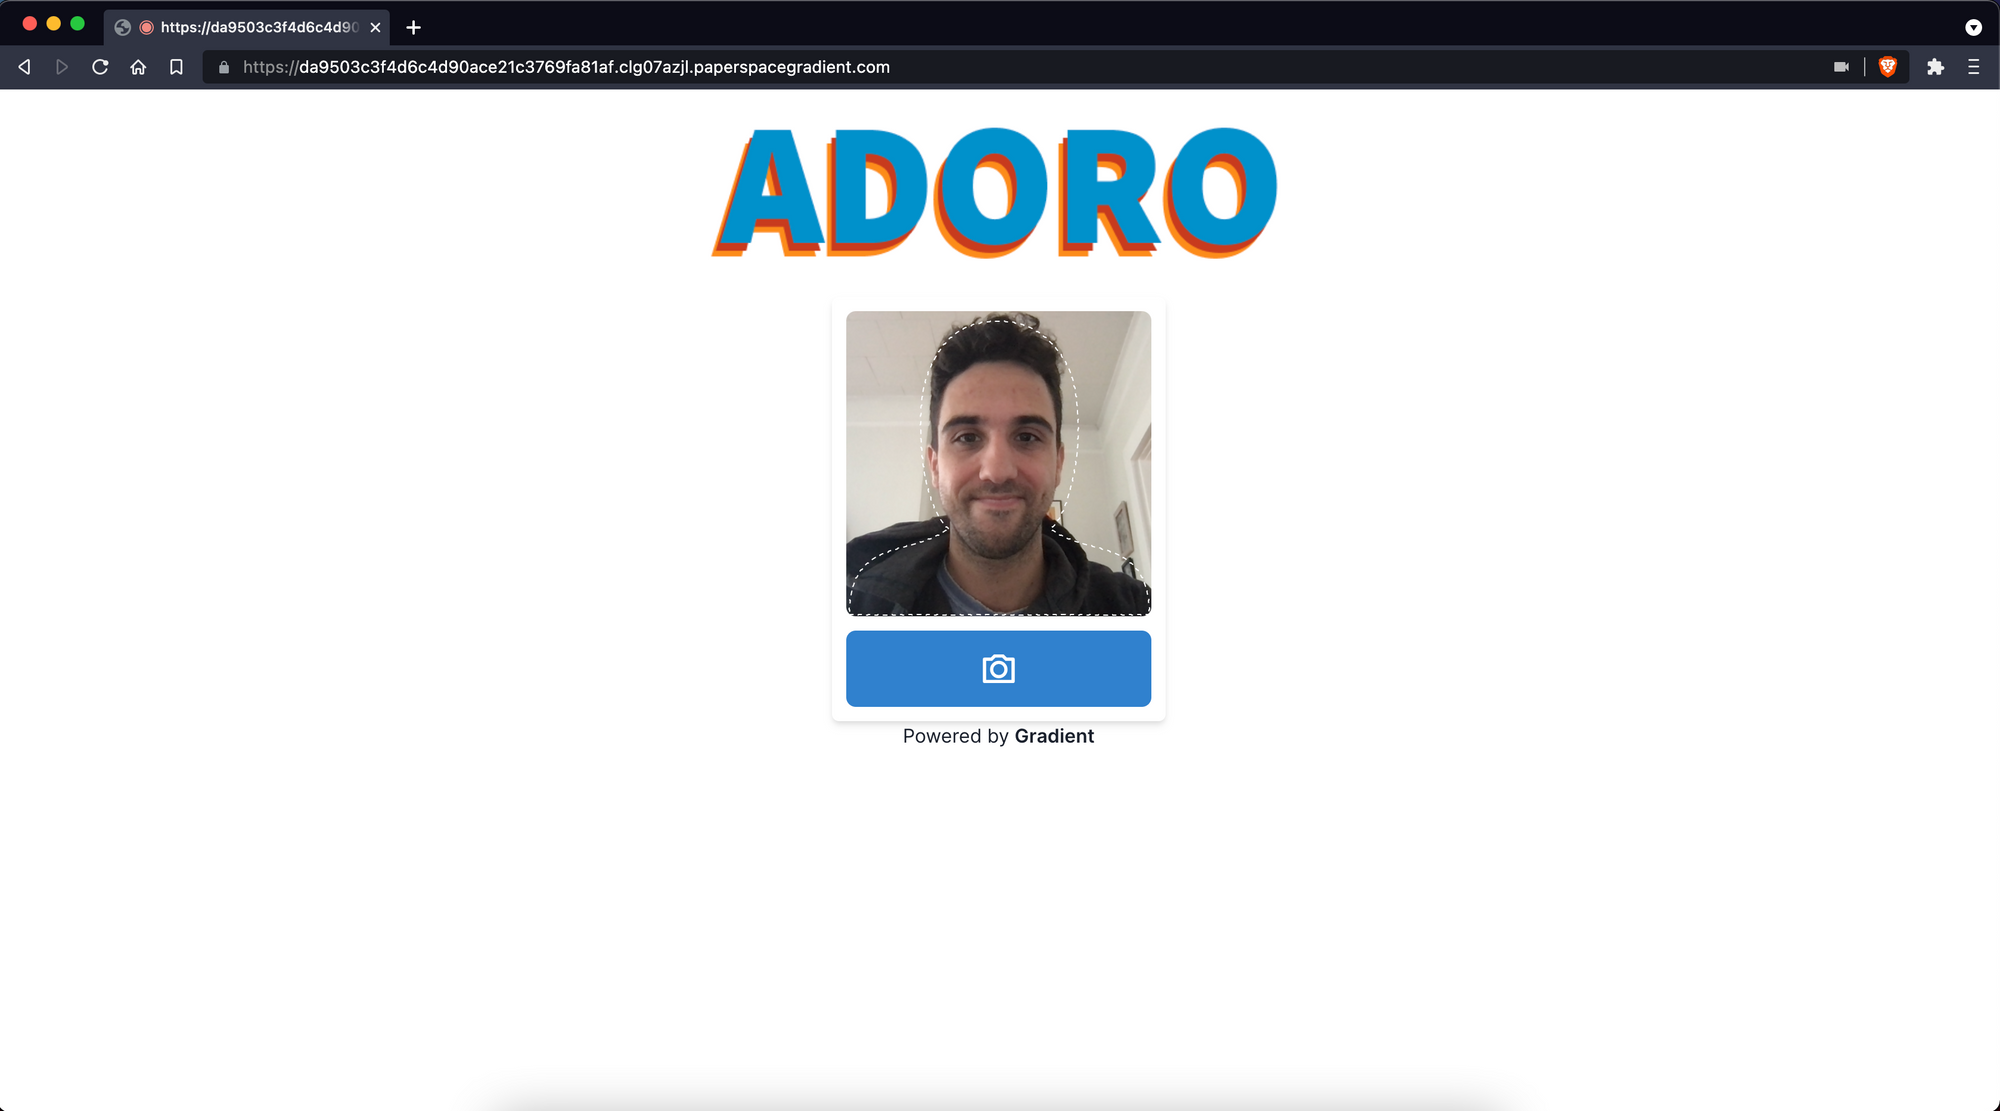
Reviewing the logs, we can see that the CreateDeployment step of the Workflow has generated a public URL to view our new we app. The logs should look like this (note that you will have a different URL for your own application):
Adoro can be accessed at URL:
da9503c3f4d6c4d90ace21c3769fa81af.clg07azjl.paperspacegradient.com
This is what we should see when we visit the URL:
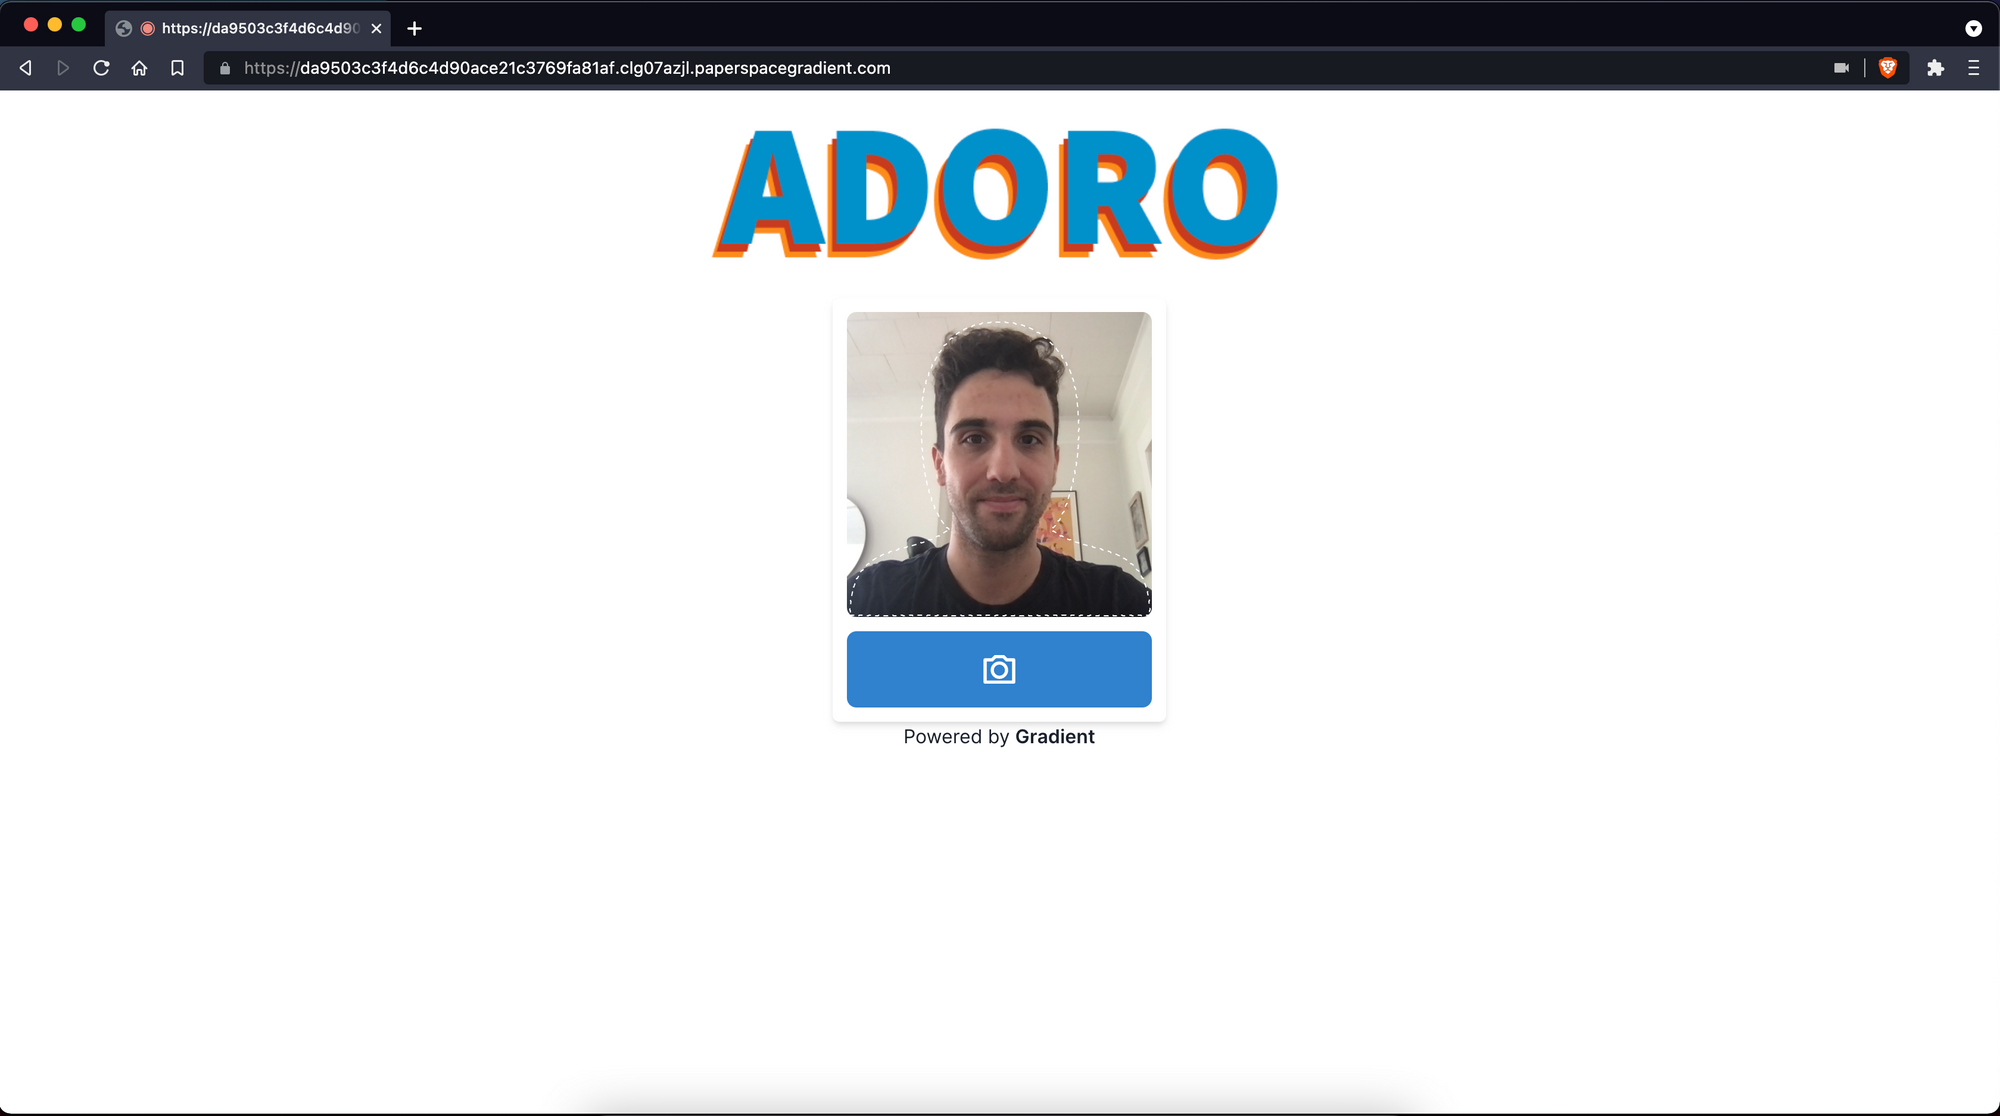
From here all we need to do is snap a picture and let the application work its magic!
We'd love to see your Adoro! Let us know @hellopaperspace what you're able to create!
Bring this project to life