[12/2/2021 Update: This article contains information about Gradient Experiments. Experiments are now deprecated, and Gradient Workflows has replaced its functionality. Please see the Workflows docs for more information.]
Gradient is a Paperspace product that simplifies developing, training, and deploying deep learning models. The platform provides infrastructure automation and a software development kit for machine learning developers.
For creating a flask-based app on Gradient, all you need to do is:
- Specify our application's dependencies in “requirements.txt”
- Initialize your local Git repository, and publish it on Github
- Create and deploy your app to Gradient
This tutorial assumes that you have completed the steps outlined in Part 1. If you're confused at any point about why we have certain files or directories, please refer to Deploying Deep Learning Models Part 1: Preparing the Model for reference.
Bring this project to life
Integrating with Git
Firstly, create a "requirements.txt" file like the one below, specifying the libraries required to set up the environment.
Keras==2.2.0
tensorflow==1.8.0
flask
numpy
pandas
Pillow==5.2.0
gunicorn==18.0.0
You need to use git to push your code into a Github repository. If you haven't already, register yourself on Github and install git.
To push the code to Github, create a new repository named "ml-in-prod" and execute the below commands from your terminal. Note that you should change "user_name" and "repo_name" in the first line to your own.
git remote add origin https://github.com/user_name/repo_name.git
git add .
git commit -m "first-commit"
git push origin master
Check your Github repo; it should have all the files that we created.
From within the "ml-in-prod" repository, execute the command:
$ git init
This initializes git.
Deploying to Gradient
Now, to deploy your model on Gradient do the following.
In the app.run() function in the app.py file, the host parameter is to be set to 0.0.0.0. In other words, app.run() should look like app.run(debug=True, port=8000, host='0.0.0.0'). This indicates that the flask server "listens" on all interfaces.
Register for Gradient (or use the free cloud GPUs with Gradient Community Notebooks).
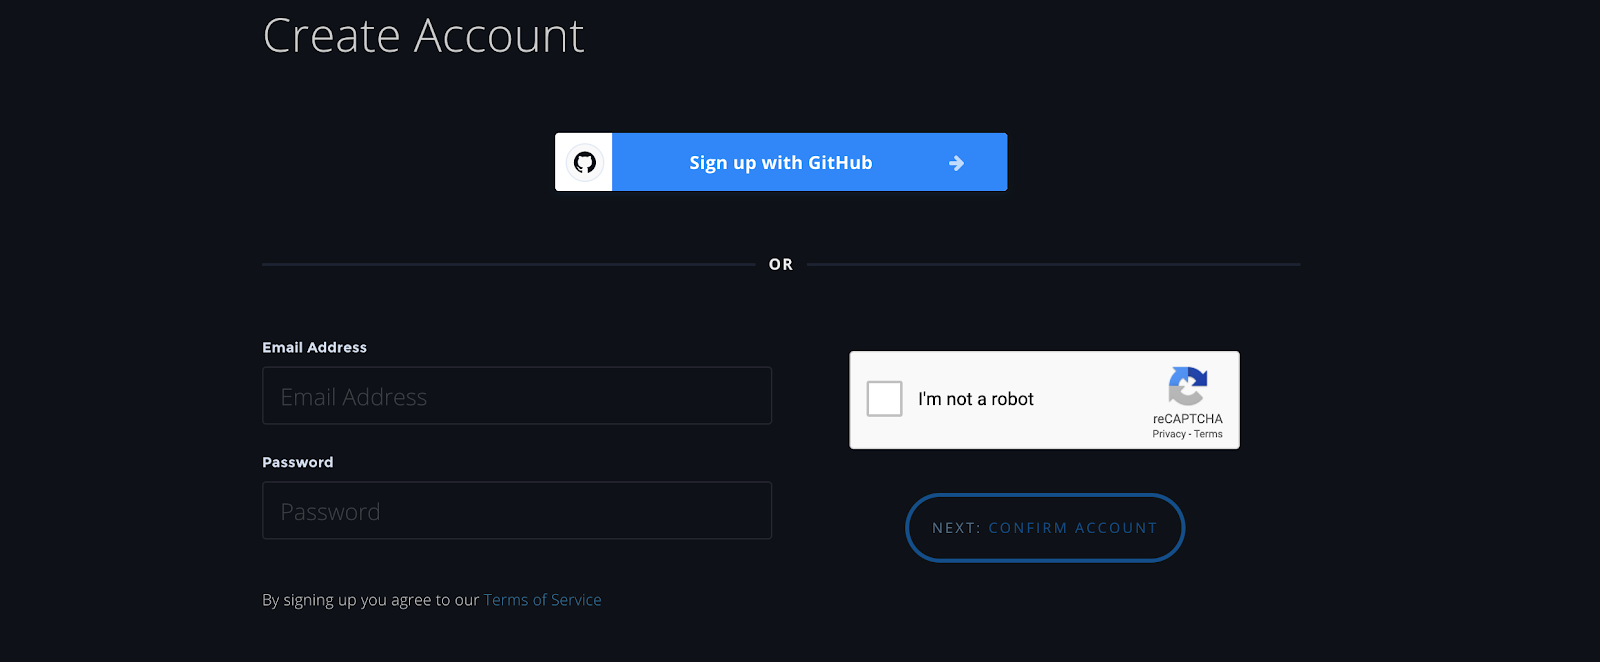
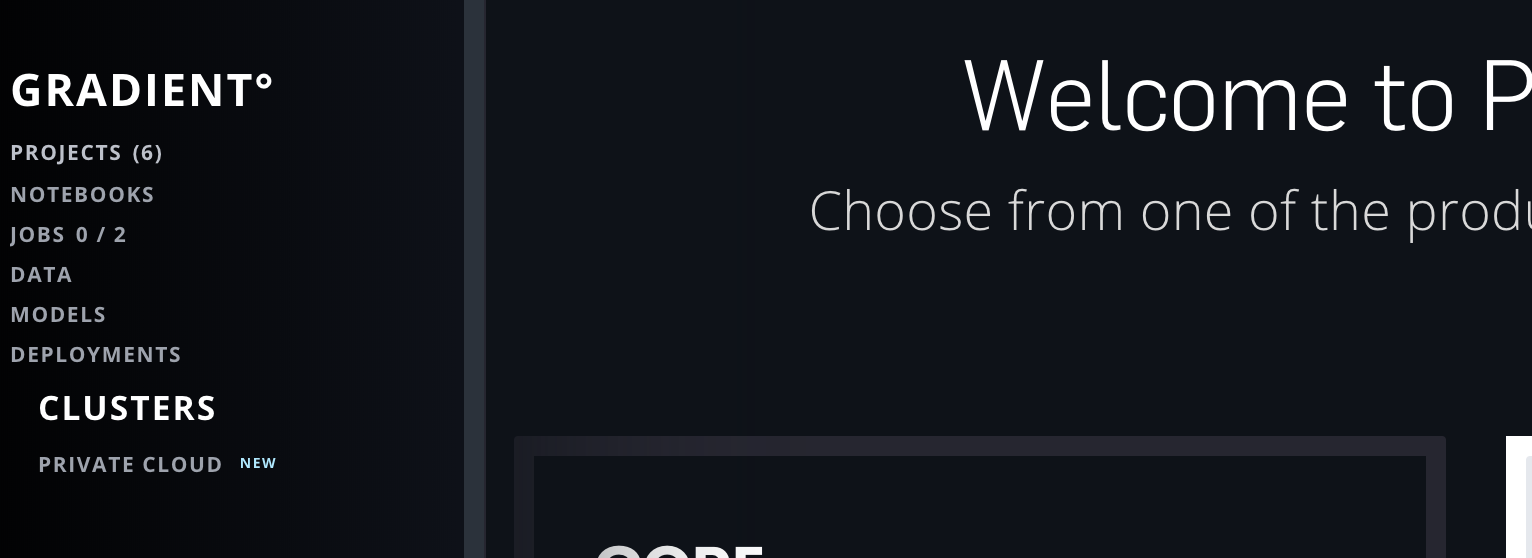
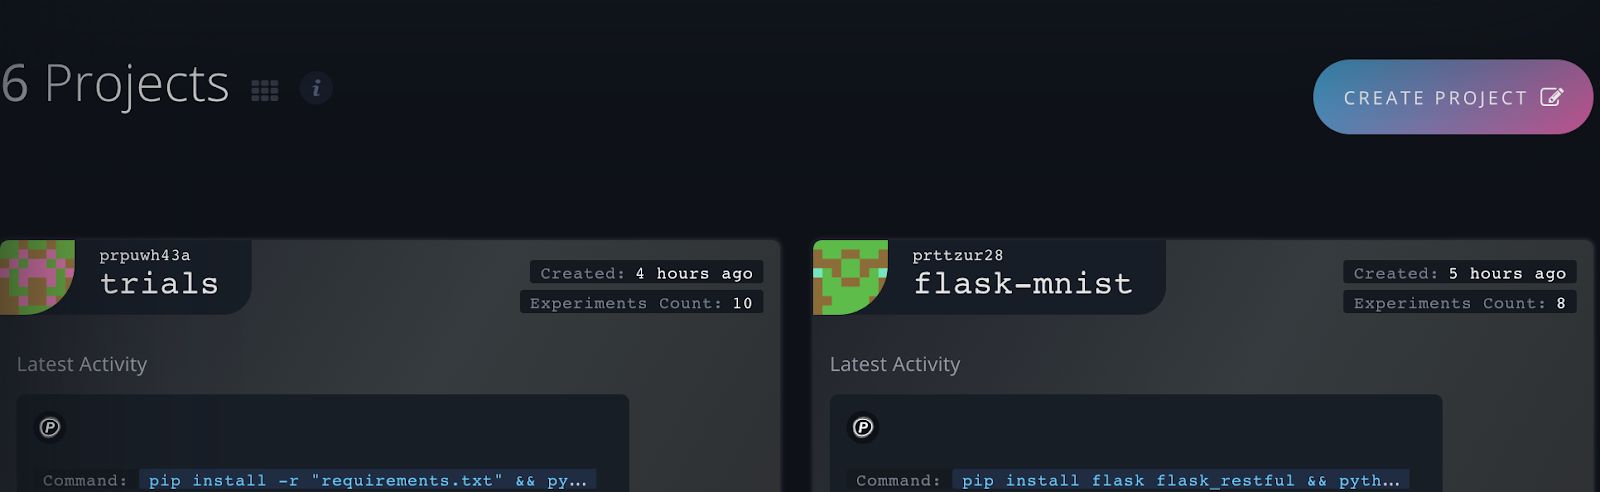
If you don't have a paid account already, feel free to use the free Gradient Community Notebooks to get started with a free cloud GPU. Once you're logged in, navigate to "Projects" under "Gradients" on the left navigation bar.
Click on "Create Project."
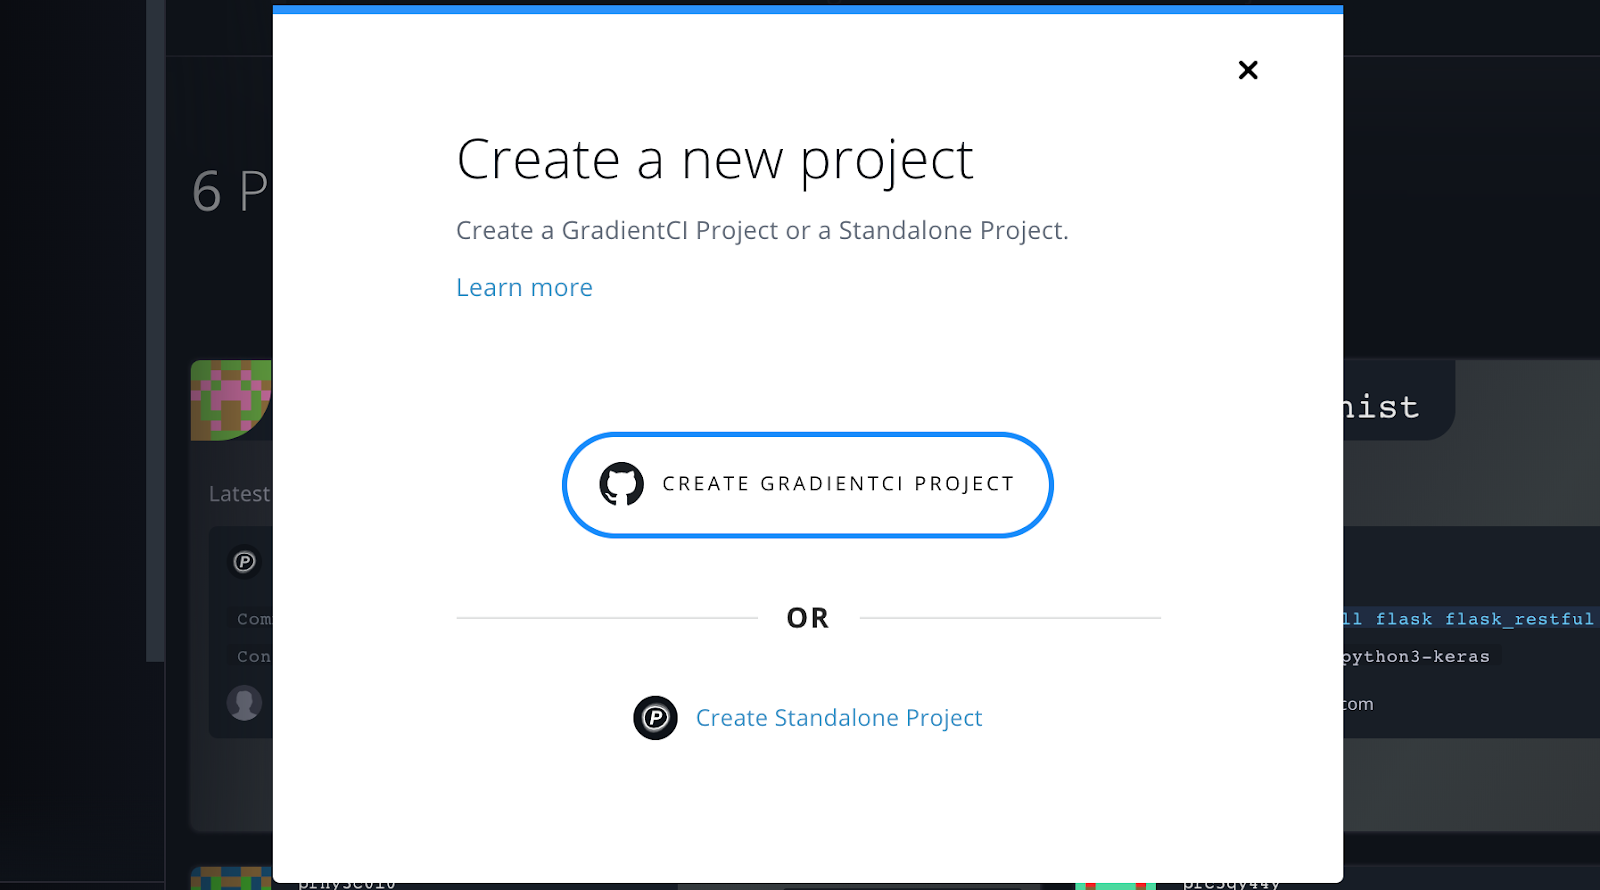
We'll create a "Standalone Project" here. For more information on the different types of projects (Standalone or GradientCI), please refer to the Gradient docs.
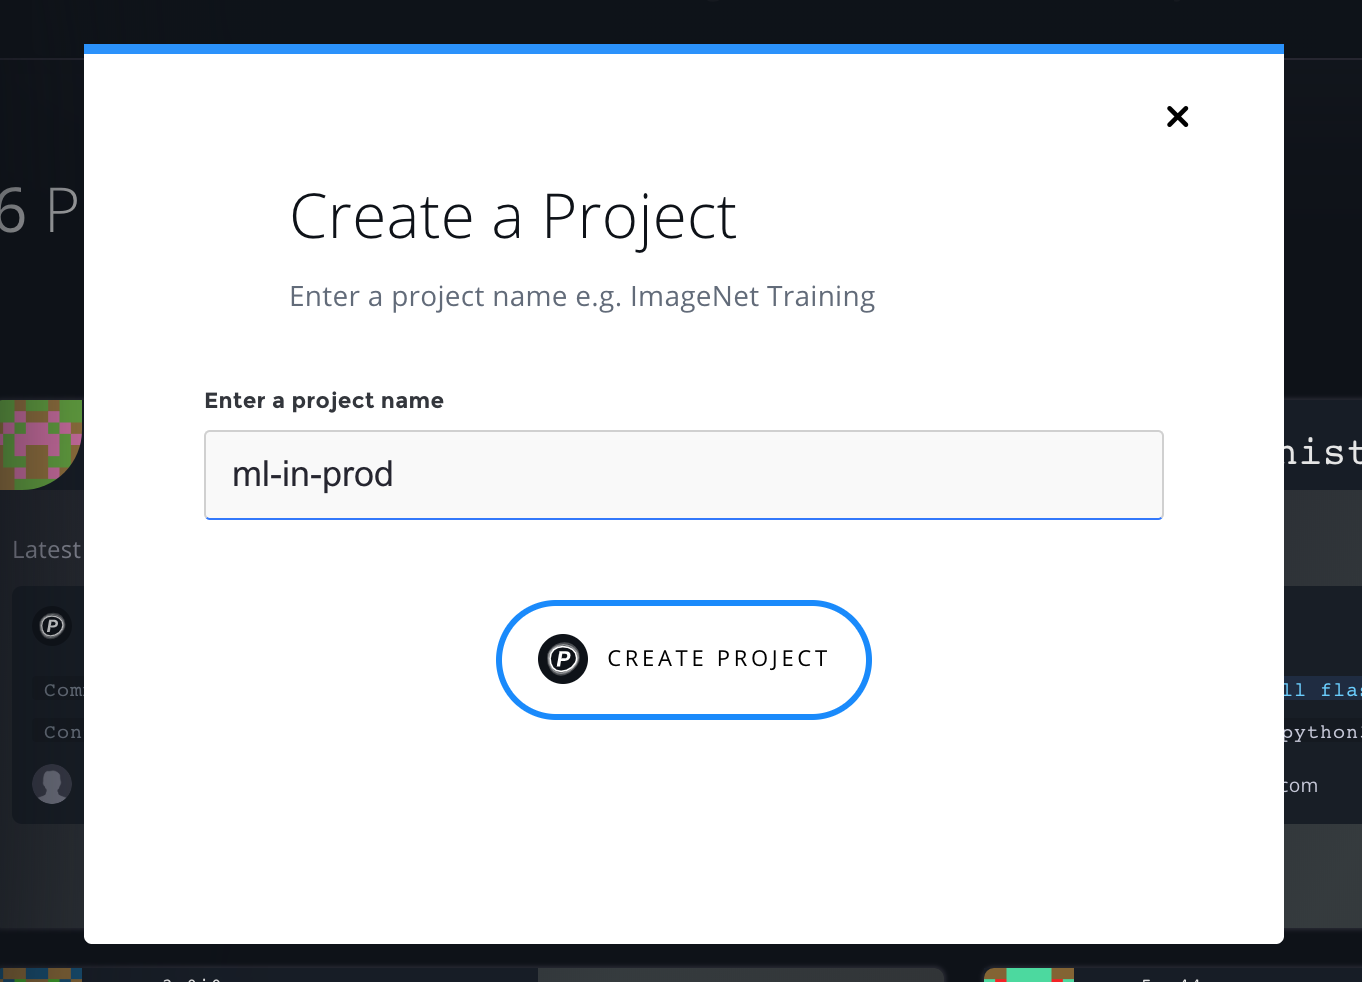
Enter the project name as "ml-in-prod", and hit "Create Project."
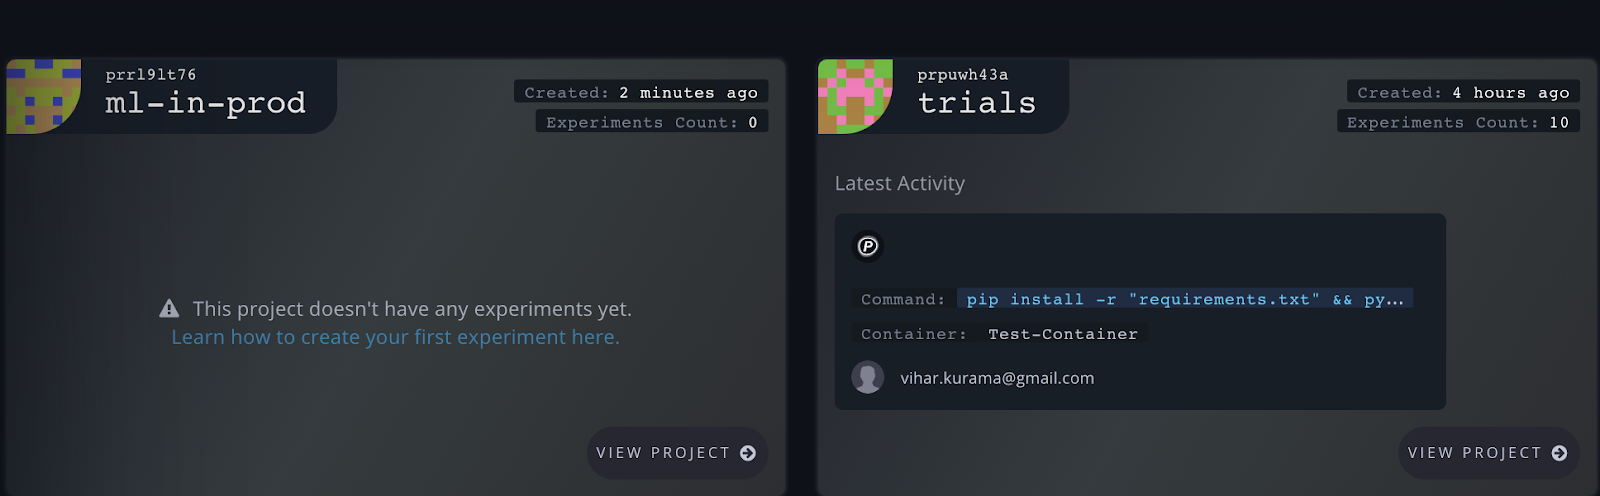
Now click on your newly created project. The next page is where we create the Experiments and Jobs.
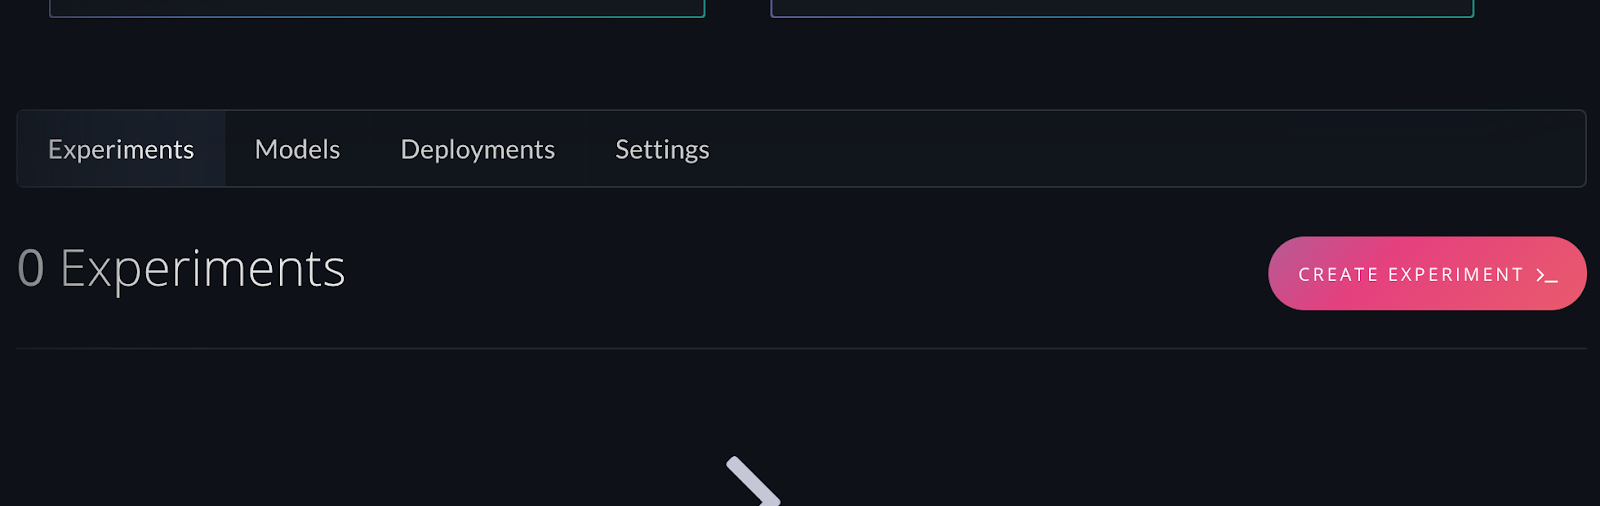
For now, there are 0 experiments in it. We'll create one now.
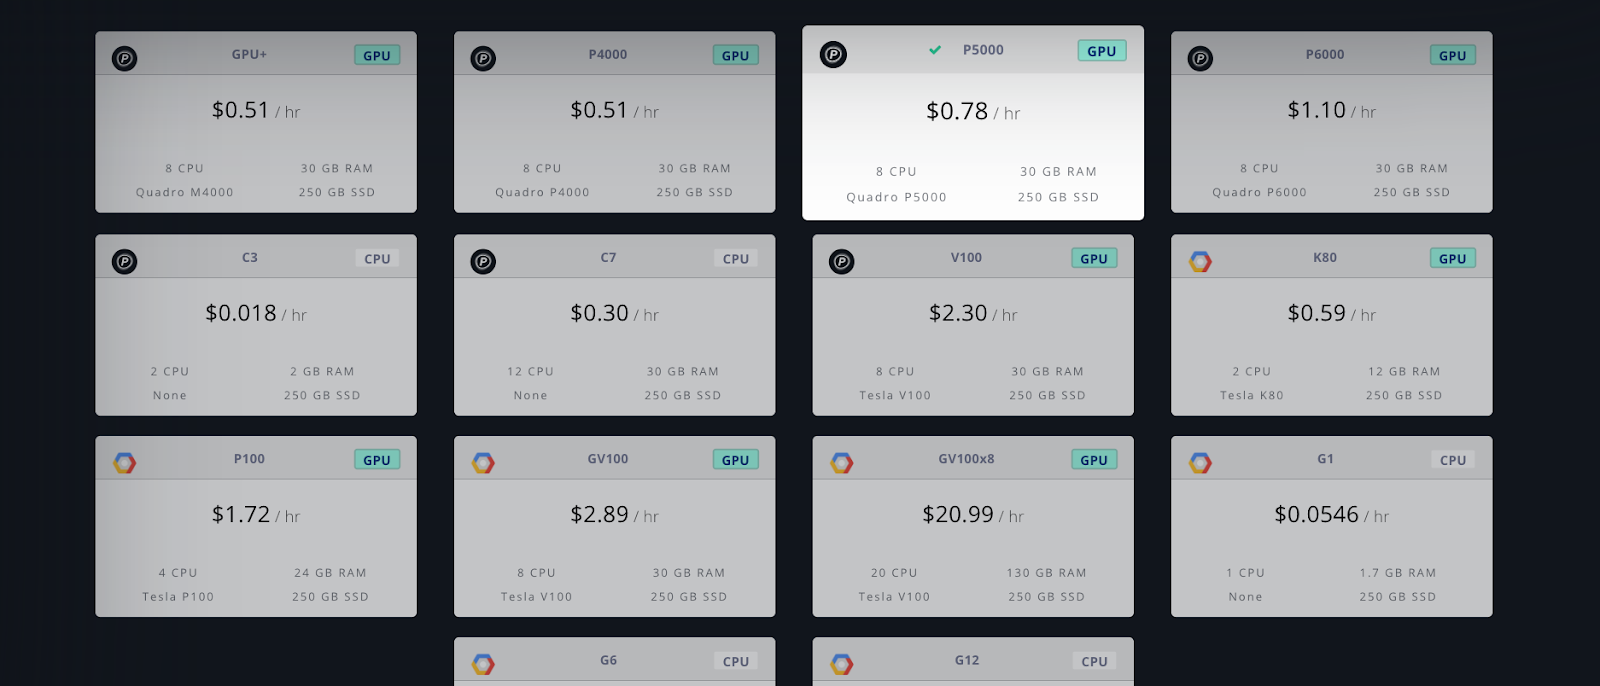
Scroll down, and you'll see the following fields to fill in.

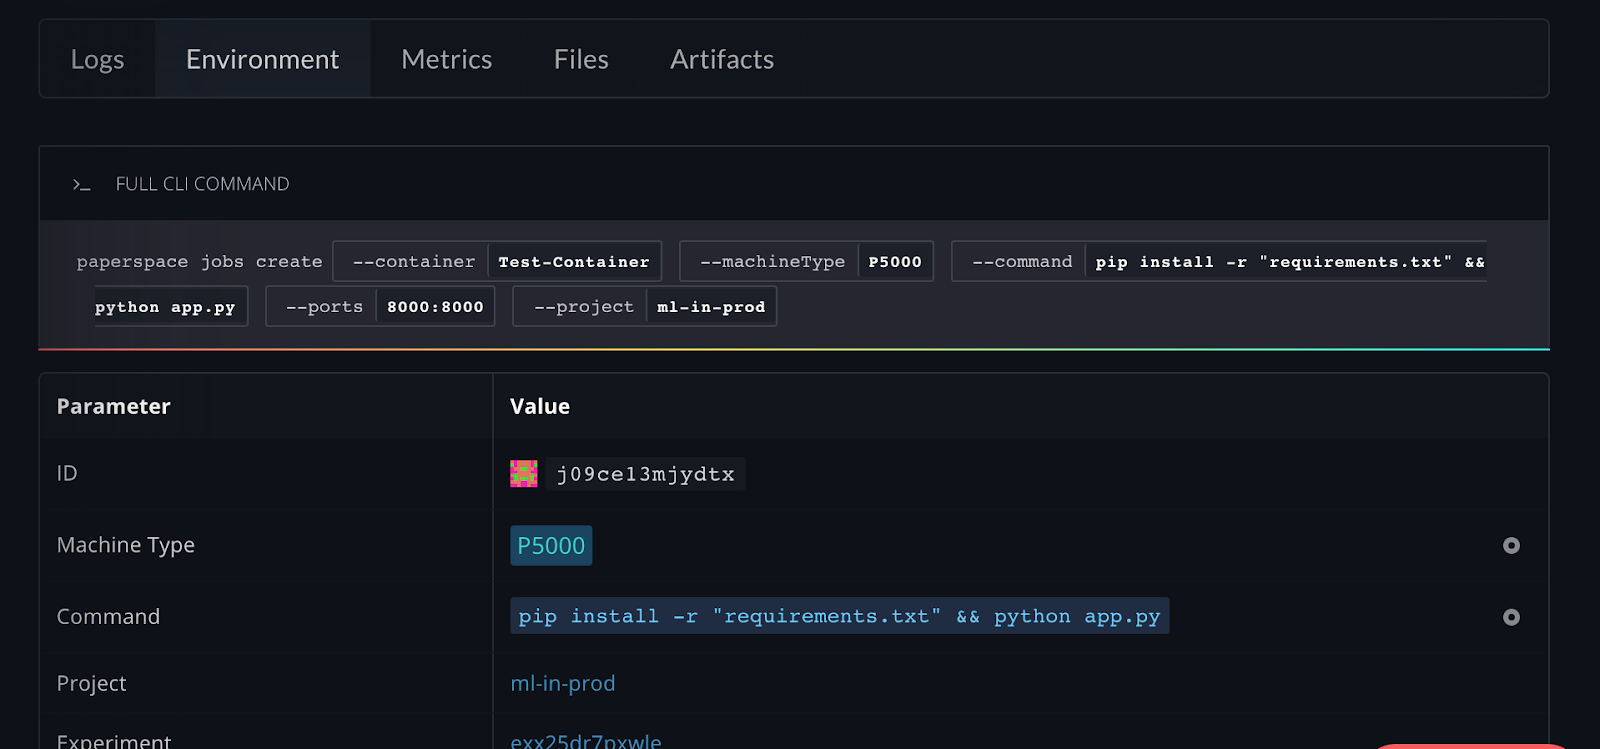
Choose the machine type as P5000.
- Moving further, the container is a docker image that sets the whole environment. Besides ‘requirements.txt’ that we would be looking at later, this container helps in installing a majority of dependencies that we need additionally. In this use case, ‘Test-Container’ suffices our needs.

- Workspace is the code that needs to be deployed. Previously, we pushed the app onto Github, use that over here (In the Clone/Download button present in the Github repo, fetch this URL).

- Next comes the command wherein we specify the command that needs to run when executing this experiment.

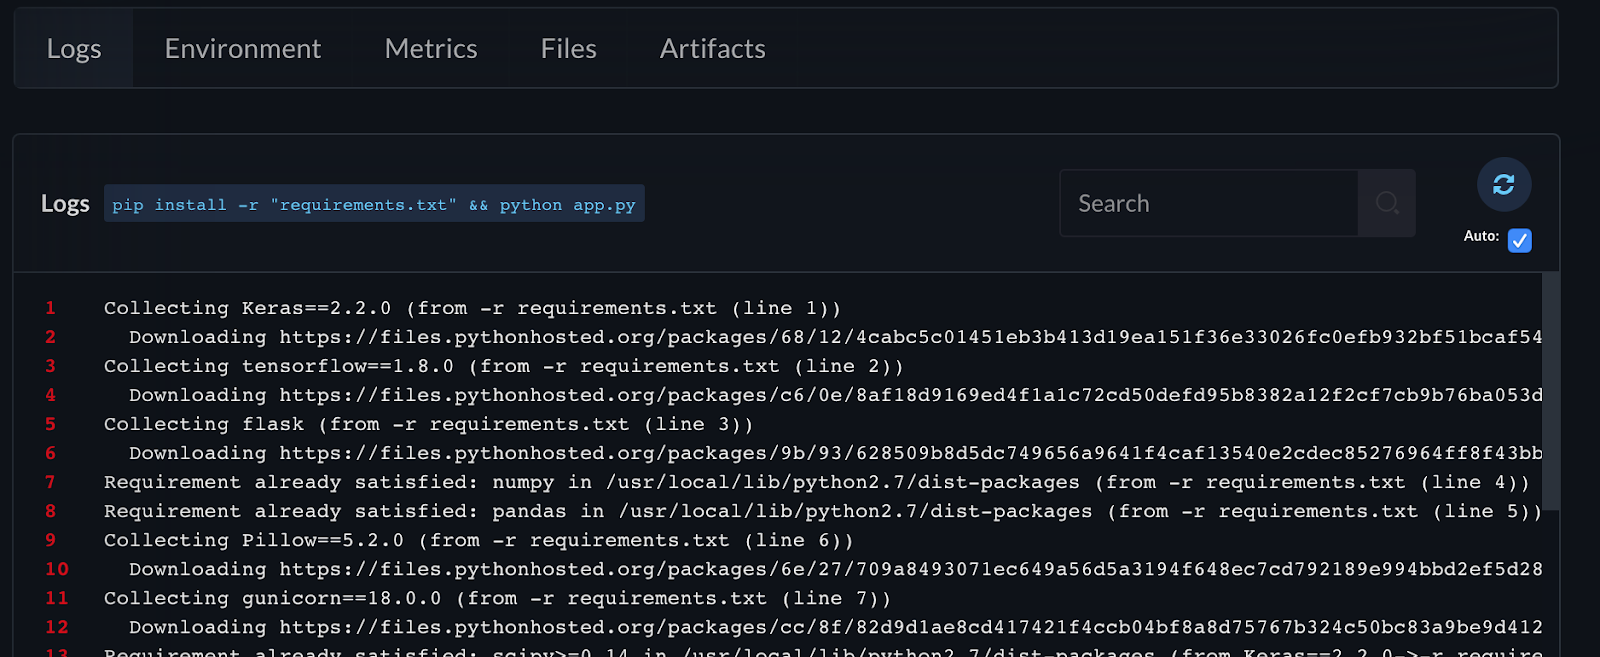
‘Requirements.txt’ installs all other dependencies which might not be present in the container image that we considered. pip install -r "requirements.txt" is the command that is used. python app.py executes the app that we’ve coded all along.
Since we’ve used the port 8000 in our app before, use the same here.

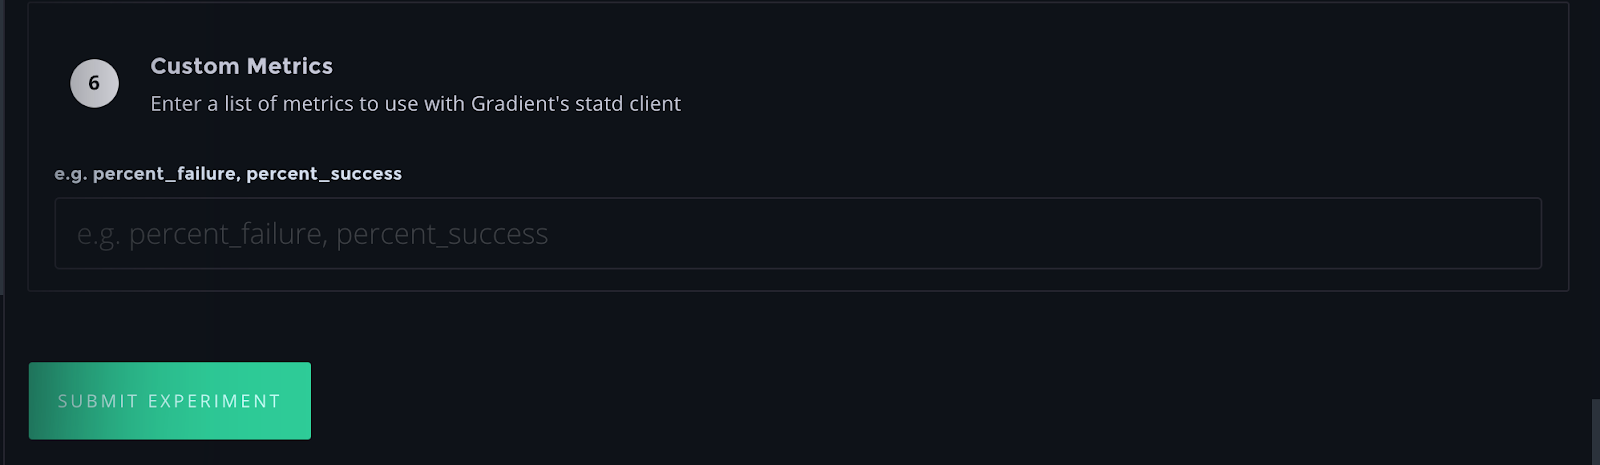
Custom Metrics can be left empty for now, and click on ‘Submit Experiment’.
- The status of the running experiment along with the command, container that we used previously are shown.
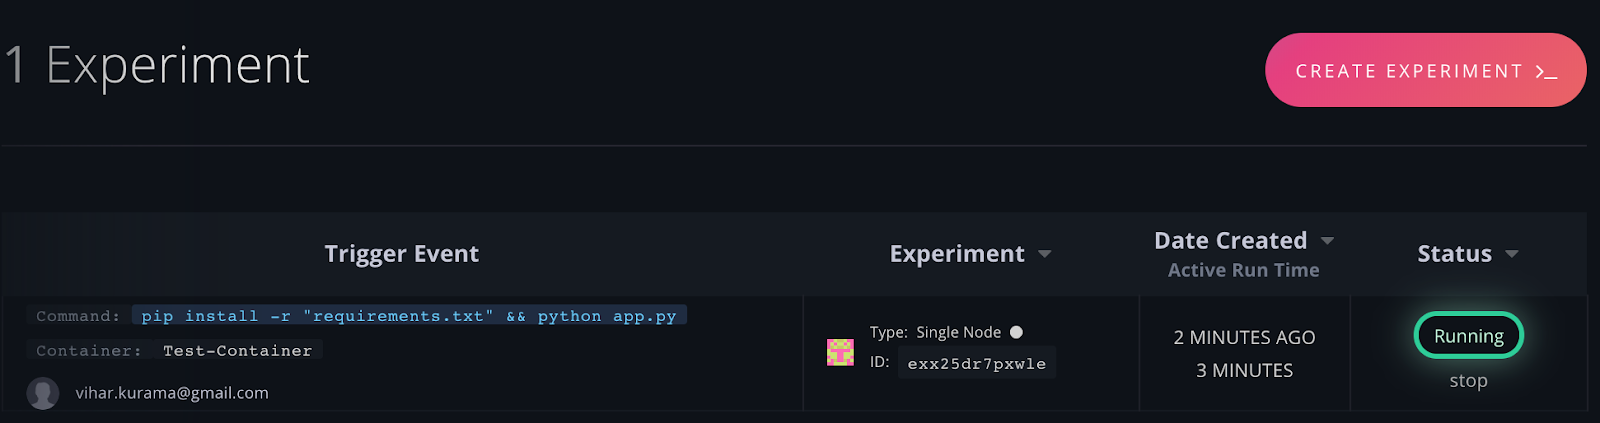
- Clicking on it navigates you to the jobs console.

‘Running’ in the status column indicates that the code is being executed successfully without any interruptions.
- Pressing on it takes you to the job details.
- In the ‘Environment’ section, the job container details are mentioned.
- Scroll down, and the URL in there is where the app is deployed.
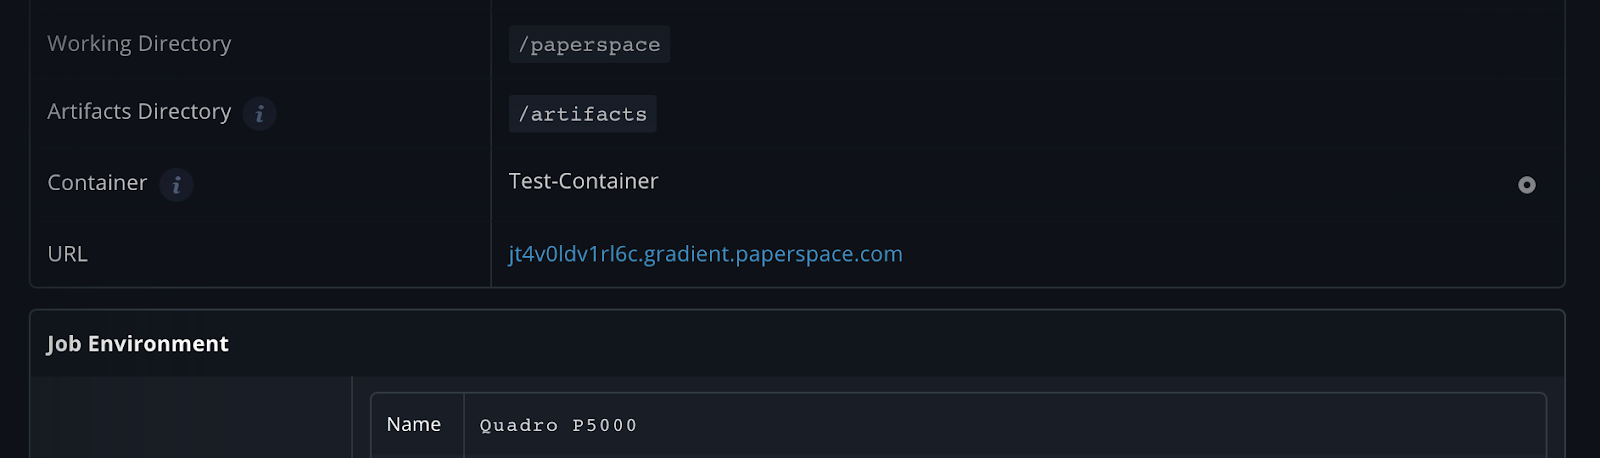
- Copy the URL, append port number ‘8000’ to it.
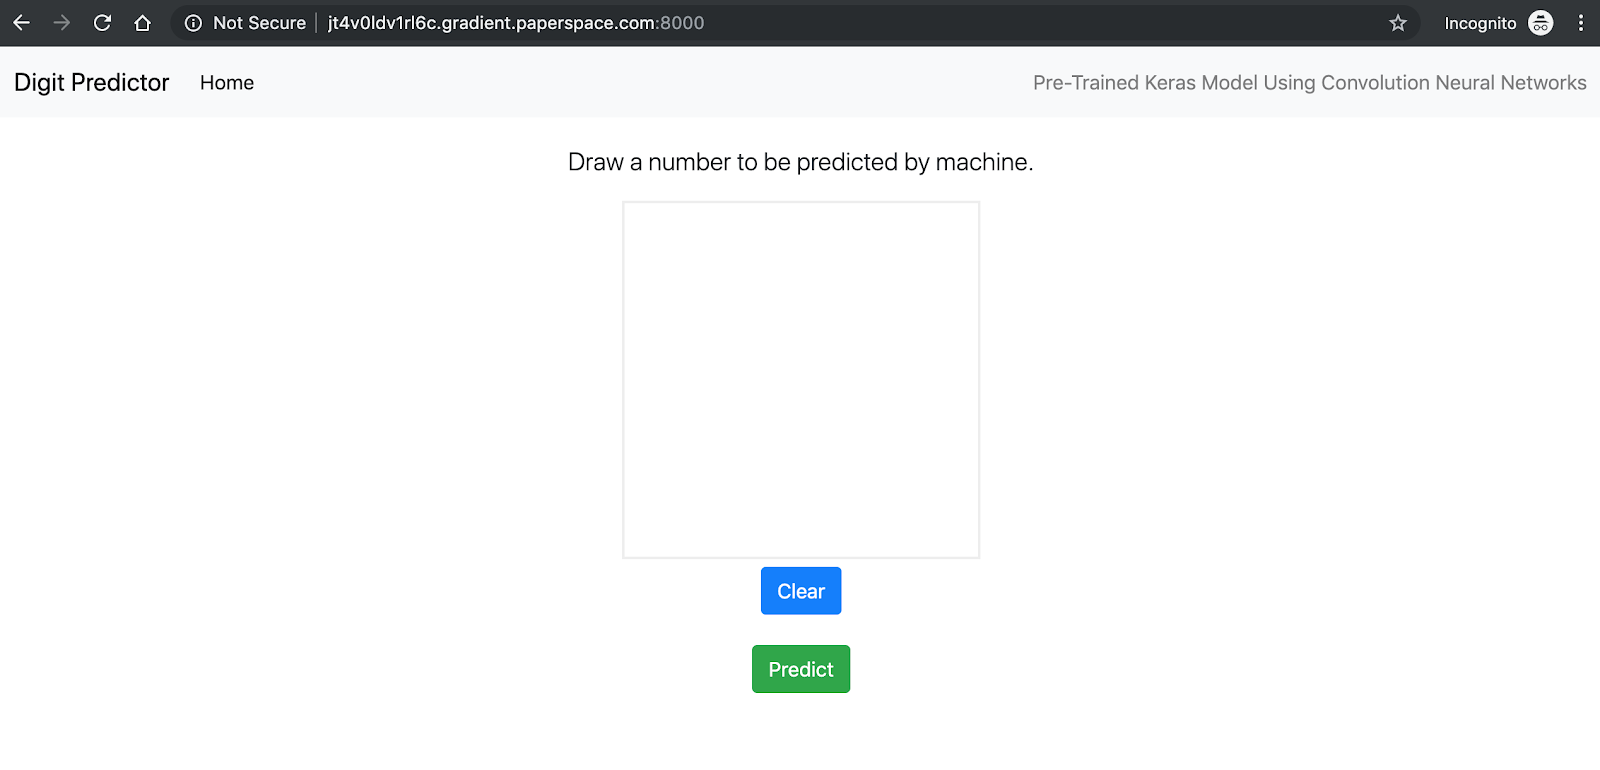
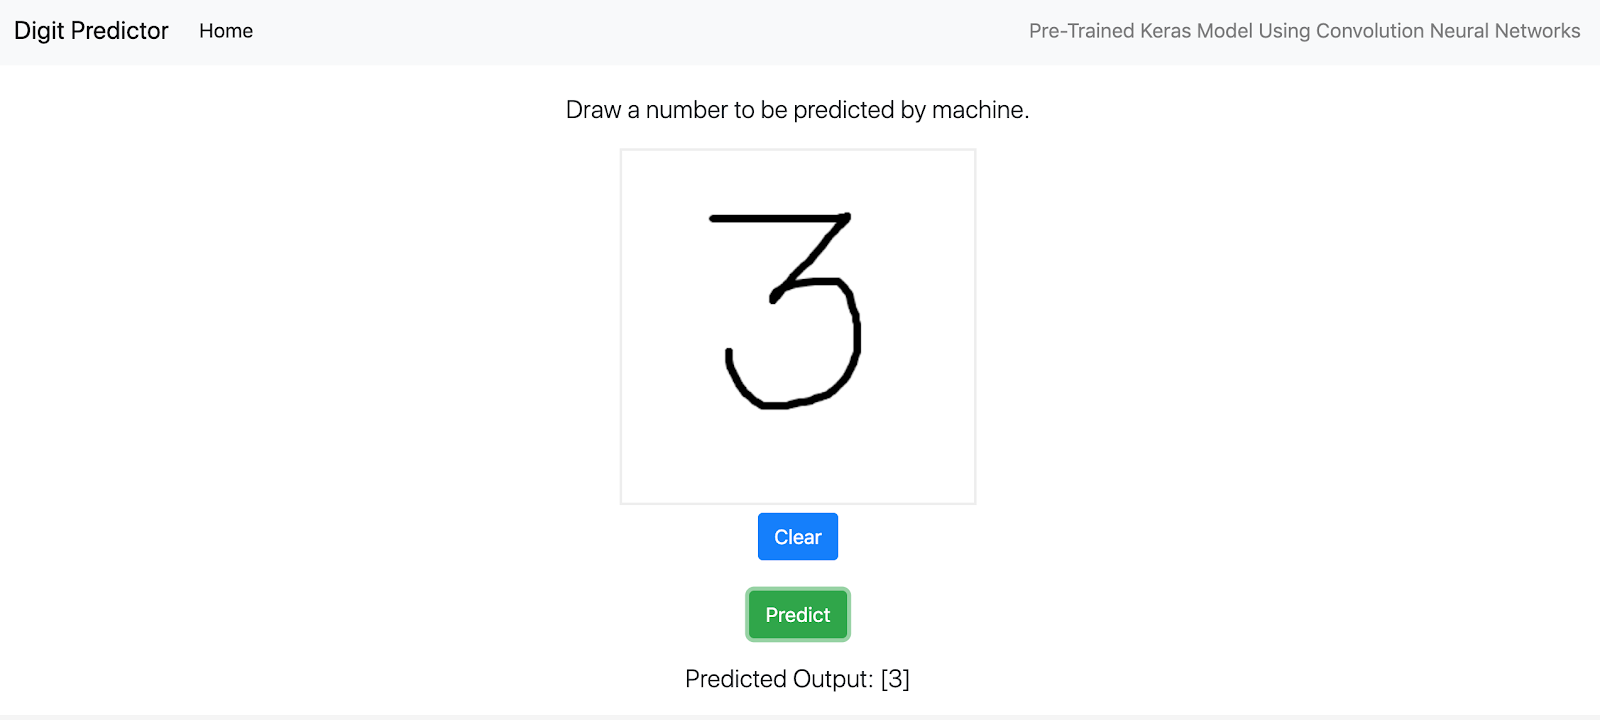
Here’s the app! Draw a number on the canvas shown, and it’ll predict the output for you.