Bring this project to life
In our study journey to identify the best image synthesis models, Stable Diffusion has come up time and time again as the best available, open source model. Whether our task is text to image, image to image, video generation, or any of the wide variety of extended capabilities of diffusion modeling for image generation, versions of Stable Diffusion continue to be the best and most popular models for image synthesis tasks. This is largely thanks to the models incredible versatility, able to tackle all sorts of physical and abstract combinations of objects in the latent space, but also thanks to its widespread adoption by both the AI developer community as well as portions of the wider population.
We have talked frequently about our support for the AUTOMATIC1111 Stable Diffusion Web UI as the best platform to run Stable Diffusion on the cloud - and especially on Paperspace. The Stable Diffusion Web UI was built using the powerful Gradio library to bring a host of different interactive capabilities for serving the models to the user, and it has a plethora of different extensions to expand this potential utility further.
One topic we have not covered about the Stable Diffusion Web UI (and by extension our favorite fork of this project, Fast Stable Diffusion), is its built-in FastAPI functionality. FastAPI is a notable and powerful Python framework for creating RESTful APIs. Using the FastAPI backend of the Web UI, we can enable a whole new degree of input and output control over a generative workflow with Stable Diffusion, including integrating multiple computer systems, creating Discord chatbots, and much more.
In this article, we are going to run a short demonstration for understanding how to interact with the Stable Diffusion Web UI's FastAPI endpoint. Readers should expect to be able to use this information to help recreate both the demo we make below, and easily integrate relevant content from this into their own applications. Before proceeding, check out some of our other tutorials like this one on training SD XL LoRA models.
Setting up Stable Diffusion
To setup the model in a Paperspace Notebook is actually quite simple. All we need to do is click on this link (also found in the Run on Paperspace link at the start of this article). This will take us directly into a workspace with all the required files and packages at the hit of the Start Notebook button.
This is using the Fast Stable Diffusion implementation of the AUTOMATIC1111 Stable Diffusion Web UI. Thanks to the author of the project, TheLastBen, who optimizes the PPS repo to work directly with Paperspace.
Once the Notebook has started running, we will want to open up the PPS-A1111.ipynb notebook using the file navigator on the left side of the screen. From there, all we need to do is click the Run All button in the top right of the screen. This will sequentially execute the code cells there within, which downloads all the required packages and relevant updates, any missing model checkpoint files for standard Stable Diffusion releases, gives the option to download ControlNet models (these need to be manually changed), and then launches the web application. Scroll to the very bottom of the notebook to get the public Gradio application link, which will begin with https://tensorboard-.
Using the Fast Stable Diffusion application from the web browser
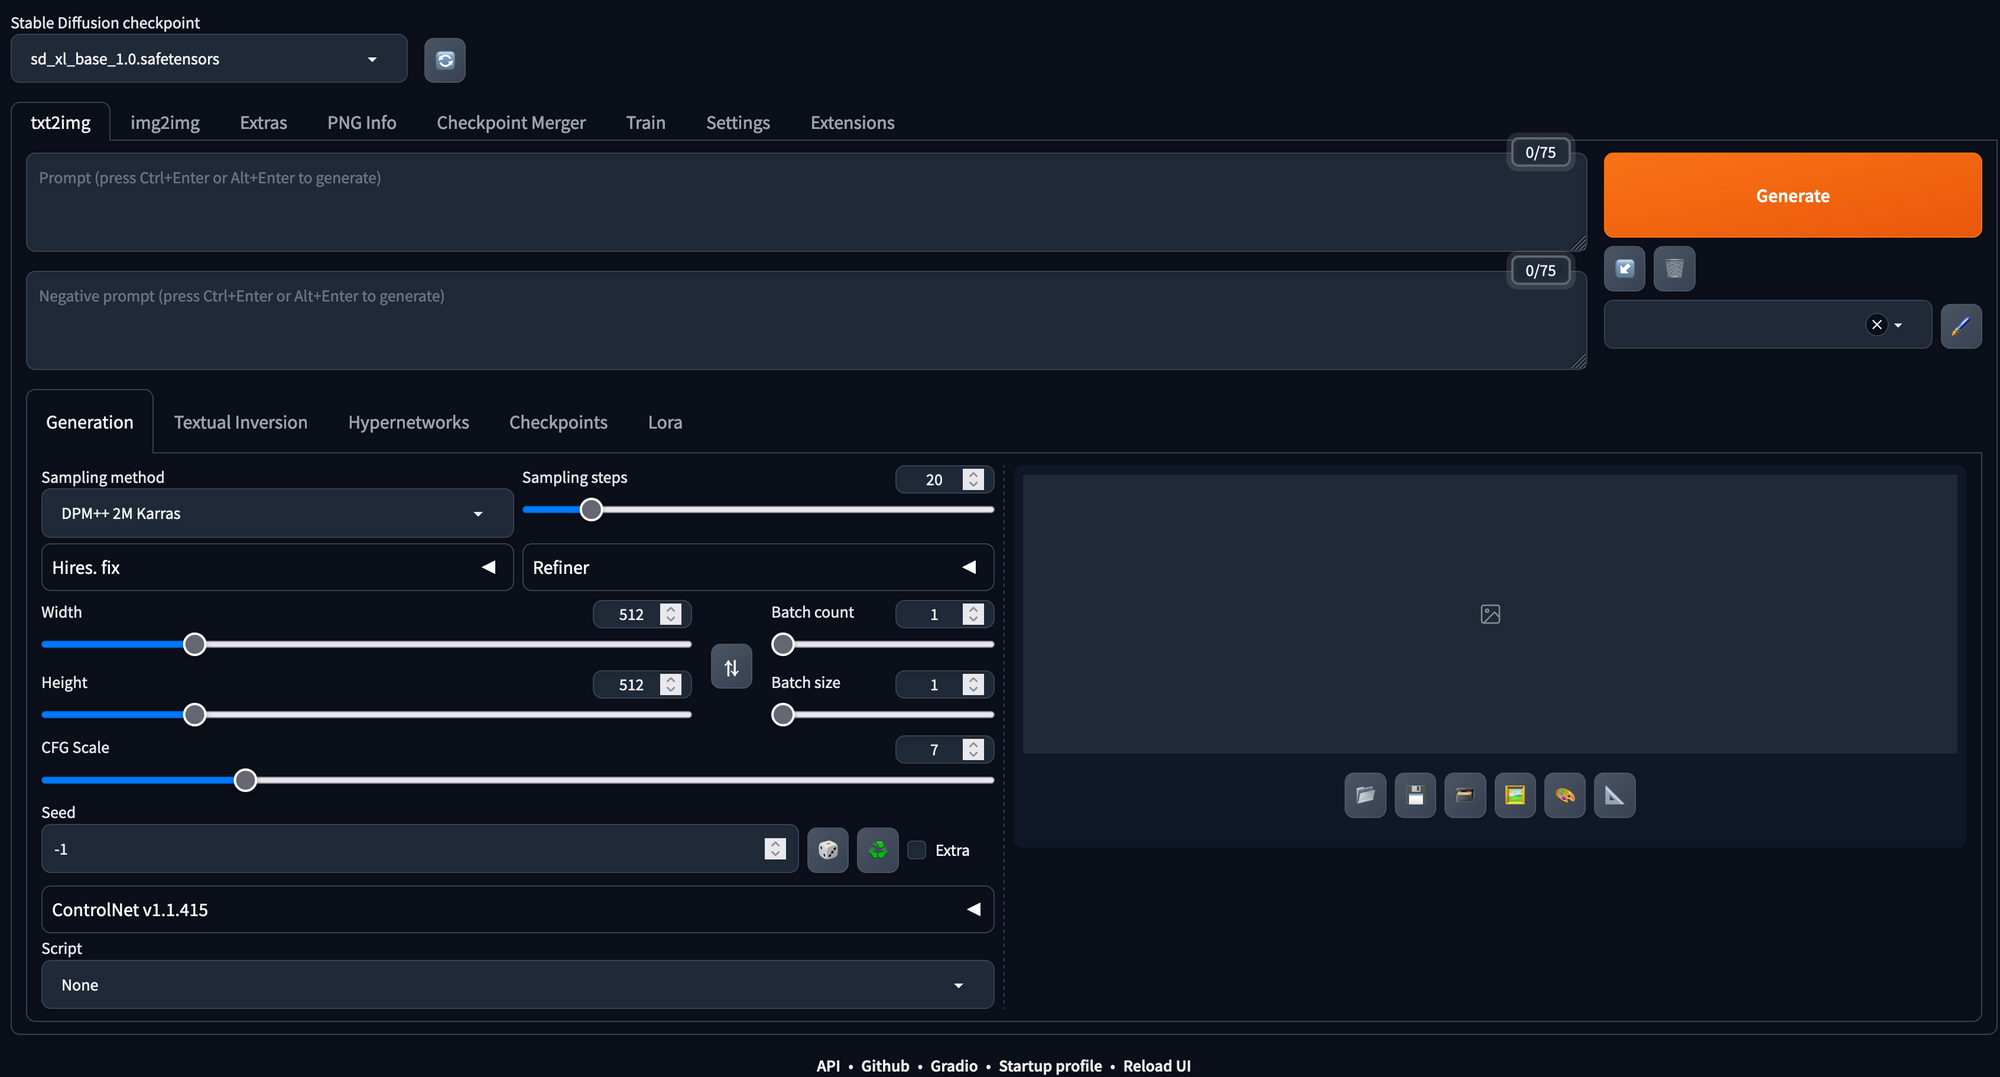
Clicking the link will take us directly into the web app in a new tab. From here, we can begin generating images directly. Hitting the generate button here will create some random image, but we can add in text to the prompt and negative prompt fields to control this synthesis like we would add code in a Diffusers inference implementation with the model. All the hyperparameters can be adjusted using simple and easy-to-use sliders and text fields in the page.
The web app makes it easy to run text to image, image to image, and super resolution synthesis with Stable Diffusion with little to no hassle. Furthermore, it has a wide variety of additional capabilities like model merging, textual inversion embedding creation and training, and nearly a hundred open source extensions which are compatible with the application.
For more details about how to run the application from the browser to generate AI artwork with Stable Diffusion, be sure to check out some of our earlier tutorials in the Stable Diffusion tab. Let's now take a look at the Gradio applications FastAPI documentation, and learn how we can treat the web UI as an API endpoint.
Using the Stable Diffusion Web UI FastAPI endpoint
Bring this project to life
Now that we have our endpoint created for the Fast Stable Diffusion Web UI, we can begin using the endpoint for development in other scenarios. This can be used to plug our generated images in anywhere, such as Chatbots and other Application integrations. These allow users on external applications to take advantage of the Paperspace GPU speed to generate the images without any set up or hassle. For example, this is likely how many of the popular Discord chatbots are integrated to provide images with Stable Diffusion to users on the platform.
From here, we will need to either open a new workspace, Notebook, or switch to our local, as the cell running the endpoint needs to be left undisturbed. Restarting it will change the URL.
Open up a new IPython Notebook in your environment of choice, or use the link above to open this on a Paperspace Notebook running on a Free GPU. To get started with the API, use this sample code snippet from the API wiki, and replace the <url> within with your Web UI's URL:
import json
import requests
import io
import base64
from PIL import Image

url = 'https://tensorboard-nalvsnv752.clg07azjl.paperspacegradient.com'

payload = {
    "prompt": "puppy dog",
    "steps": 50,
    "seed":5
}

response = requests.post(url=f'{url}/sdapi/v1/txt2img', json=payload)

r = response.json()

image = Image.open(io.BytesIO(base64.b64decode(r['images'][0])))
# image.save('output.png')
display(image)
This uses the payload dictionary object to carry the prompt and steps values we like to the model via the endpoint, generate an image using these parameters, and return it to the local environment to be decoded and displayed. Below is an example image we made following these steps:
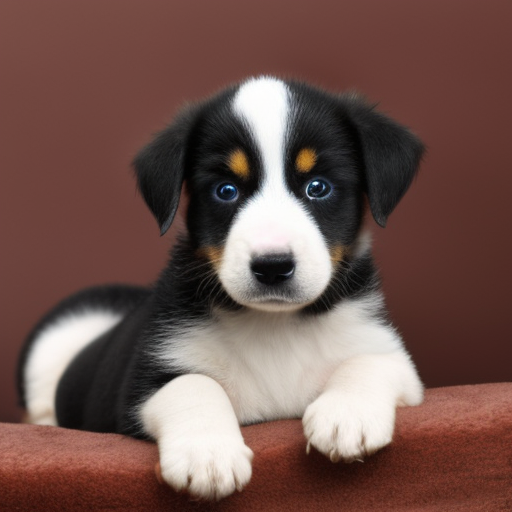
As we can see, it is very simple with the requests library to query the model and synthesize images just like we would using the buttons and fields in the application itself. Let's look at a more detailed potential prompt for the model:
import json
import requests
import io
import base64
from PIL import Image

url = 'https://tensorboard-nalvsnv752.clg07azjl.paperspacegradient.com'

payload = {
  "prompt": "puppy dog",
  "negative_prompt": "yellow fur",
  "styles": [
    "string"
  ],
  "seed": 5, # we can re-use the value to make it repeatable
  "subseed": -1, # add variation to axisting seed
  "subseed_strength": 0, #strength of variation
  "seed_resize_from_h": -1, # generate as if using the seed generating at different resolution
  "seed_resize_from_w": -1, # generate as if using the seed generating at different resolution
  "sampler_name": "UniPC", # which sampler model, e.g. DPM++ 2M Karras or UniPC
  "batch_size": 1, # how many images to generate in this run
  "n_iter": 1, # how many runs to generate images
  "steps": 50, # how many diffusion steps to take to generate image (more is better generally, with diminishing returns after 50)
  "cfg_scale": 7, # how strong the effect of the prompt is on the generated image
  "width": 512, # width of generated image
  "height": 512, # height of generated image
  "restore_faces": True,  # Use GFPGAN to upscale faces generated
  "tiling": True, # create a repeating pattern like a wallpaper
  "do_not_save_samples": False,
  "do_not_save_grid": False,
  "eta": 0, # a noise multiplier that affects certain samplers, changing the setting allows variations of the image at the same seed according to ClashSAN https://github.com/AUTOMATIC1111/stable-diffusion-webui/discussions/4079#discussioncomment-4022543
  "denoising_strength": 0, # how much noise to add to inputted image before reverse diffusion, only relevant in img2img scenarios
  "s_min_uncond": 0, # affects gamma, can make the outputs more or less stochastic by adding noise
  "s_churn": 0, # affects gamma
  "s_tmax": 0, # affects gamma
  "s_tmin": 0, # affects gamma
  "s_noise": 0, # affects gamma
  "override_settings": {}, # new default settings
  "override_settings_restore_afterwards": True,
  "refiner_checkpoint": None, # which checkpoint to use as refiner in SD XL scenarios
  "refiner_switch_at": 0, # which step to switch to refiner on
  "disable_extra_networks": False, # disables hypernetworks and loras
  "comments": {},
  "enable_hr": False, # turns on high resolution
  "firstphase_width": 0, # where to limit high resolution scaling
  "firstphase_height": 0, # where to limit high resolution scaling
  "hr_scale": 2, # how much to upscale
  "hr_upscaler": None, # which upscaler to use, default latent diffusion with same model
  "hr_second_pass_steps": 0, # how many steps to upscale with
  "hr_resize_x": 0, # scale to resize x scale
  "hr_resize_y": 0, # scale to resize y scale
  "hr_checkpoint_name": None, # which upscaler to use, default latent diffusion with same model
  "hr_sampler_name": None, # which sampler to use in upscaling
  "hr_prompt": "", # high resolution negative prompt, same as input prompt
  "hr_negative_prompt": "",  # high resolution negative prompt, same as input prompt
  "sampler_index": "Euler", #alias for sampler, redundancy
  "script_name": None, # script to run generation through
  "script_args": [],
  "send_images": True, # send output to be received in response
  "save_images": False, # save output to predesignated outputs destination
  "alwayson_scripts": {} # additional scripts for affecting model outputs
}

response = requests.post(url=f'{url}/sdapi/v1/txt2img', json=payload)

r = response.json()

image = Image.open(io.BytesIO(base64.b64decode(r['images'][0])))
image.save('output.png')
display(image)
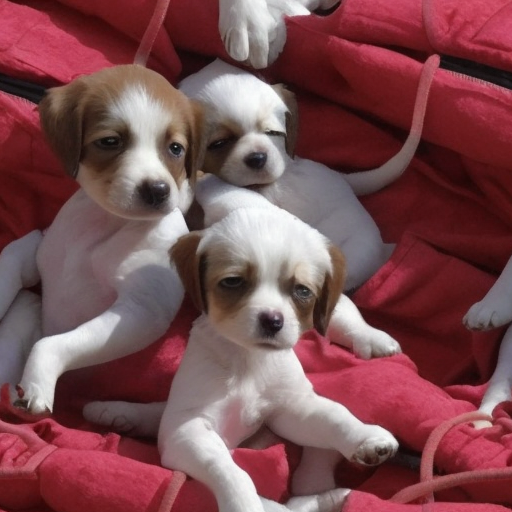
Using the settings above, we were able to generate this different image by adjusting our settings. Notably, we added a negative prompt for "yellow fur", changed the sampler to UniPC. With these adjusted settings, we get the image below:
Now that we have everything set up, we are good to go! It is now possible to integrate the Stable Diffusion Web UI with whatever project we desire. For example, it is possible to integrate it with a chatbot application for Discord.
Closing Thoughts
In this article, we revisited the Stable Diffusion Web UI by AUTOMATIC1111 and their contributors with the express goal of interacting with the Gradio application's FastAPI backend. To do this, we explored accessing the API, the adjustable settings available when POSTing a txt2img request, and then implemented it in Python to run with Paperspace or on your local.