CPU Instances allow you to scale compute power as you need it across a variety of use cases. We're excited to announce their availability in our latest release. Here we're going to walk you through the steps to get started with spinning up your own.
1. Sign up
If you have yet to sign up, be aware that you will need to have a credit card on file in order to get started.
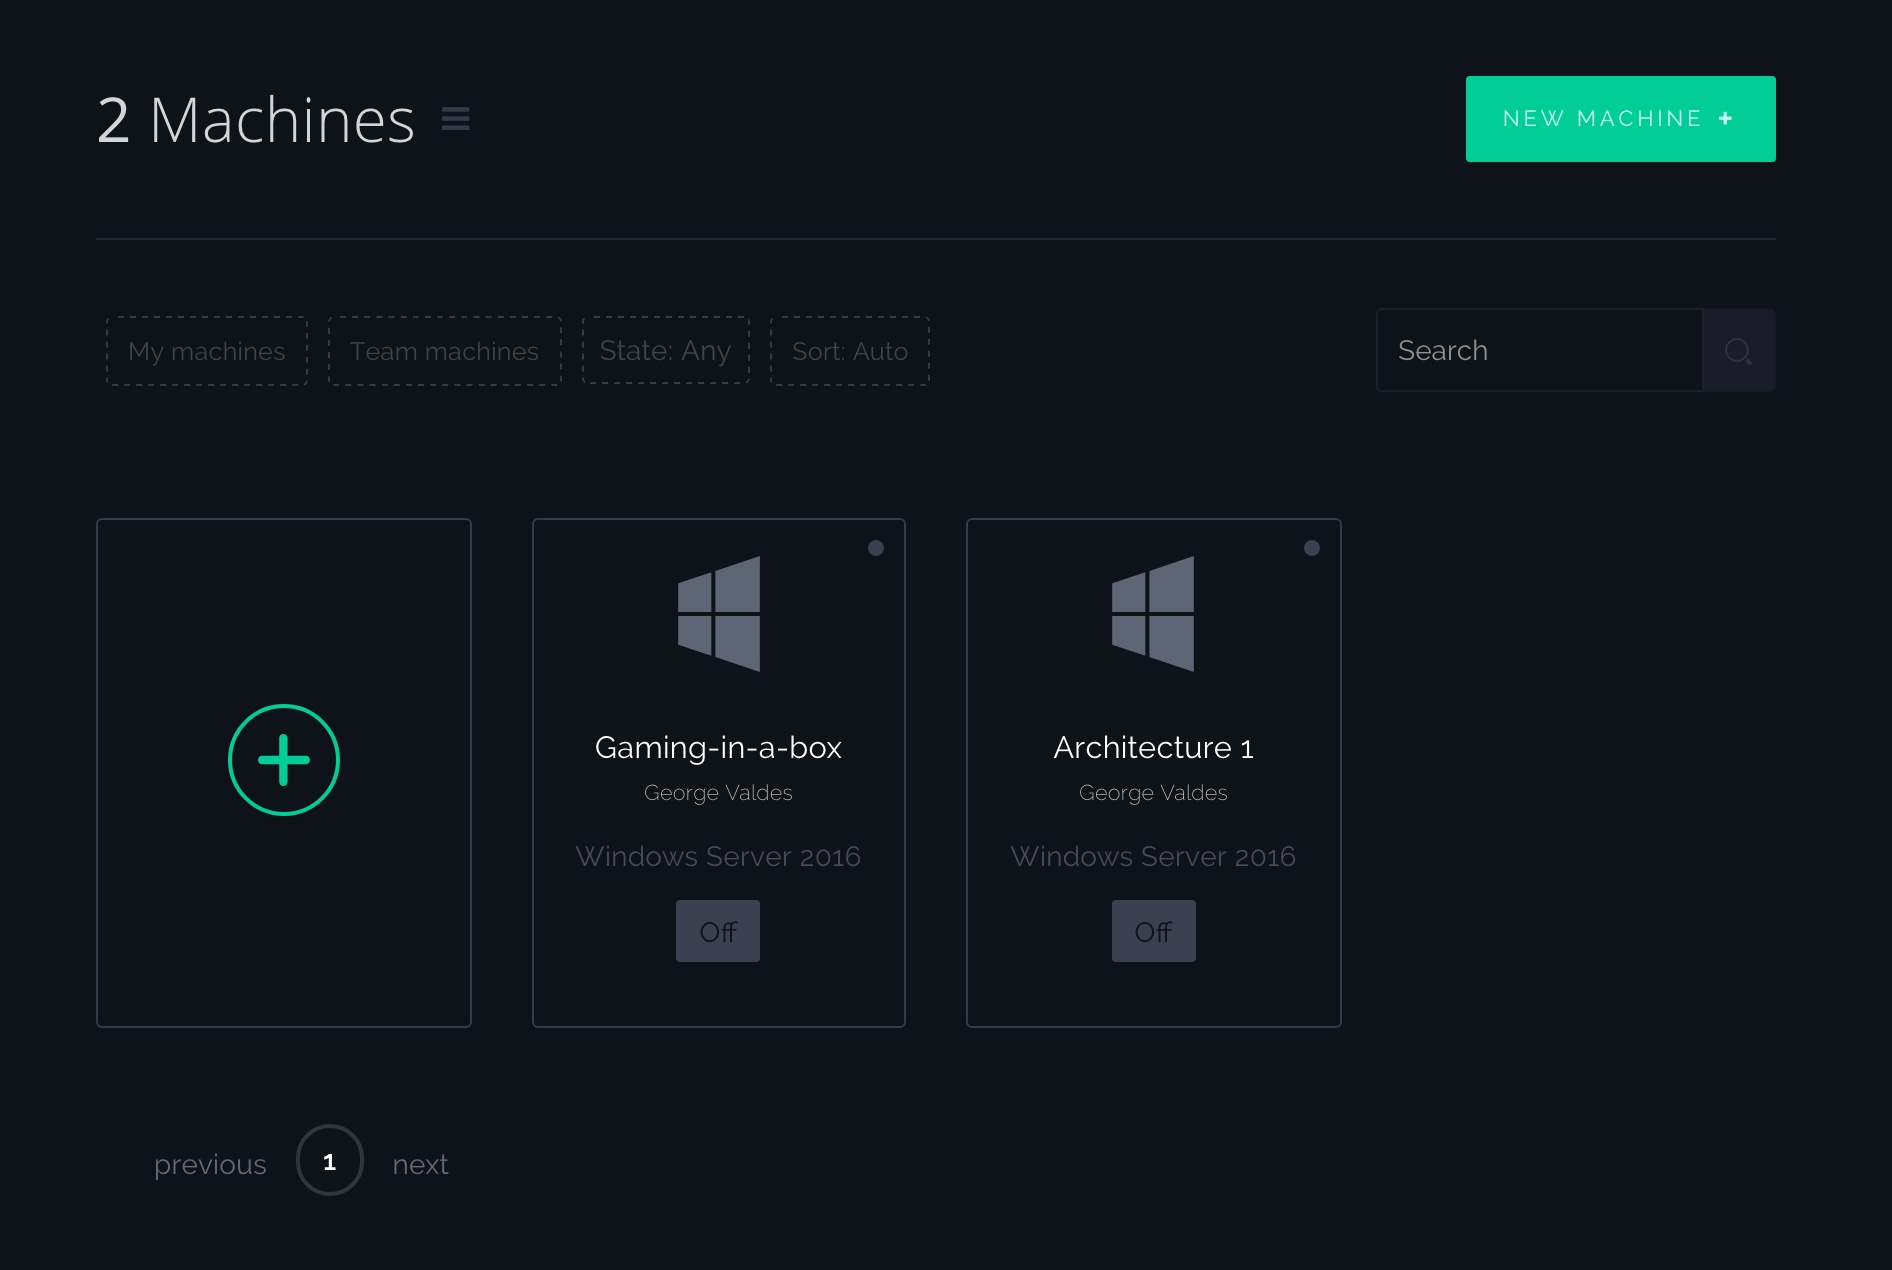
2. Go to Machine Create
Selecting either New Machine or the + Symbol will take you to the same part of the on-boarding process.
3. Select your Region

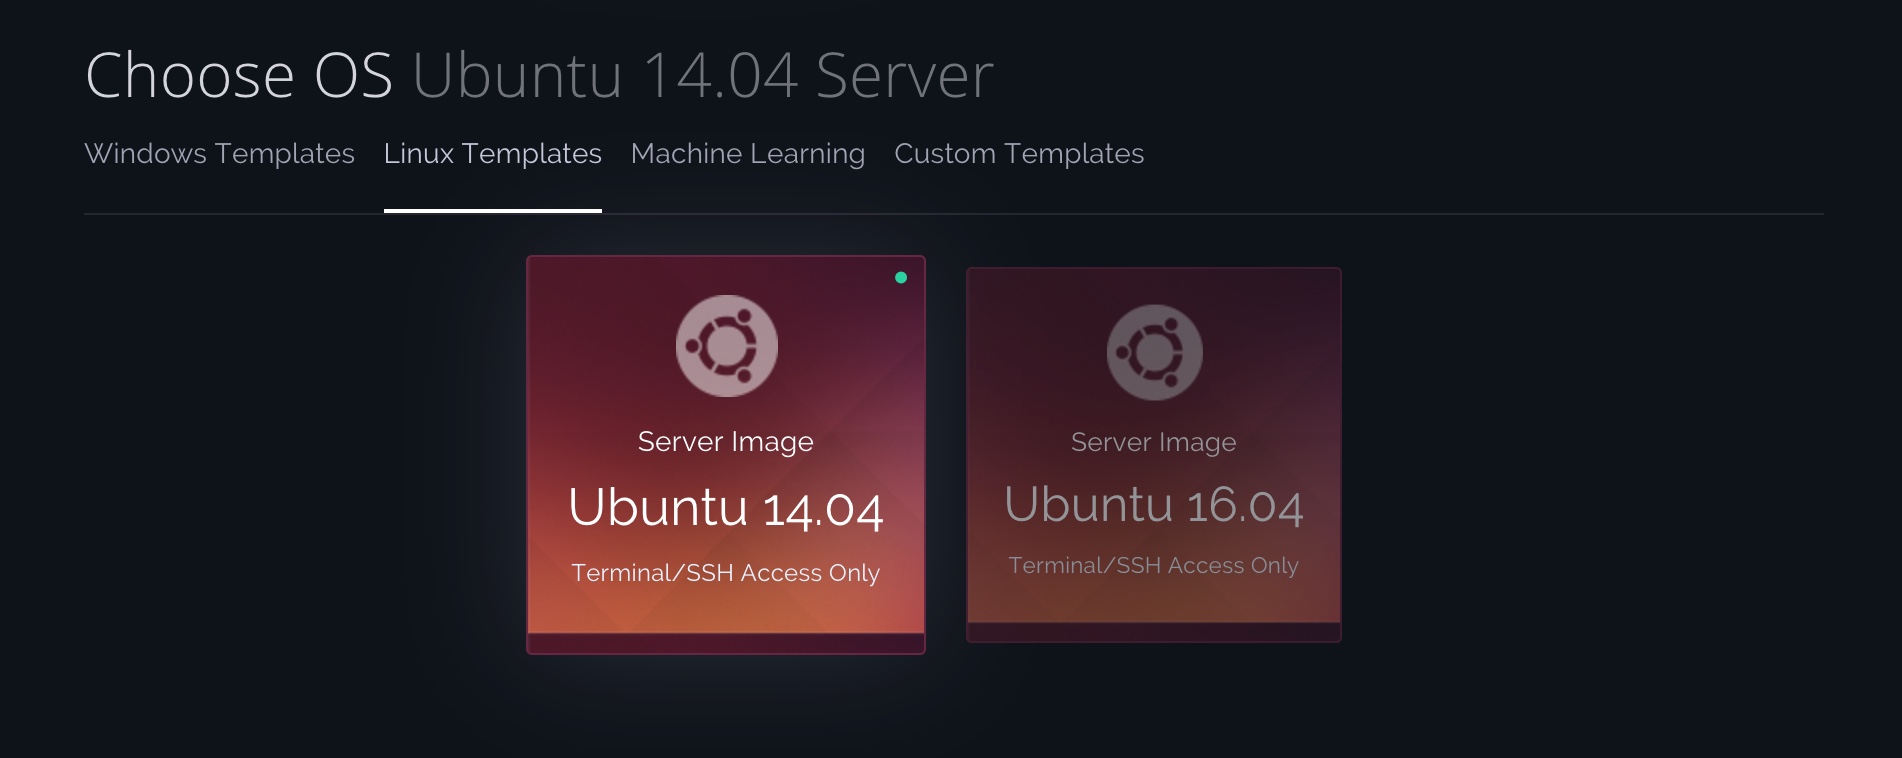
4. Select your Operating System
CPU Instances are currently only available for Ubuntu 14.04 and Ubuntu 16.04
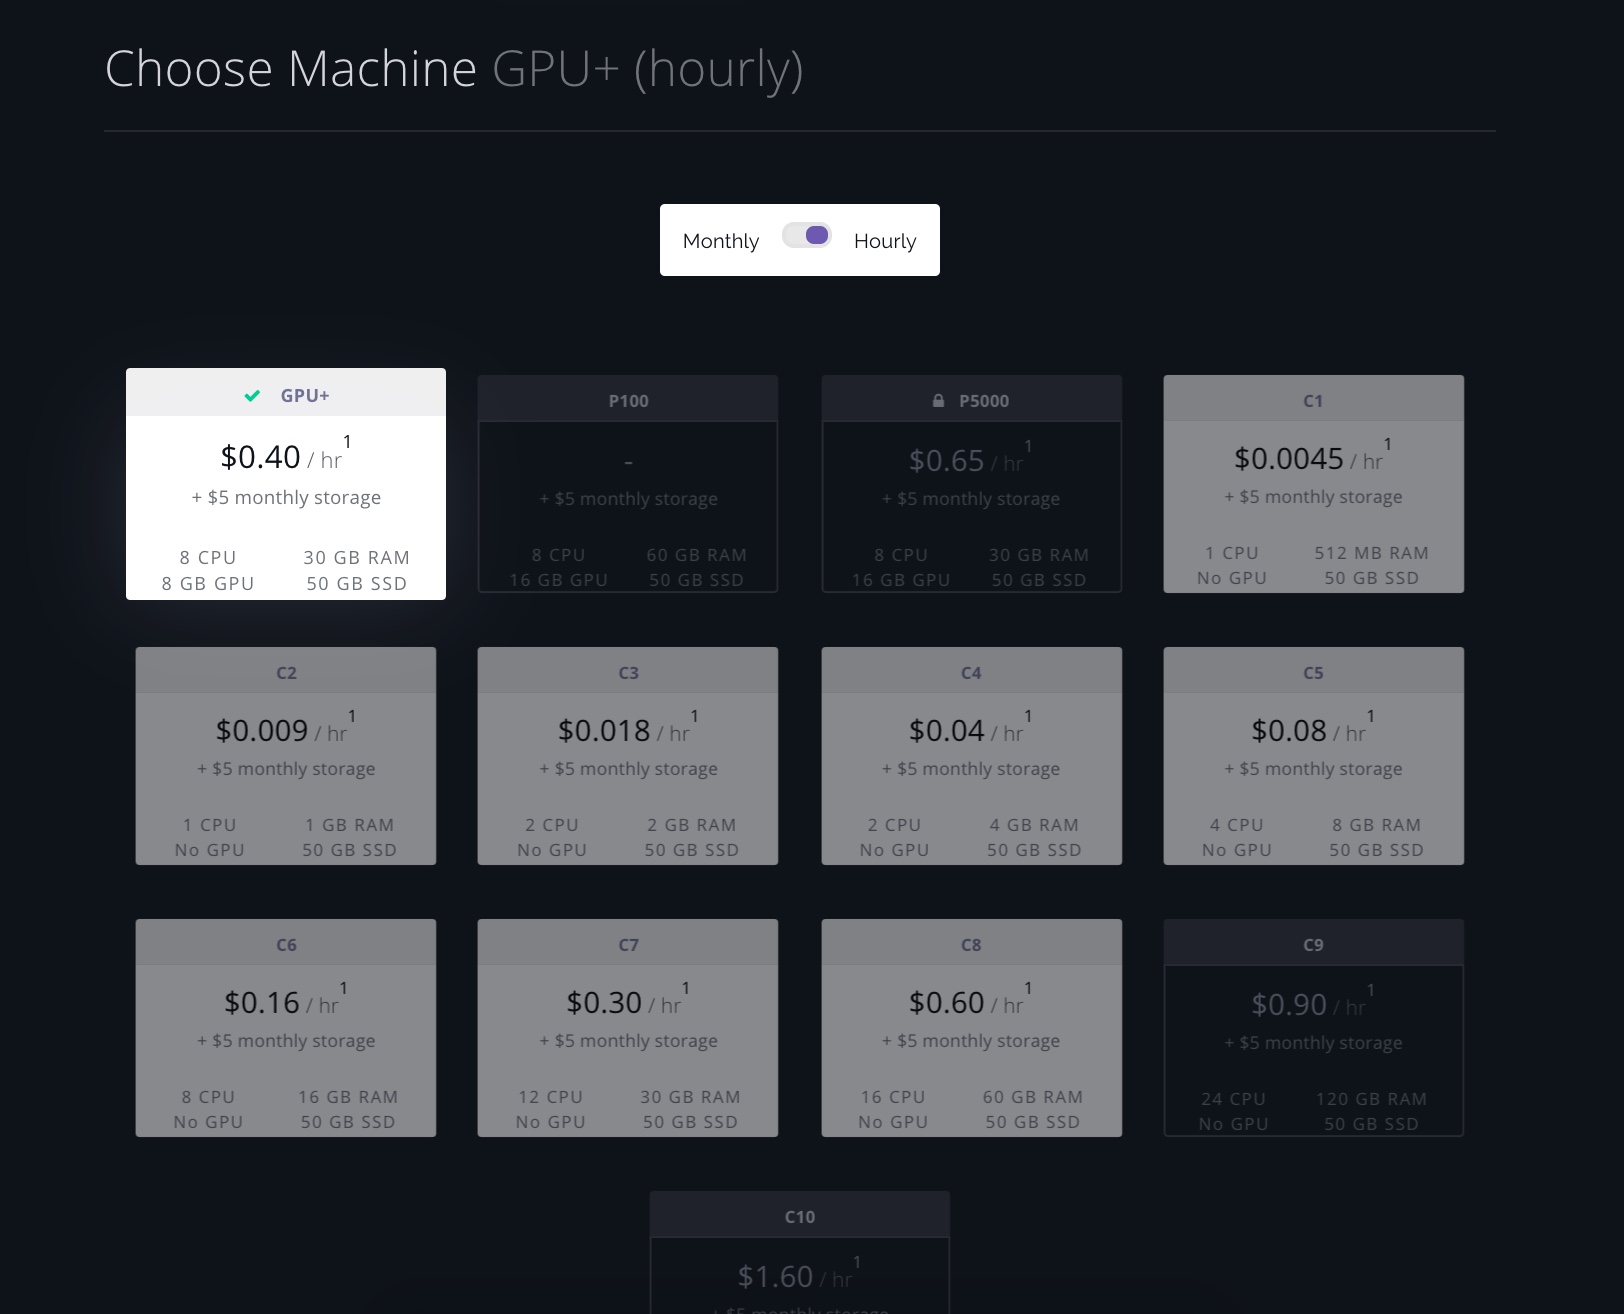
5. Select your CPU Instance
Tiles that are fully greyed out and inaccessible are currently either coming soon or in a limited release. Please reach out to hello@paperspace.com if you're interested in getting access.
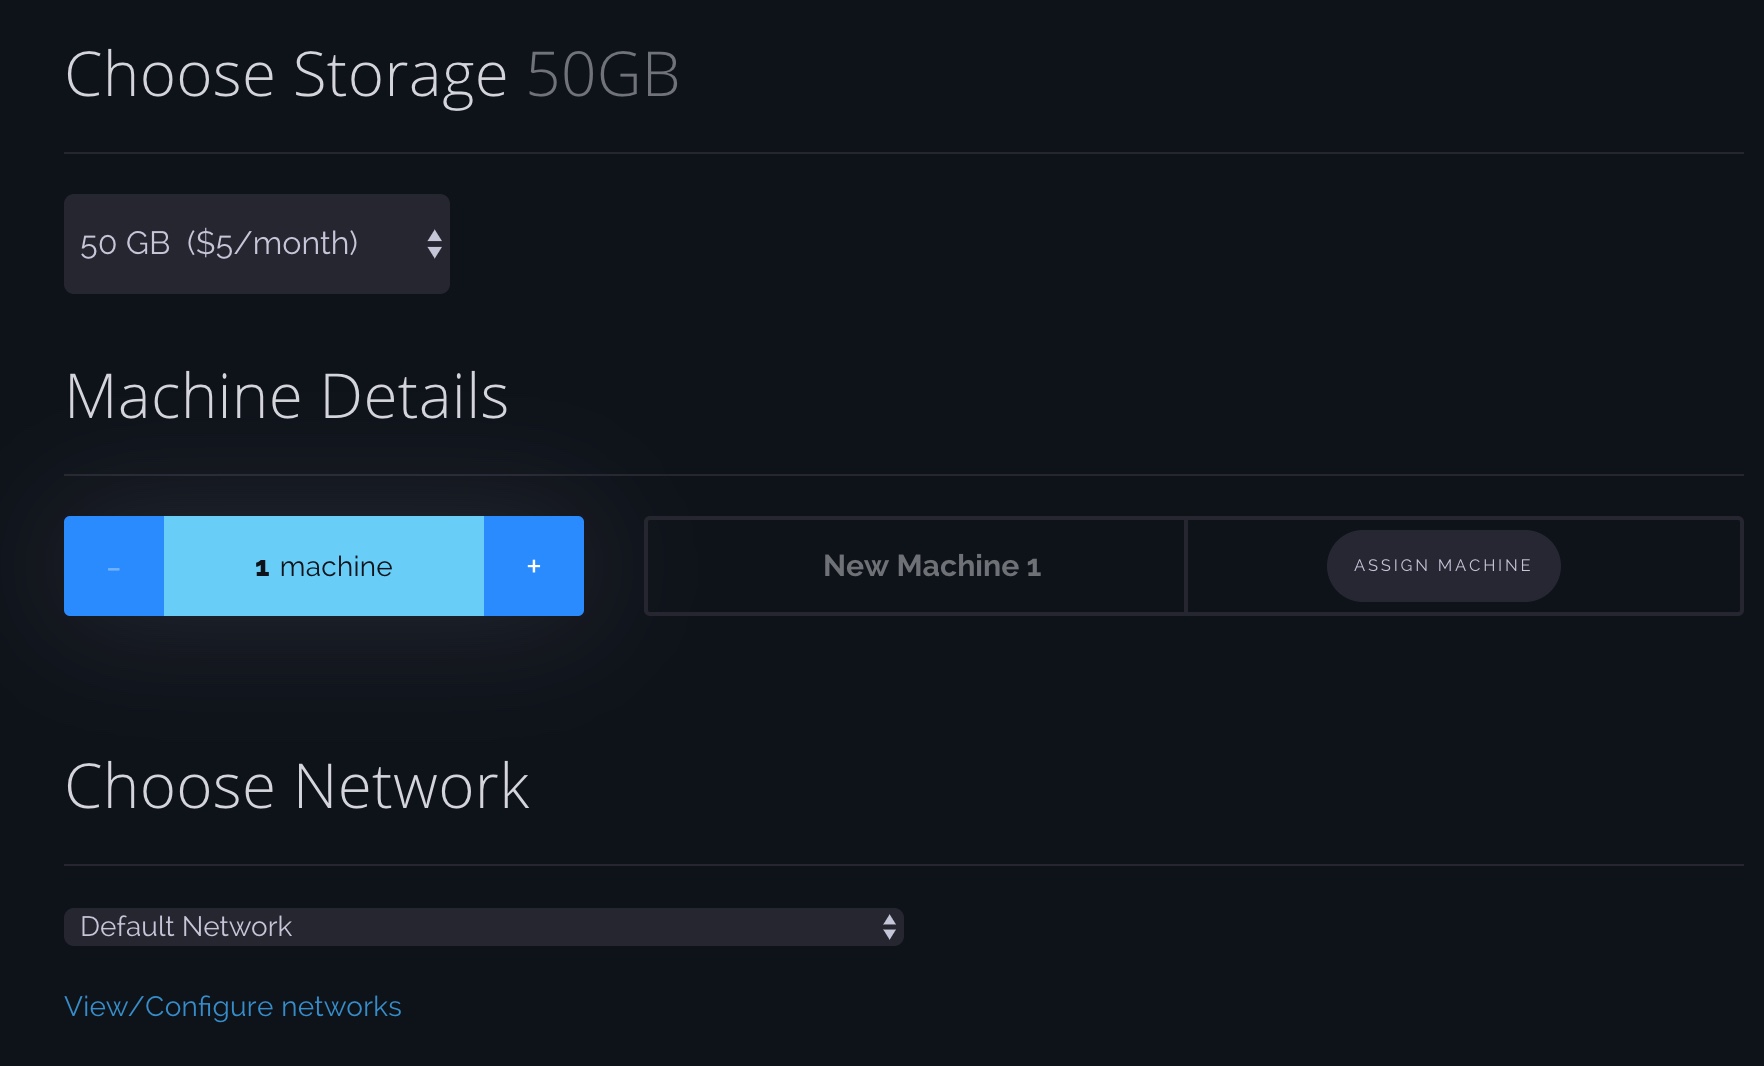
6. Select your Storage, number of Machines with the same specs, and Setup your network
Under Machine Details you can now add additional machines with the same specs, and name them as you wish.
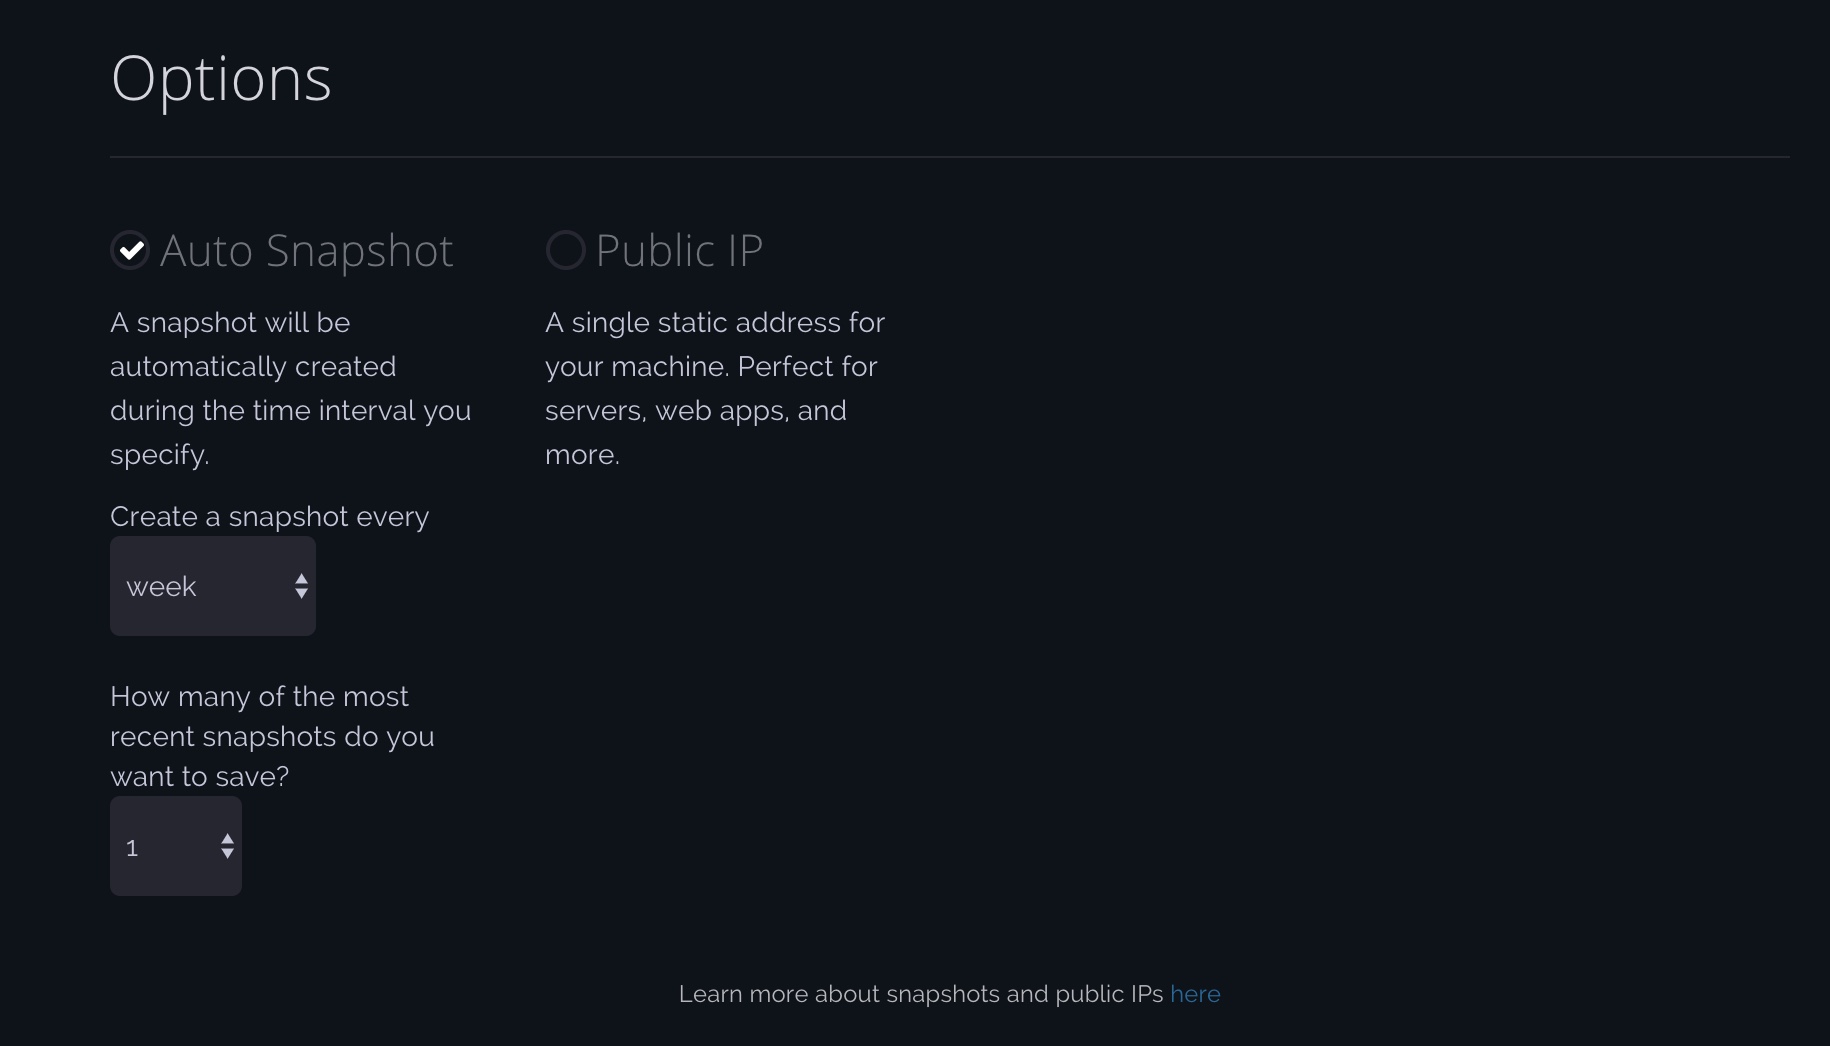
7. Add additional Options
Auto-snapshots are on by default but you can toggle that off if you'd like.
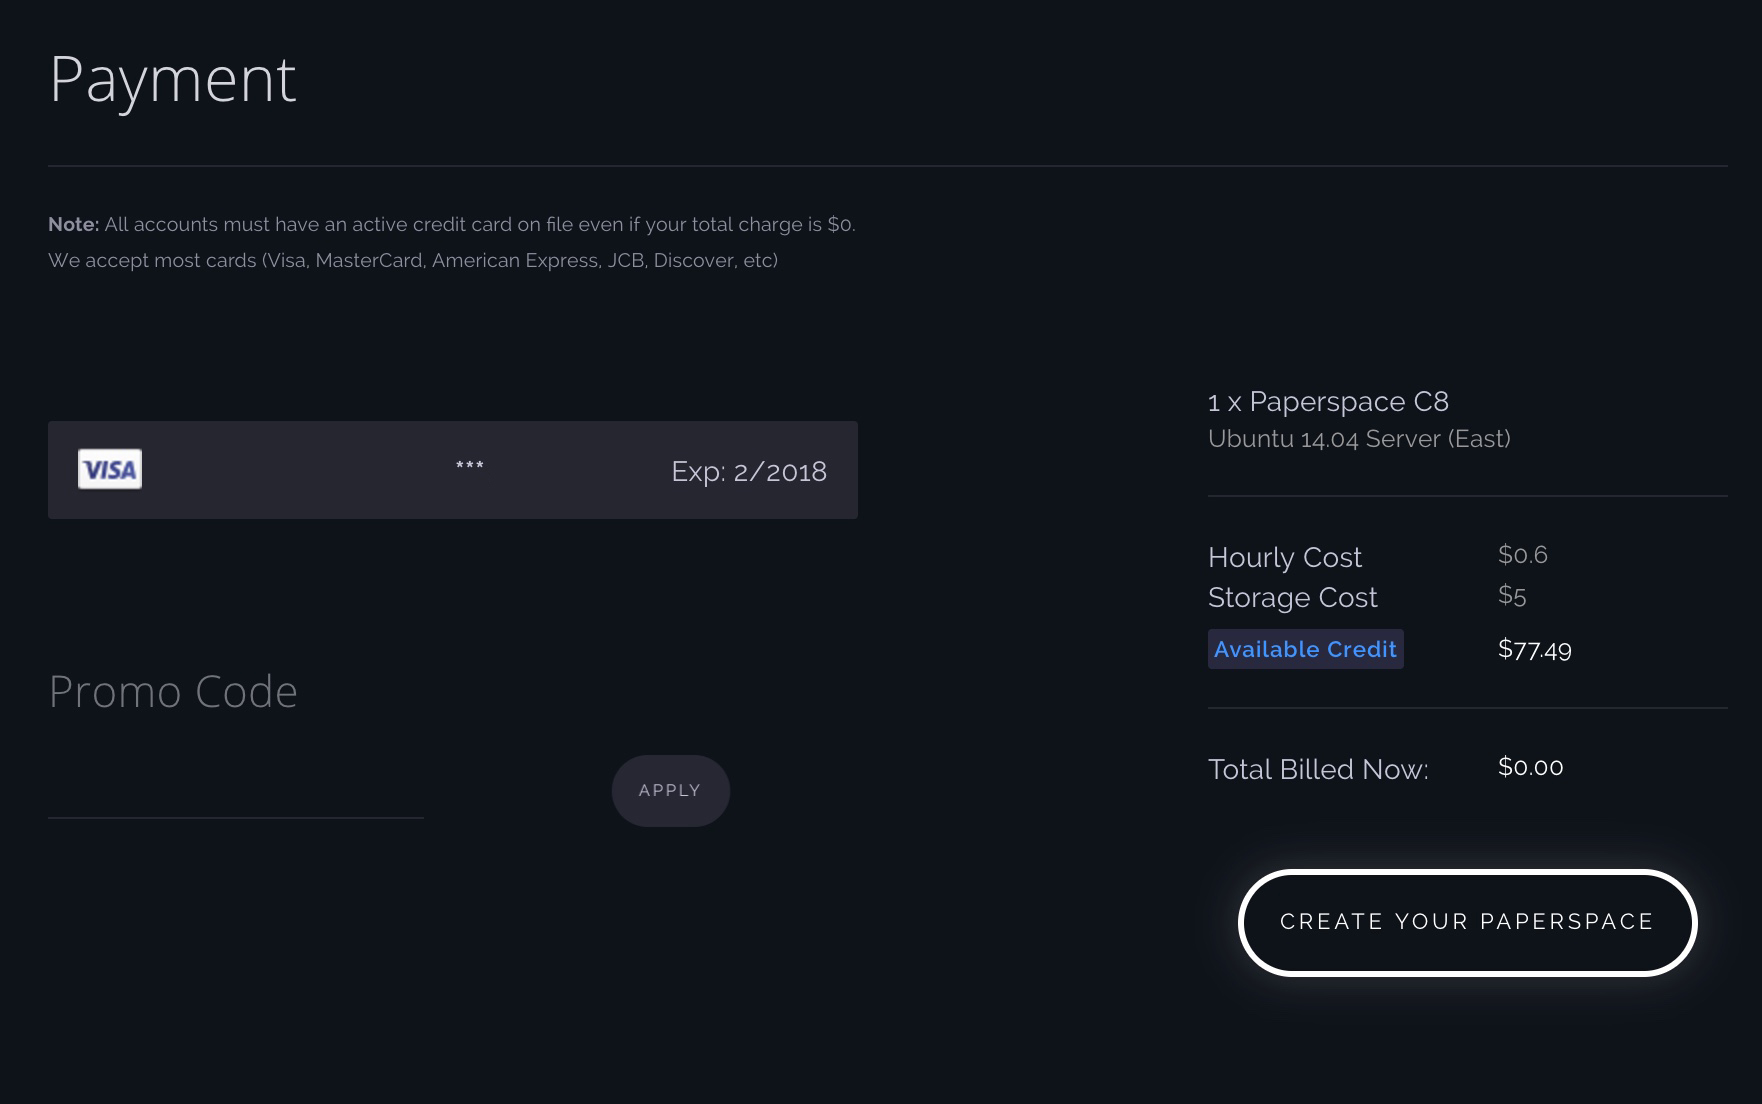
8. Payment
On the right hand side, you can see a running calculator of your selection.
Once you create your Paperspace machines you will be taken back to the console where you can see their provisioning state in real-time.
Get started today with your own CPU instances by signing up today!