Update: This post is out of date. We recommend viewing the docs page which includes more info and a step-by-step guide for getting started with GradientCI.
We're excited to introduce GradientCI, our new GitHub integration that makes running your ML jobs easier than ever.
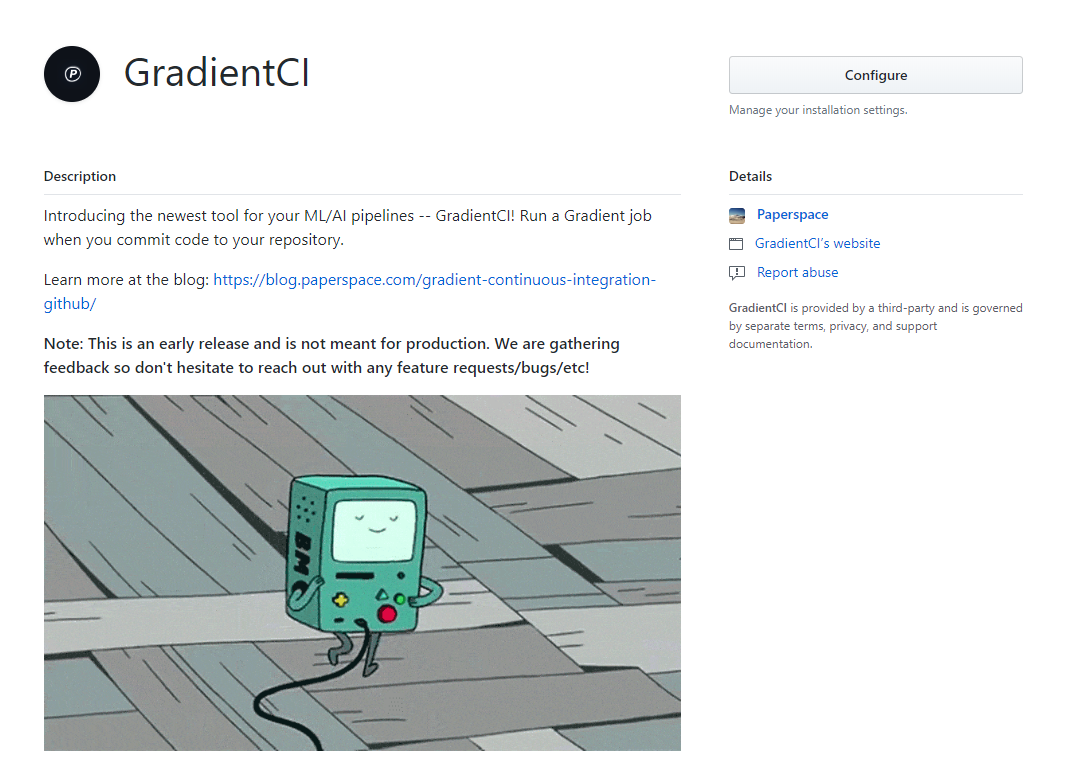
Install on your private github repos here: https://github.com/apps/gradientci
How it works
note: this is an early release and is not ready for production yet
GradientCI is really new so it's not fully featured yet. If you are eager to test the bleeding edge, here's how you can try it today!
Just like a continuous integration build for webapps where you can test and deploy your code, you can now run a Gradient job for very change in your GitHub repo.
With GradientCI for GitHub, you no longer need to manually run a job for every git commit. It's all streamlined and automatic without adding any additional configuration.
1. Install the GradientCI app on your private repo
Go to https://github.com/apps/gradientci and configure access to a private repo.
GitHub will first allow you to select where you want to install GradientCI. If a member of a GitHub organization, it will prompt you to select either your personal account or the organization account.
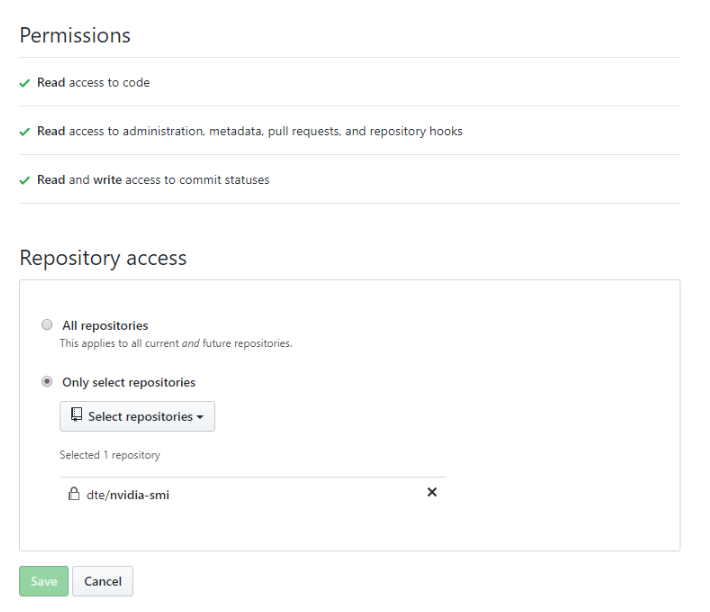
The next step is to select the repositories you'd like the GradientCI app to install on. You don't need to give us access to all of the organizations and repositories associated with your account and you can choose which individual repos you want GradientCI to run on.
2. In your repo, add a paperspace config file
If you have initialized your repo from the paperspace CLI with paperspace project init your directory will already have a .ps_project folder. In this folder is a file called config.json which includes the parameters for your job.
Your repo should look something like this:
- project directory
- .ps_project
- config.json
- main.py
- run.sh
- ...
- .ps_project
Your config.json should look something like this:
{
  "project": "paperspace/nvidia-smi",
  "container": "tensorflow/tensorflow:1.8.0-gpu",
  "command": "nvidia-smi",
  "machineType": "K80",
}
3. Add an API key to your config.json
This is a temporary step to try out GradientCI today. We normally don't recommend putting your private API keys in to a repo, and this requirement will be removed soon. IMPORTANT: make sure your repo is private! You don't want your Paperspace API key floating around the internet
{
  "project": "dte/nvidia-smi",
  "container": "tensorflow/tensorflow:1.8.0-gpu",
  "command": "nvidia-smi",
  "machineType": "K80",
  "apiKey": "abc123" <---- add your API key here
}
4. Push some code!
With the GradientCI bot configured, every new push to your repo will run a job. In the future we will make this configurable so it only happens on pull requests, or when you manually specify it.
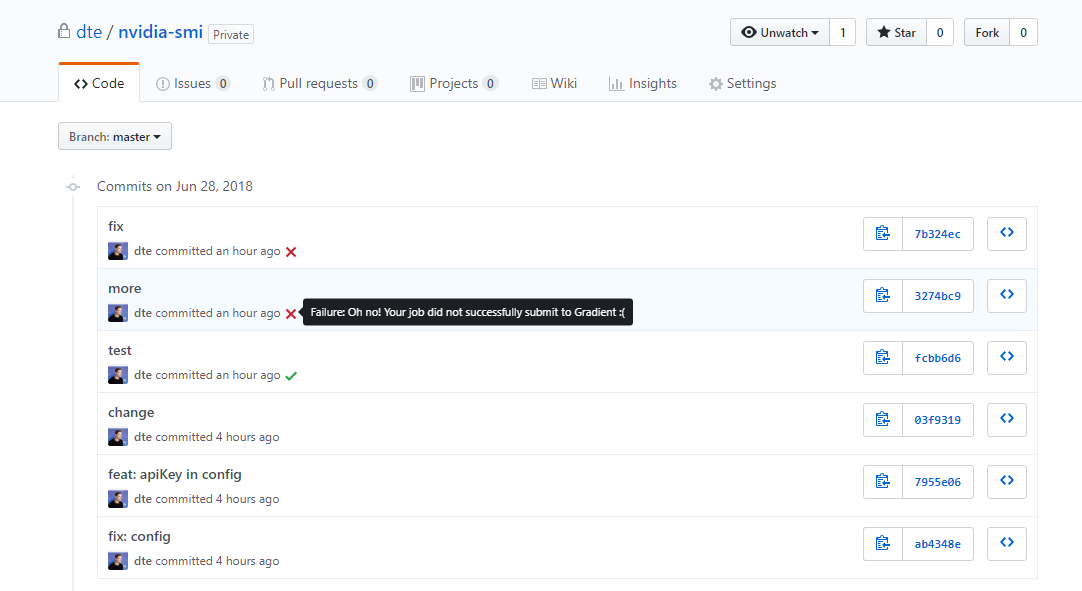
Once you git commit && git push your job will start running!
Your commits will be tagged with a success message if the job is submitted or an error if there is any problem with your configuration.
Conclusion
We have some really exciting new tools coming soon to help build out production ML pipelines. Make sure to subscribe to our newsletter to be notified!