QuickBooks is the preferred accounting software for more than 30 million small businesses. That's in the US alone. The most visible trend is that more and more business are hosting QuickBooks in the cloud. In this tutorial, we'll configure QuickBooks Desktop and a company data file running on Paperspace, all in just a few minutes.
Why run in the cloud?
First, you may be wondering what the benefits are of running in the cloud versus your office or using QuickBooks Online. Here are a few reasons why companies are moving to a hosted solution (feel free to skip ahead to the tutorial):
Access Anywhere, Anytime
One of the primary benefits of running applications in the cloud is that you're not tied-down to a single device or complicated VPNs. Paperspace offers a portal into your QuickbBooks environment from any device equipped with a web-browser.
Multi-User Collaboration
Collaboration with clients, partners and your team is essential and adding or removing users in a cloud-based environment is a click away. QuickBooks Online grants access to only one person at a time. Adding more people requires an upgrade and subsequently, a higher cost. With a hosted solution, up to 30 people can access the same document at once, at no extra cost.
Reduced IT cost
If you're running QuickBooks in your office, you're paying for expensive IT support and server maintenance. Paperspace handles the infrastructure up-time for you, completely eliminating the need for local IT costs. Additionally, you only pay for what you use.
Automated Backups
Paperspace offers continuous and automated backups. In the interface, you can easily set your backup schedule and the number of backups you keep around. You can rollback to any point in time with a single click. Never worry about accidental deletion again.
Scalability
One of the primary advantages of running in a cloud environment is that you only pay for what you need and can scale up your resources anytime, with the click of a button. You can easily expand your storage or RAM and CPU on the fly.
Security
The most common data breaches are attacks against on-premise networks. At Paperspace, your information is secure in our stat-of-the-art datacenters equipped with highest security standards. Security measures include 256-bit data encryption, 24/7 network monitoring and automated threat detection.
Fully-Featured QuickBooks Desktop
QuickBooks Desktop is much more fully featured than Quickbooks Online. More importantly, you are familiar with the interface and functionality. Moving to a hosted solution doesn't require learning new software.
Superfast SSD Storage
Running on our finely-tuned SSD backed storage will result in a huge performance increase over both in-office setups and QuickBooks Online.
Installation
Prerequisites
- A minimum of two machines
- A Private Network so they can communicate with each other
Let's jump right in. For this demonstration, we'll be using multi-user mode so you can get a sense for how we can setup a company data file and machines that will access the data file across your network. I've started by created two machines called QB1 and QB2. QB1 will host the company data file that everyone on my network can access and QB2 will become the QuickBooks Desktop application machine. You could add as many QuickBooks Desktop machines as needed.
Download QuickBooks
5 minutes
In this tutorial, we'll be using QuickBooks Desktop Pro 2016 and we'll be running on Window Server 2016. The experience is very similar across the many platforms Intuit supports so don't worry if you're running a different version. You can download and register your copy by logging in to your account.
Prepare Company Data File and Network Sharing
4 minutes
We'll begin by running the QuickBooks installer on QB1.
Tip
If you're worried about making a mistake, take a Snapshot during the installation steps so you can rollback.
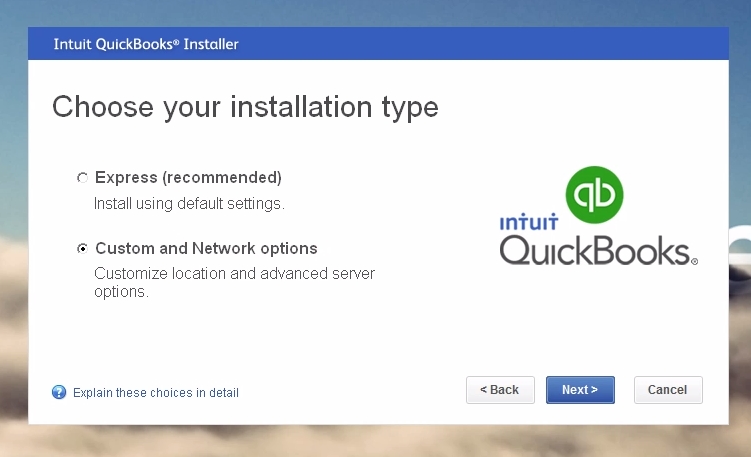
Select Custom and Network Options
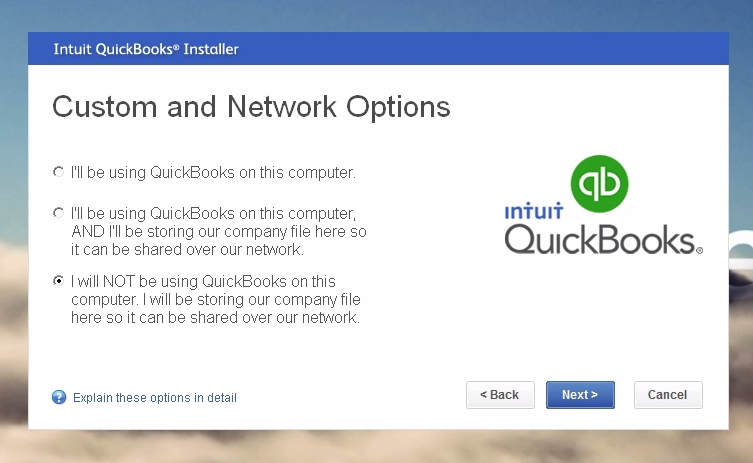
Choose I will NOT be using QuickBooks on this computer...
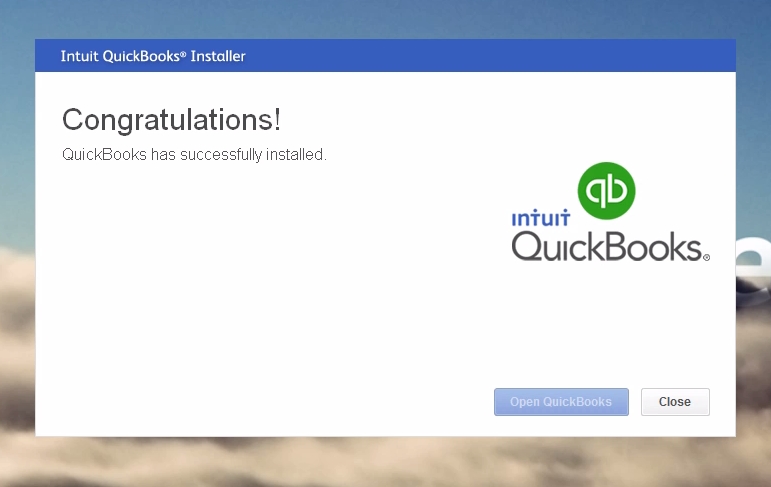
Complete the installation
Next, we'll setup the company data file. I'll be using one of the samples provided in the QuickBooks installation. The file is called sample_service-based business.qbw, though you would most likely bring an existing company data file or create a new one.
Create a folder for the data file under c:\ called QB. Make sure data file is added to QB folder.
Right-click on QB folder and click Properties > Share with > Specific people
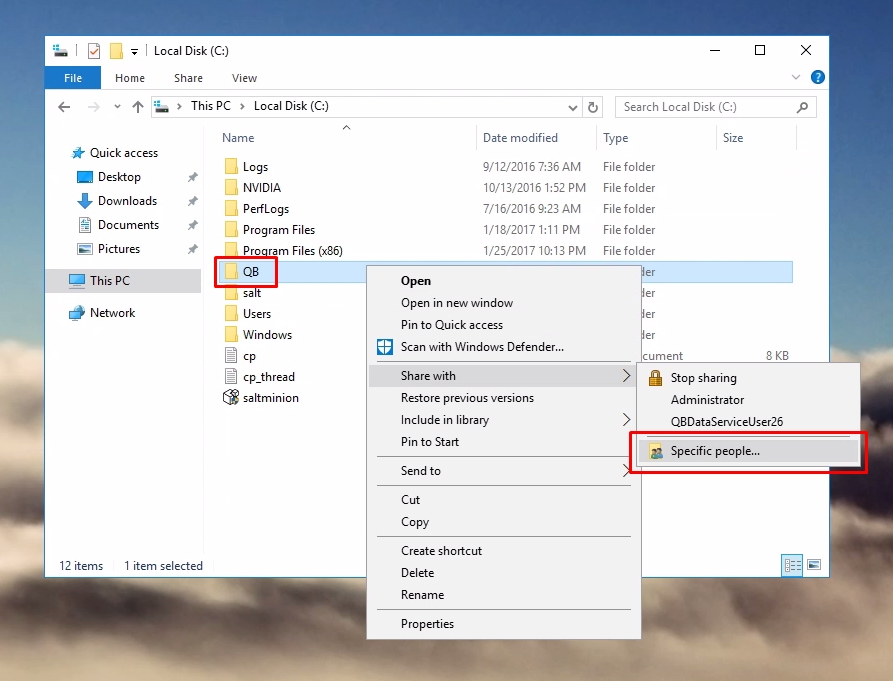
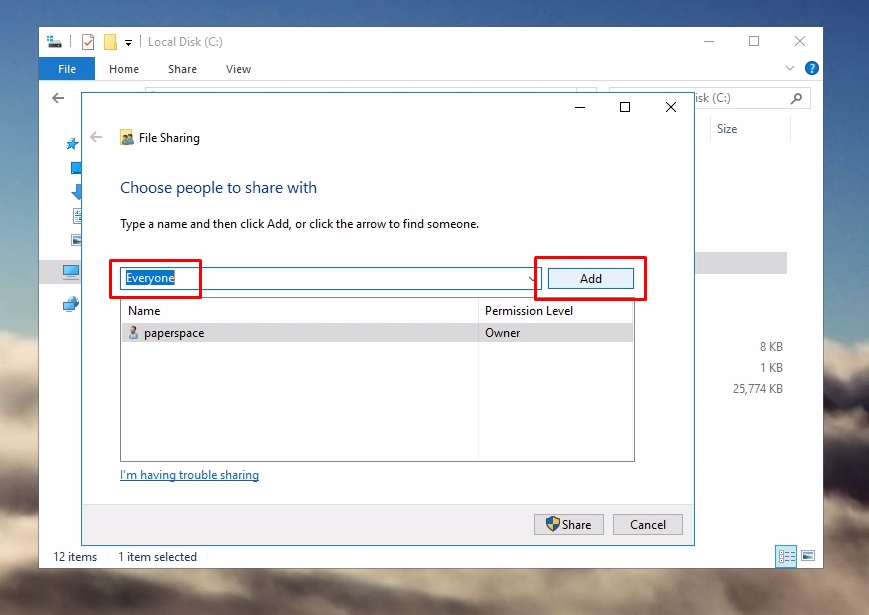
In this example, I'll choose Everyone to keep things simple. Feel free to set up more fine-grained permissions at this step. Click Add.
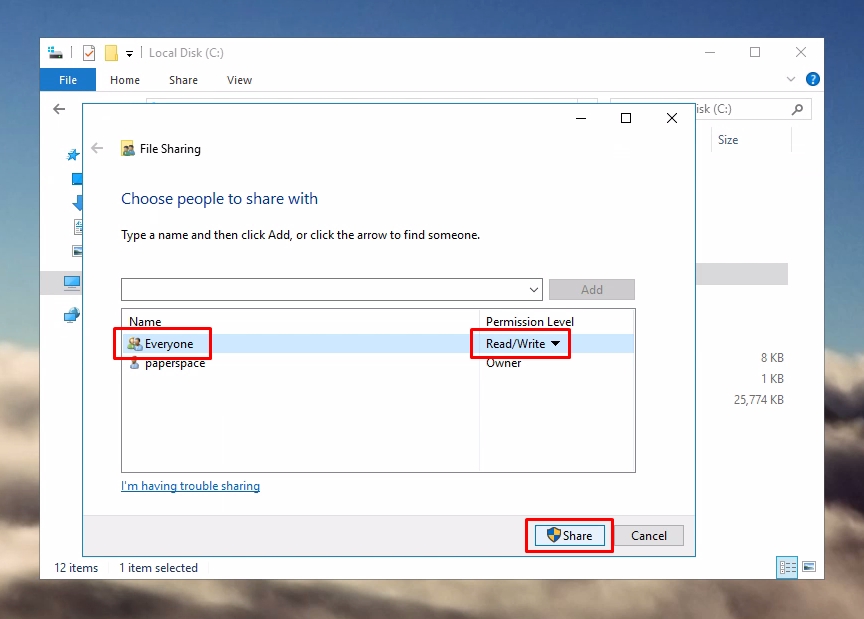
Then set the Read/Write permissions and click Share
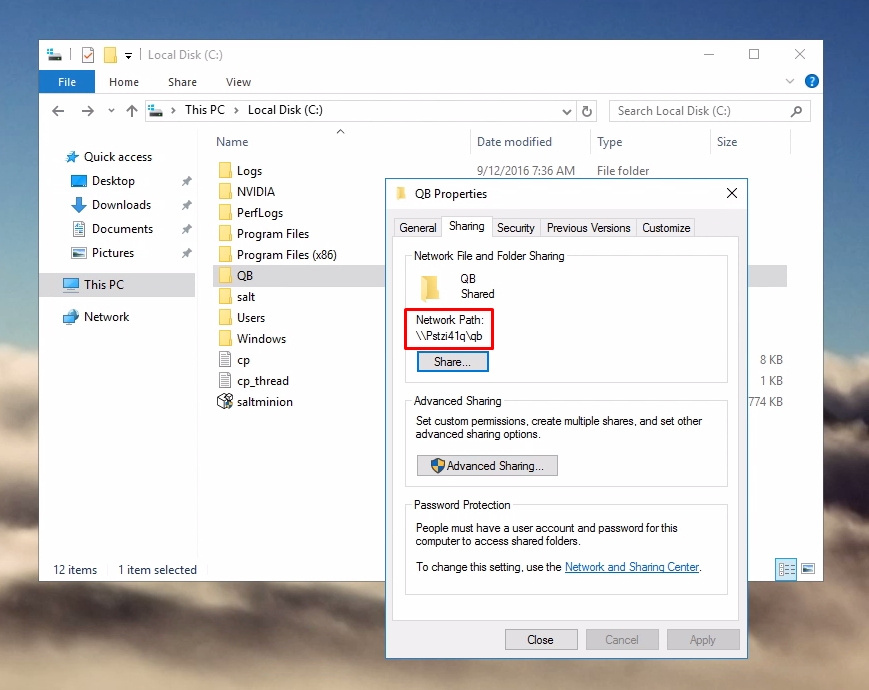
I'll find the network path to this company file by right-clicking on the QB folder, selecting the Sharing tab. Under the Network File and Folder Sharing section you'll see the network path. In this case, it's using my hostname followed by the folder name. Note: We can also use the IP address which is visible in the Paperspace console.
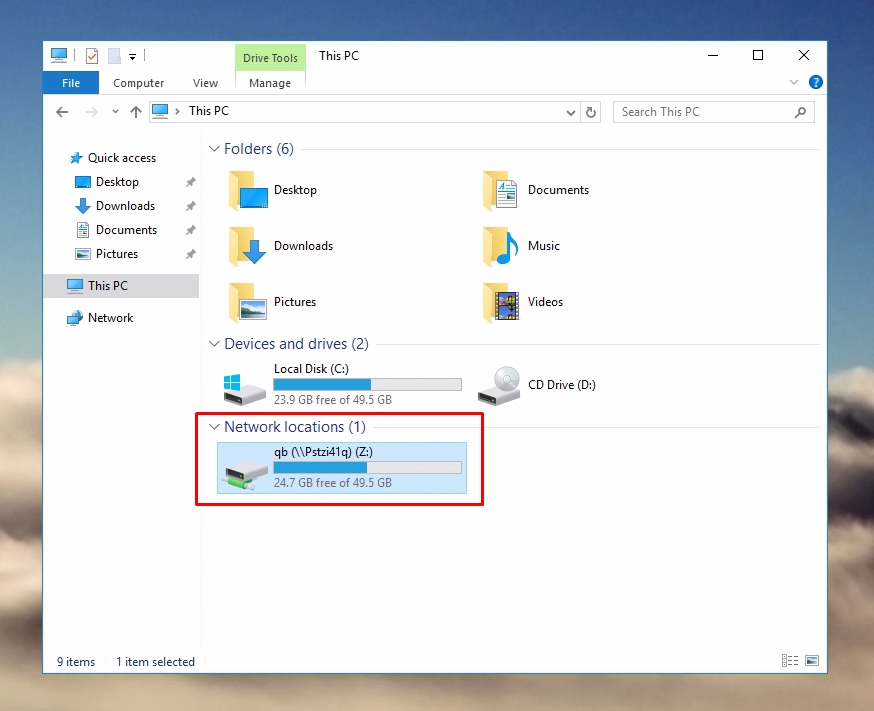
At this point, we can hop into QB2 to confirm that we can reach this company data file from other machines. We'll mount the QB folder as a network drive on QB2.
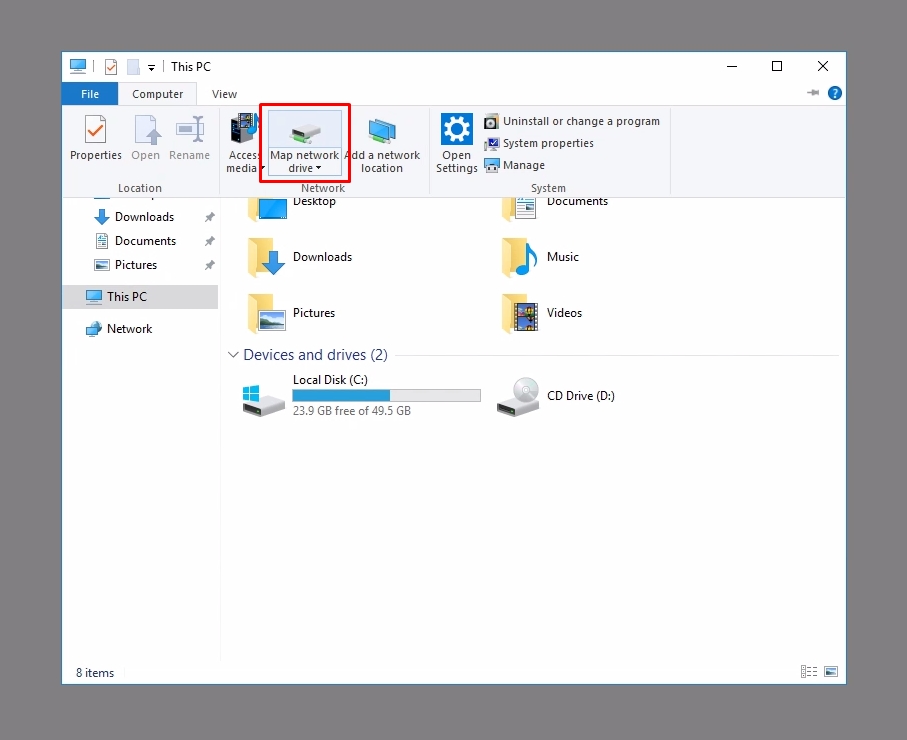

It will prompt you for credentials.

It looks like I am able to successfully communicate with QB1.
Install QuickBooks Desktop
4 minutes
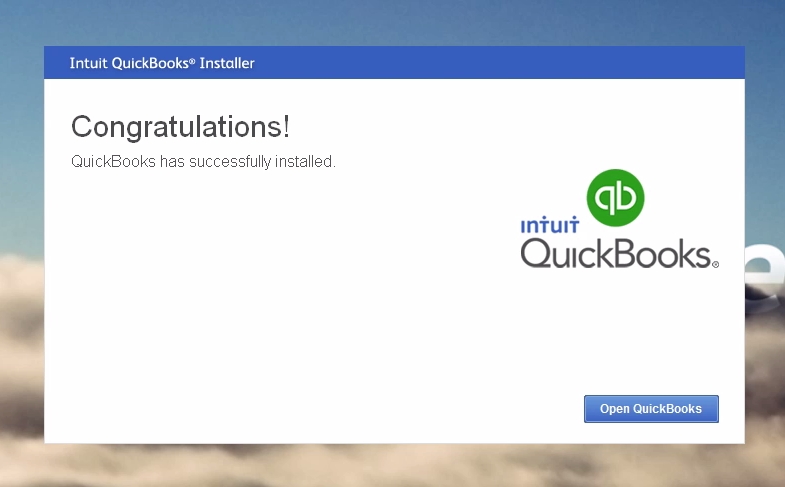
The next step is install QuickBooks Desktop on QB2. Run the installer again and simply choose the express install option or select I'll be using QuickBooks on this computer.

Because this is the Desktop edition, I can launch right into QuickBooks at the last step.
Finally, we'll activate QuickBooks on QB2 (no activation is required on QB1 since it only hosts the company file).
Complete Setup
We need to verify that the company data file can be opened from other machines.
When QuickBooks is open on QB2, select Open or restore an existing company and click Open.
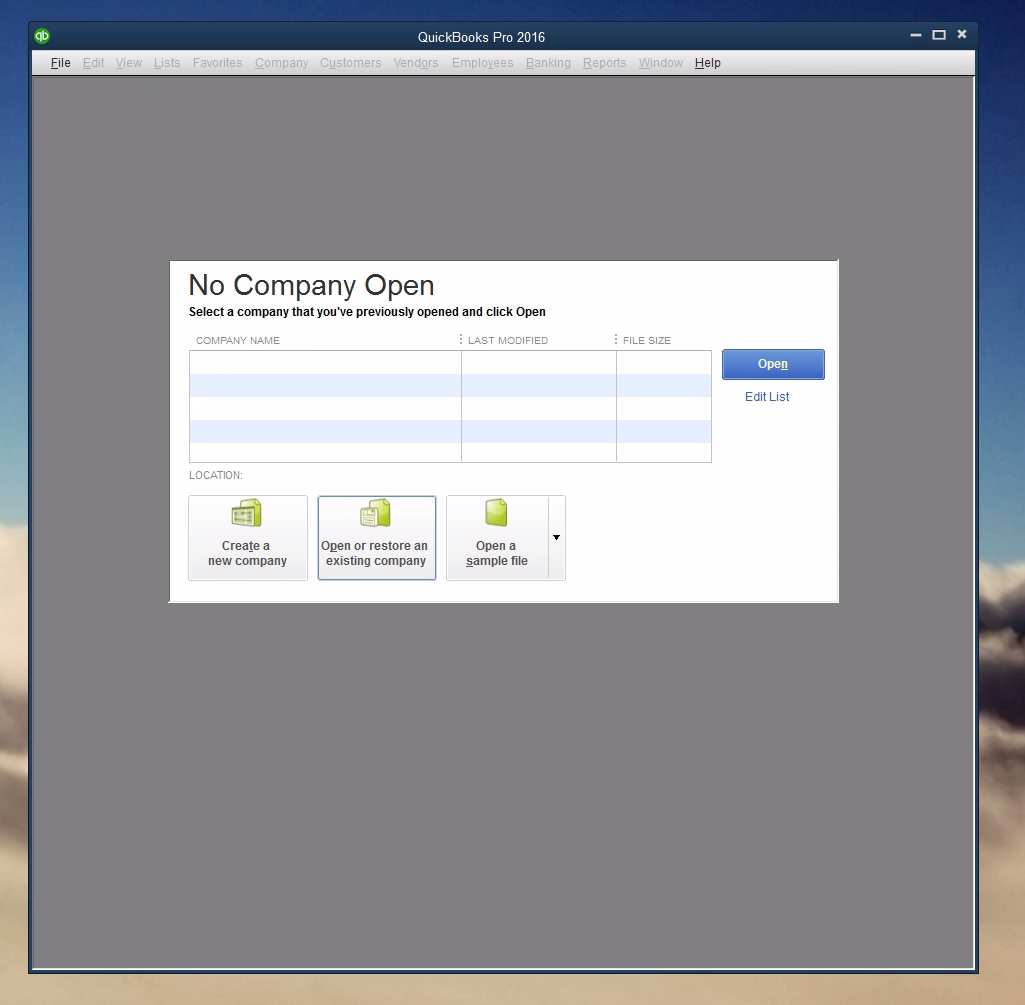
Select the company data file under the network share folder.
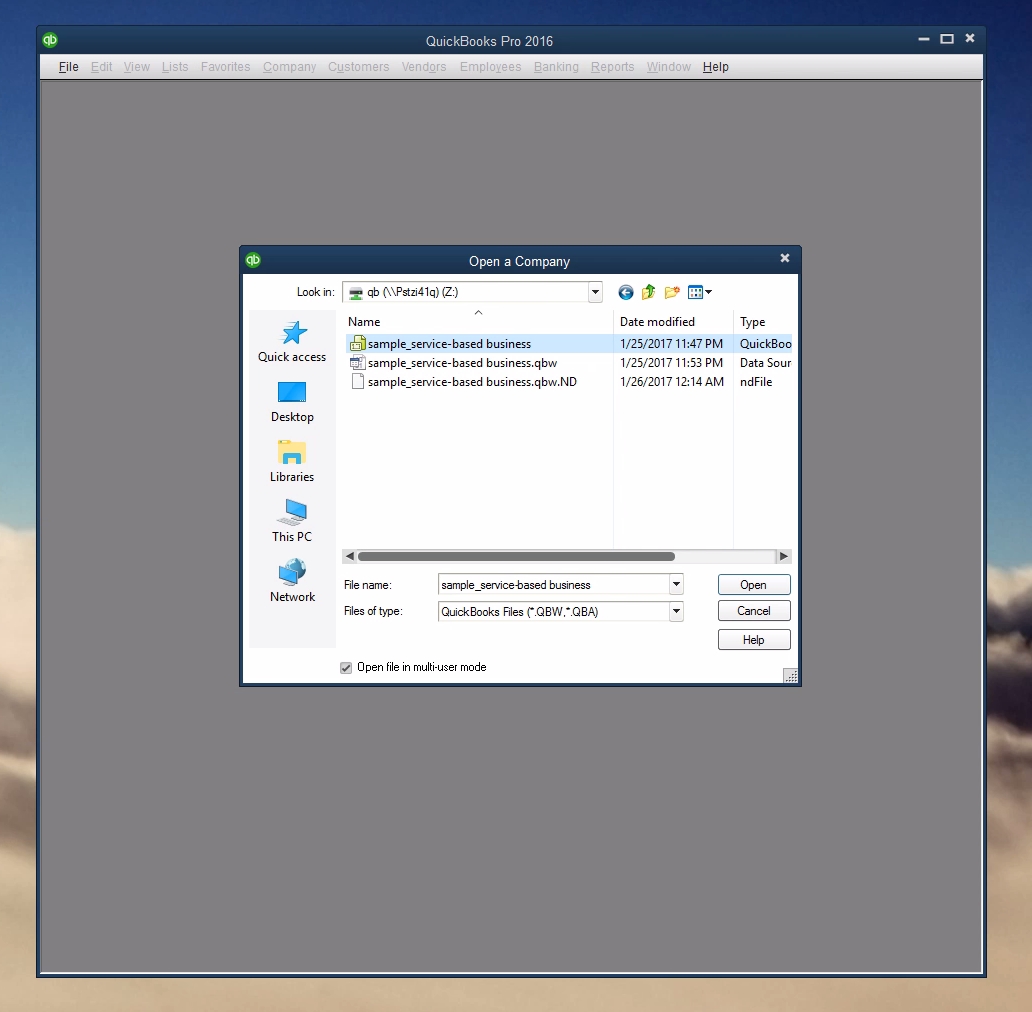
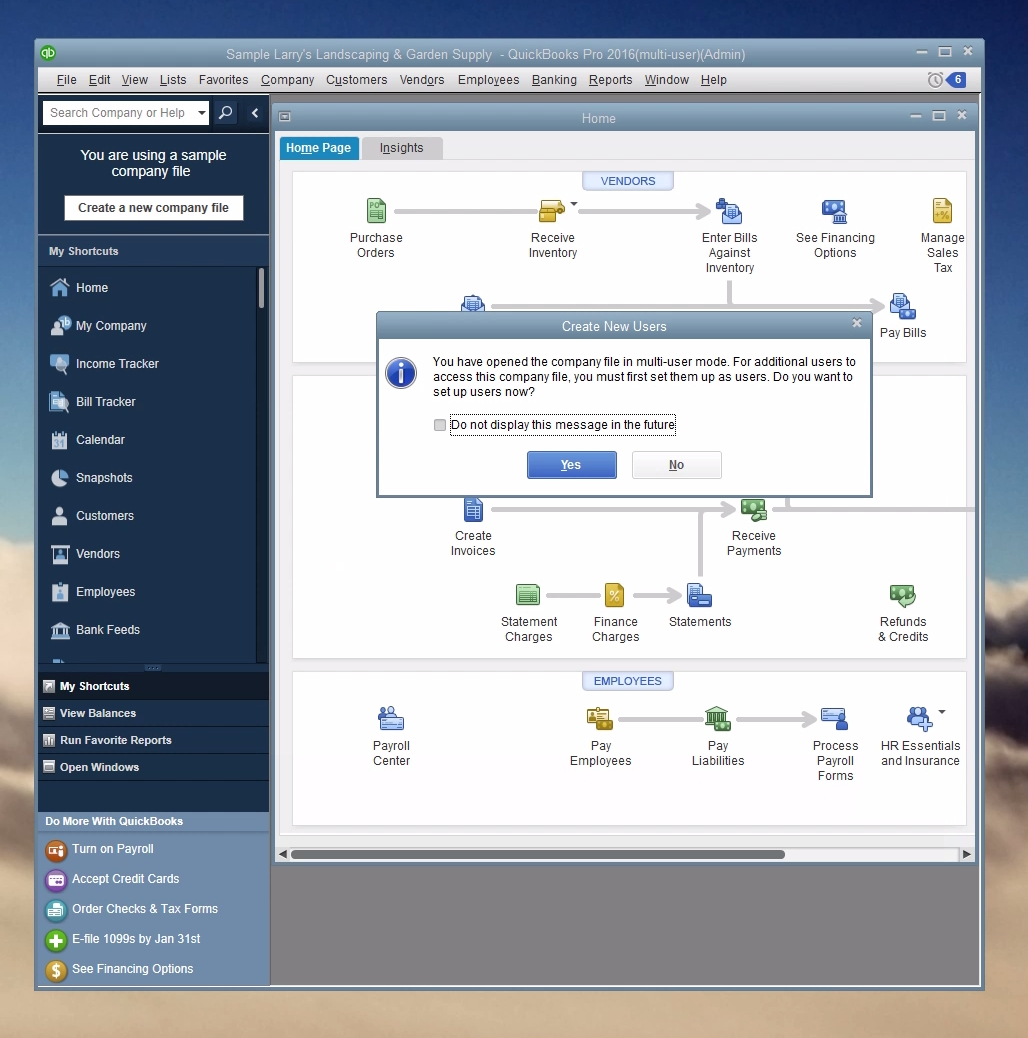
And there you go, the file is open!
To get started with your own Quickbooks setup, sign up here.