1. Create a Paperspace GPU machine
You can choose any of our GPU types (GPU+/P5000/P6000). For this tutorial we are just going to pick the default Ubuntu 16.04 base template.
Not comfortable with the command line?
Try the Paperspace Machine-learning-in-a-box machine template which has Jupyter (and a lot of other software) already installed! Use promo code MLIIB2 for $5 towards your new machine!
important: you will need to add a public IP address to be able to access to Jupyter notebook that we are creating. Make sure to select that option. If you forgot, you can always add it later through the console
2. Install CUDA / Docker / nvidia-docker
Here's a really simple script. Once you have SSH'ed in to your new machine, just run the script by pasting in the following to your terminal:
wget -O - -q 'https://gist.githubusercontent.com/dte/8954e405590a360614dcc6acdb7baa74/raw/d1b5a01ed0b9252654016d2a9a435dc8b4c045e7/install-CUDA-docker-nvidia-docker.sh' | sudo bash
For the curious: you can find the script here https://gist.github.com/dte/8954e405590a360614dcc6acdb7baa74
When it is done you will need to restart the machine by typing:
sudo shutdown -r now
3. Run jupyter
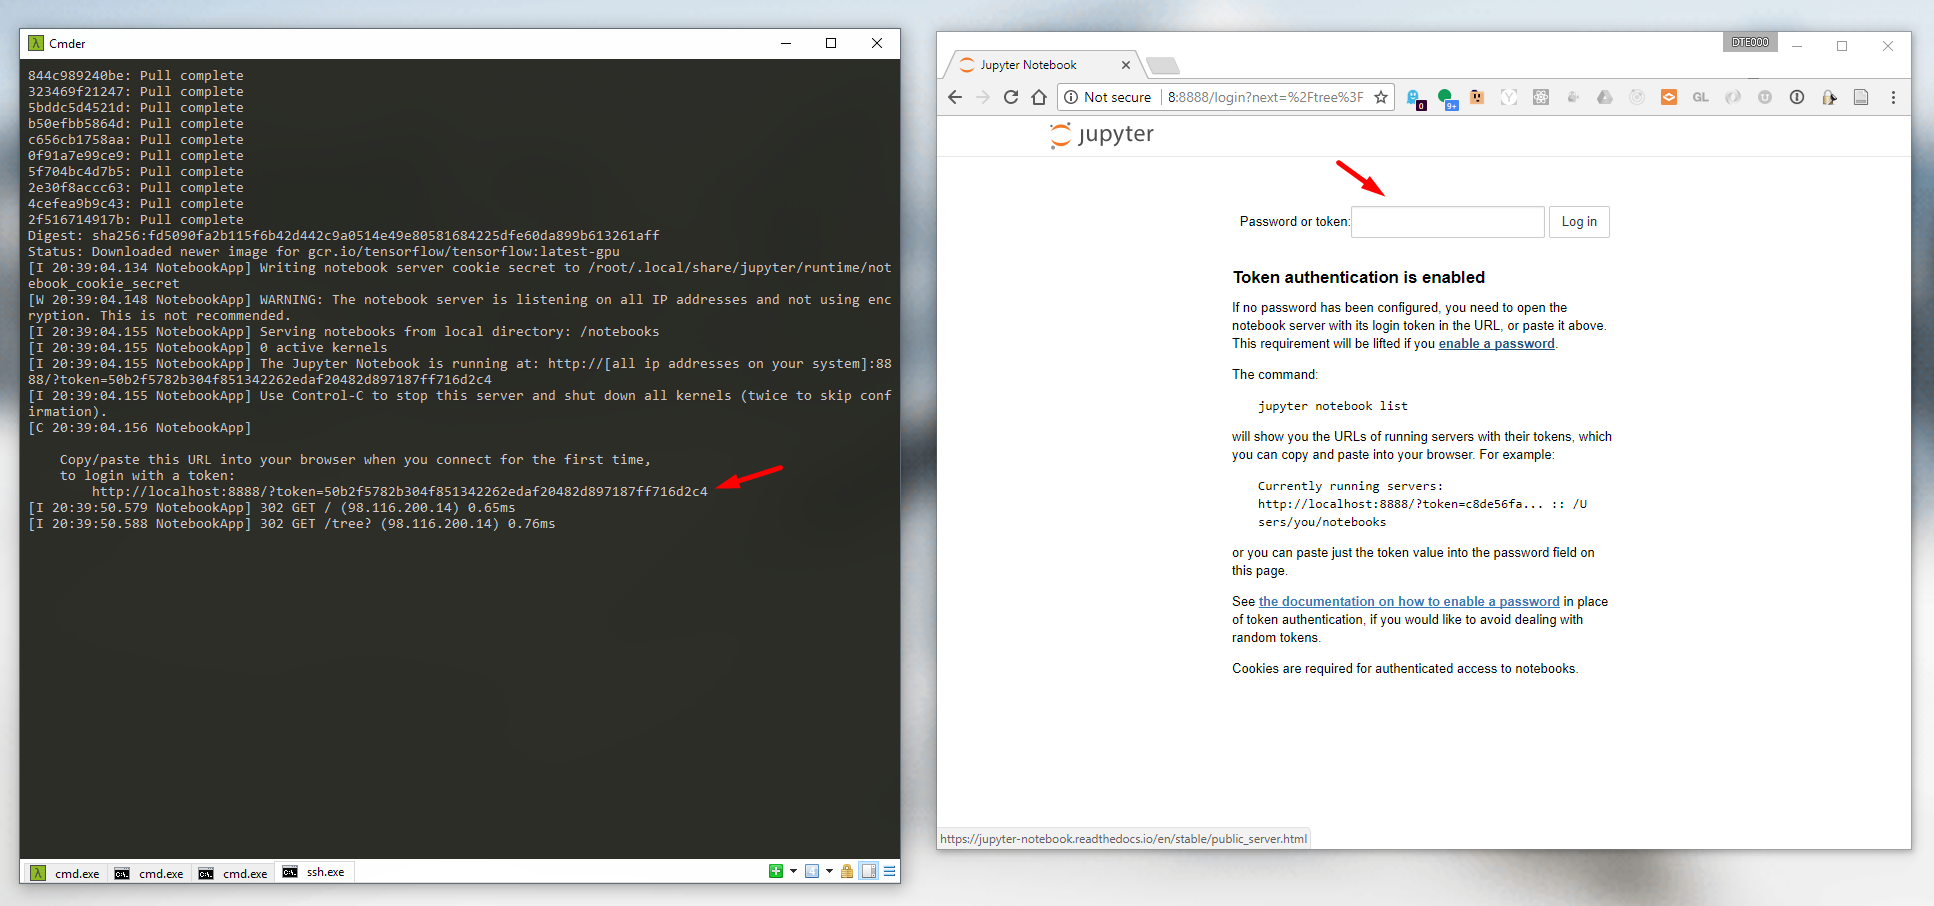
When the machine is back up you should be good to go! Type the following to run a docker container that includes Jupyter. It will run a server on port 8888 of your machine.
sudo nvidia-docker run --rm --name tf-notebook -p 8888:8888 -p 6006:6006 gcr.io/tensorflow/tensorflow:latest-gpu jupyter notebook --allow-root
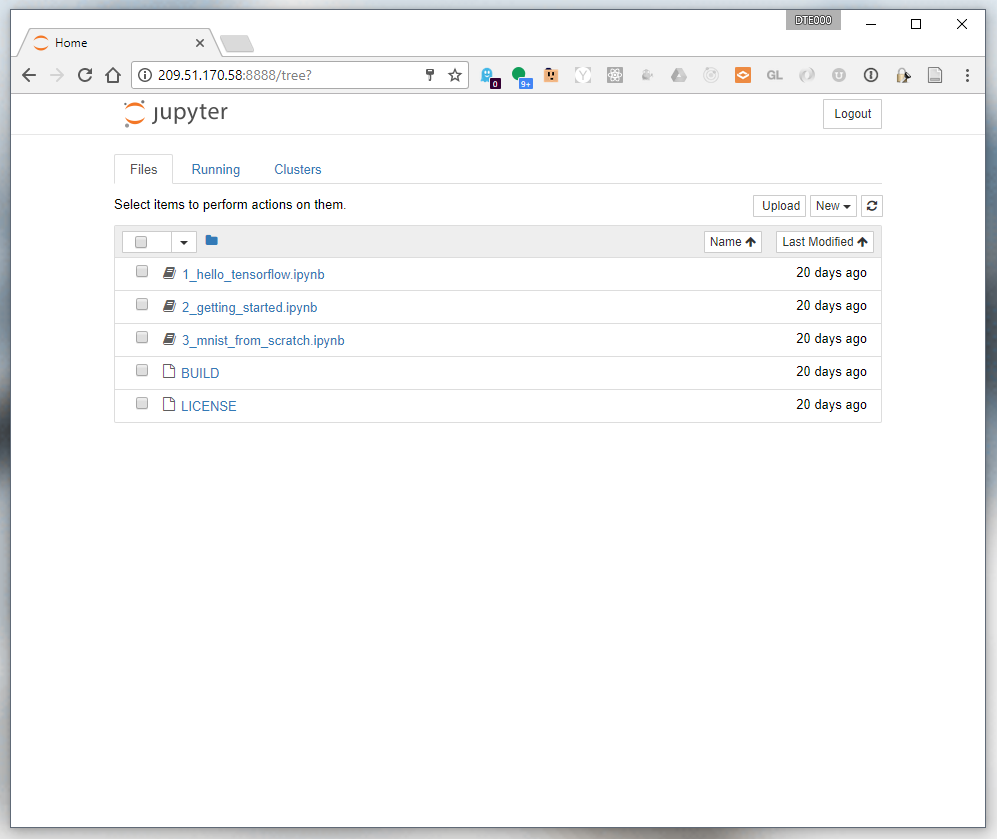
Your notebook will be accessible from any computer but going to a web browser and entering in your machine's public IP address and the port : http://PUBLIC_IP:8888/


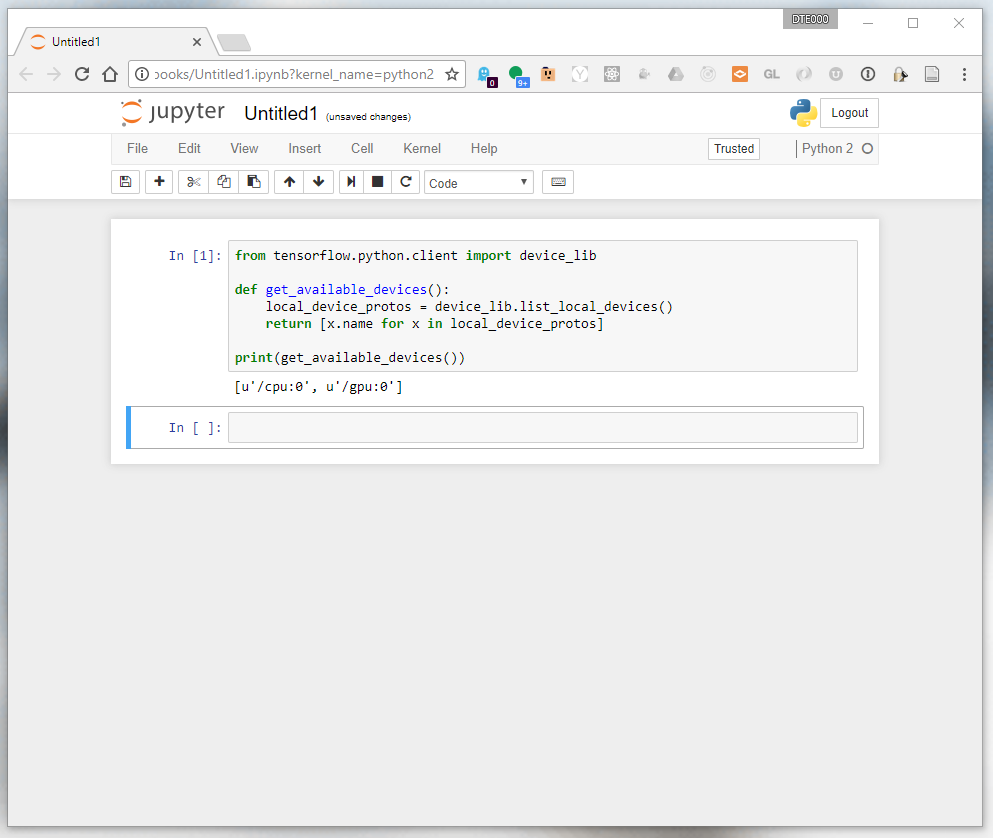
You can confirm that the GPU is working by opening a notebook and typing:
from tensorflow.python.client import device_lib

def get_available_devices():
    local_device_protos = device_lib.list_local_devices()
    return [x.name for x in local_device_protos]

print(get_available_devices())

Get started today with your own Paperspace desktop by signing up today!


