Distributed machine learning is complicated, and when combined with deep learning models that are also complex, it can make just getting anything to work into a research project. Add in setting up your GPU hardware and software, and it may become too much to take on.
Here we show that Hugging Face's Accelerate library removes some of the burden of using a distributed setup, while still allowing you to retain all of your original PyTorch code.
When combined with Paperspace's multi-GPU hardware and their ready-to-go ML runtimes, the Accelerate library makes it much easier to run advanced deep learning models a user may have found difficult before. New possibilities are opened up that might otherwise would go unexplored.
What is Accelerate?
Accelerate is a library from Hugging Face that simplifies turning PyTorch code for a single GPU into code for multiple GPUs, on single or multiple machines. You can read more about Accelerate on their GitHub repository here.
Motivation
With state-of-the-art deep learning at the cutting edge, we may not always be able to avoid complexity in the real data or models, but we can reduce the difficulty in running them on GPUs, and on more than one GPU at once.
Several libraries exist to do this, but often they either provide higher-level abstractions that remove fine-grained control from the user, or provide another API interface that needs to be learned first before it can be used.
This is what inspired the motivation of Accelerate: to allow users who need to write fully general PyTorch code to be able to do so, while reducing the burden of running such code in a distributed manner.
Another key capability provided by the library is that a fixed form of code can be run either distributed or not. This is different from the traditional PyTorch distributed launch that has to be changed to go from one to the other, and back again.
Code changes to use Accelerate
If you need to use fully general PyTorch code, it is likely that you are writing your own training loop for the model.
Training Loop
A typical PyTorch training loop goes something like this:
- Import libraries
- Set device (e.g., GPU)
- Point model to device
- Choose optimizer (e.g., Adam)
- Load dataset using DataLoader (so we can pass batches to the model)
- Train model in loop (once round per epoch):
- Point source data and targets to device
- Zero the network gradients
- Calculate output from model
- Calculate loss (e.g., cross-entropy)
- Backpropagate the gradient
There may be other steps too, like data preparation, or running the model on test data, depending on the problem being solved.
Code Changes
In the readme for the Accelerate GitHub repository, the code changes compared to regular PyTorch for a training loop like the above are illustrated, via highlighting of the lines to be changed:
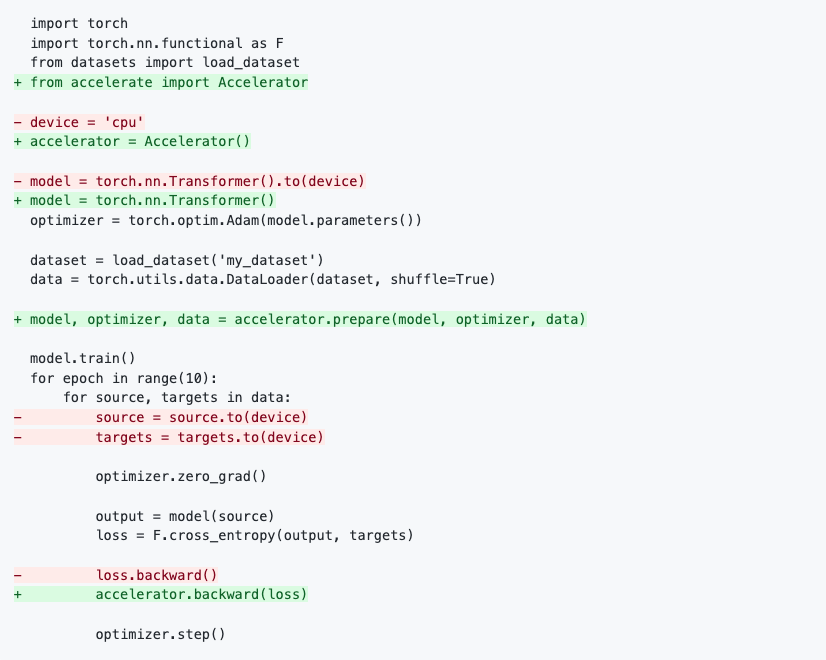
Green means new lines that are added, and red means lines that are removed. We can see how the code corresponds to the training loop steps outlined above, and the changes needed.
At first glance, the changes don't appear to simplify the code much, but if you imagine the red lines are gone, you can see that we are no longer talking about what device we are on (CPU, GPU, etc.). It has been abstracted away, while leaving the rest of the loop intact.
In more detail, the code changes are:
- Import the Accelerator library
- Use the accelerator as the device, which can be CPU or GPU
- Instantiate the model, without having to specify a device
- Setup the model, optimizer, and data to be used by Accelerate
- We don't need to point source data and targets to device
- Accelerator does the backpropagation step
Multi-GPU
The code above is for a single GPU.
On their Hugging Face blog entry, the Accelerate authors then show how PyTorch code needs to be changed to enable multi-GPU using the traditional method.
It includes many more lines of code:
import os
...
from torch.utils.data import DistributedSampler
from torch.nn.parallel import DistributedDataParallel
local_rank = int(os.environ.get("LOCAL_RANK", -1))
...
device = device = torch.device("cuda", local_rank)
...
model = DistributedDataParallel(model)
...
sampler = DistributedSampler(dataset)
...
data = torch.utils.data.DataLoader(dataset, sampler=sampler)
...
    sampler.set_epoch(epoch)
    ...
The resulting code then no longer works for a single GPU.
In contrast, code using Accelerate already works for multi-GPU, and continues to work for a single GPU as well.
So this sounds great, but how does it work in a full program, and how is it invoked? We will now work through an example on Paperspace to show Accelerate in action.
Running Accelerate on Paperspace
The Accelerate GitHub repository shows how to run the library, via a well documented set of examples.
Here, we show how to run it on Paperspace, and walk through some of the examples. We assume that you are signed in, and familiar with basic Notebook usage. You will also need to be on a paid subscription so that you can access the terminal.
Paperspace allows you to connect directly to a GitHub repository and use it as a starting point for a project. You can therefore point to the existing Accelerate repository and use it immediately. No need to install PyTorch, or set up a virtual environment first.
To run, start a Notebook in the usual way. Use the PyTorch runtime under the Recommended tab, then scroll to the bottom of the page and toggle Advanced Options. Then, under Advanced Options, change the Workspace URL to the location of the Accelerate repository: https://github.com/huggingface/accelerate . To begin with we are using a single GPU, so the default choice for the machine (P4000) is sufficient. We will proceed to multi-GPU later in this article.
This will start the Notebook with the repo files present in the Files tab on the left-hand navigation bar.
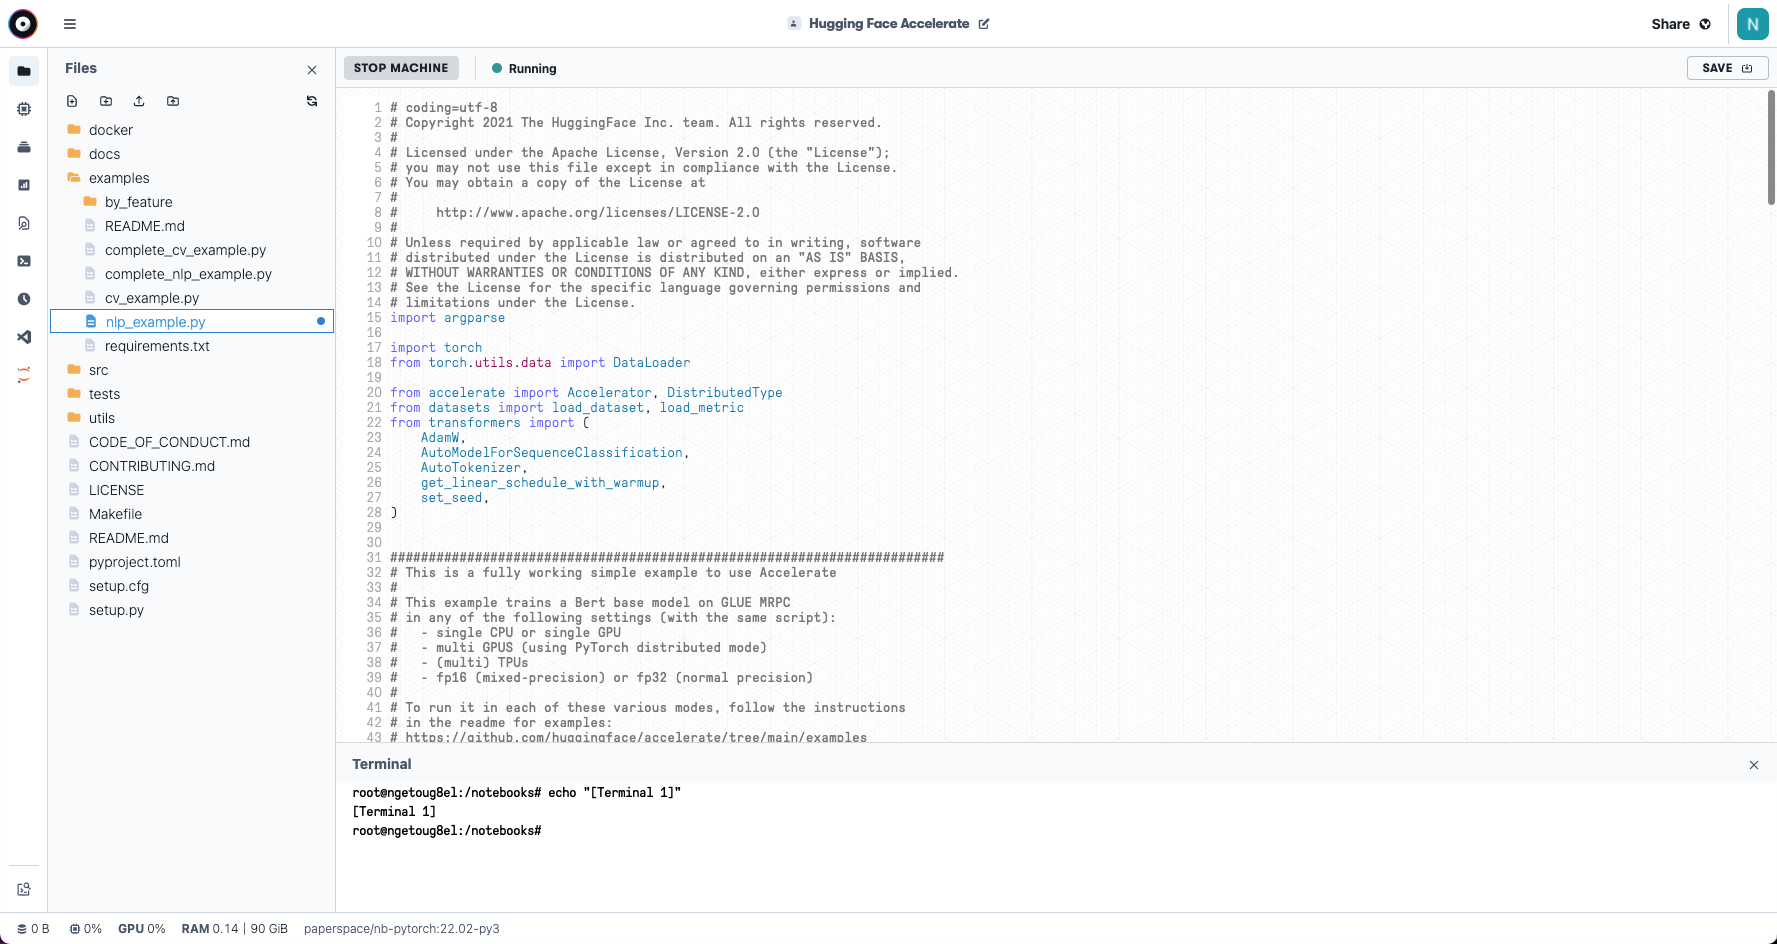
Because the examples supplied with the repo are .py Python scripts, and these work fine on Paperspace in this interface, we don't attempt to show them as a .ipynb notebook here. Although, if you want, the library can be launched from a notebook too.
Let's see the example.
Simple NLP example
Hugging Face was founded on making Natural Language Processing (NLP) easier to access for people, so NLP is an appropriate place to start.
Open a terminal from the left-hand navigation bar:
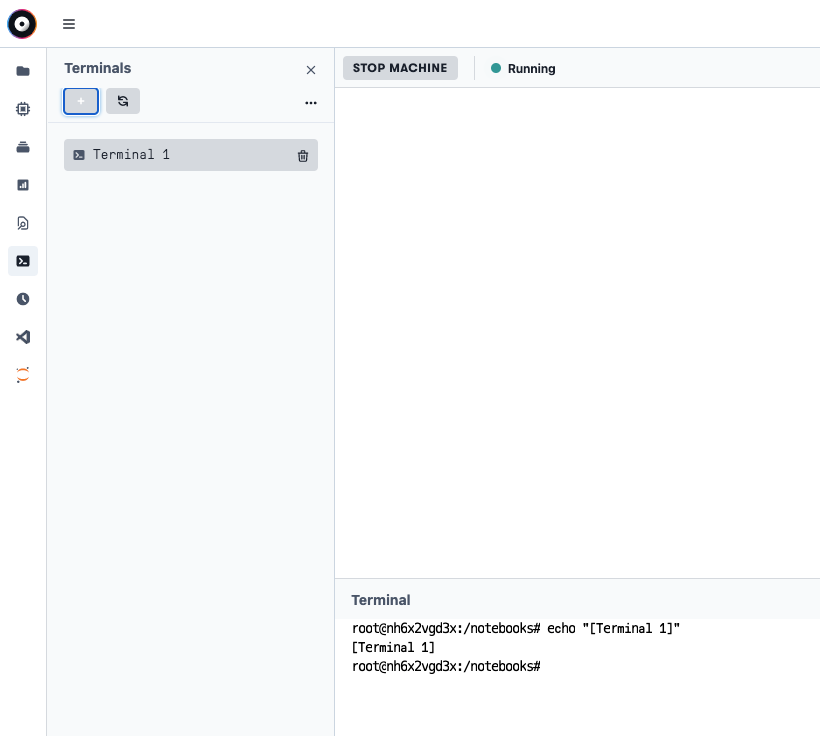
Then there are a some short setup steps
pip install accelerate
pip install datasets transformers
pip install scipy sklearn
and we can proceed to the example
cd examples
python ./nlp_example.py
This performs fine-tuning training on the well-known BERT transformer model in its base configuration, using the GLUE MRPC dataset concerning whether or not a sentence is a paraphrase of another.
It outputs an accuracy of about 85% and F1 score (combination of precision and recall) of just below 90%. So the performance is decent.
If you navigate to the metrics tab, you can see that the GPU was indeed used:
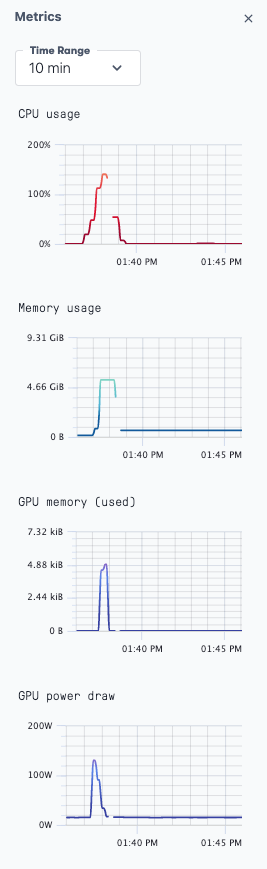
The script can also be invoked with various arguments to alter behavior. We will mention some of these at the end.
Multi-GPU
For multi-GPU, the simplifying power of the library Accelerate really starts to show, because the same code as above can be run.
Similarly, on Paperspace, to gain a multi-GPU setup, simply switch machine from the single GPU we have been using to a multi-GPU instance. Paperspace offers multi-GPU instances for A4000s, A5000s, A6000s, and A100s, though this varies from region to region.
If you are running your Notebook already, you stop your current machine:
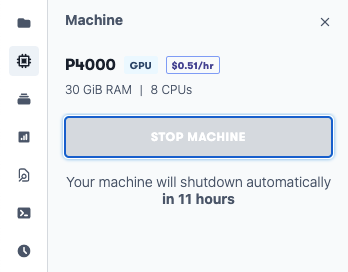
Then use the dropdown in the left-hand navigation bar:
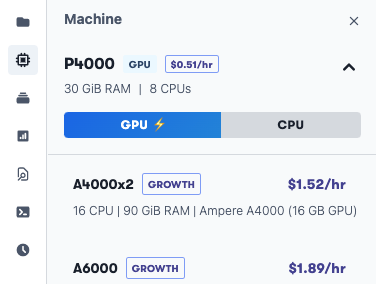
to select a multi-GPU machine, and restart:
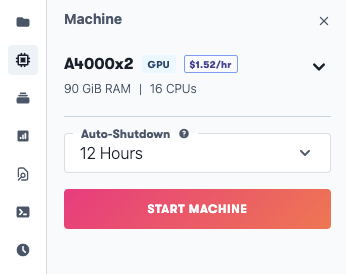
Changing from P4000 to A4000x2 will work well here.
Note: If you were not already running a single GPU machine, create a Notebook in the same way as for the single GPU case above, but choose an A4000x2 machine instead of the P4000 machine.
Then, to invoke the script for multi-GPU, do:
pip install accelerate datasets transformers scipy sklearnand run through its brief configuration steps to tell it how to be run here:
accelerate configIn which compute environment are you running? ([0] This machine, [1] AWS (Amazon SageMaker)): 0
Which type of machine are you using? ([0] No distributed training, [1] multi-CPU, [2] multi-GPU, [3] TPU): 2
How many different machines will you use (use more than 1 for multi-node training)? [1]: 1
Do you want to use DeepSpeed? [yes/NO]: no
Do you want to use FullyShardedDataParallel? [yes/NO]: no
How many GPU(s) should be used for distributed training? [1]: 2
Do you wish to use FP16 or BF16 (mixed precision)? [NO/fp16/bf16]: noNote that we say 1 machine, because our 2 GPUs are on the same machine, but we confirm that 2 GPUs are to be used.
Then we can run as before, now using the launch command instead of python to tell Accelerate to use the config that we just set:
accelerate launch ./nlp_example.pyYou can see that both GPUs are being used by running nvidia-smi in the terminal.
More features
As hinted at by the configuration file setup above, we have only scratched the surface of the library's features.
Some other features that is has include:
- A range of arguments to the launched script: see https://github.com/huggingface/accelerate/tree/main/examples
- Multi-CPU in addition to multi-GPU
- Multi-GPU on several machines
- Launcher from
.ipynbJupyter notebook - Mixed-precision floating point
- DeepSpeed integration
- Multi-CPU with MPI
Computer vision example
There is also another machine learning example that you can run; it's similar to the NLP task that we have been running here, but for computer vision. It trains a ResNet50 network on the Oxford-IIT Pet Dataset.
On our Notebook, you can add the following to a code cell to quickly run the example:
pip install accelerate datasets transformers scipy sklearn
pip install timm torchvision
cd examples
wget https://www.robots.ox.ac.uk/~vgg/data/pets/data/images.tar.gz
tar -xzf images.tar.gz
python ./cv_example.py --data_dir images
Conclusions and next steps
We have shown how the Accelerate library from Hugging Face simplifies running PyTorch deep learning models in a distributed manner compared to traditional PyTorch, without removing the fully general nature of the user's code.
Similarly, Paperspace simplifies accessing multi-GPU + PyTorch + Accelerate by providing an environment in which they are ready-to-go.
For some next steps:
- Check out the original Hugging Face blog entry
- Check out the Accelerate GitHub repository for more examples and functionality
- Run your own accelerated and distributed deep learning models on Paperspace
Licensing
Code in the Hugging Face GitHub repository is made available by them under the Apache License 2.0.